I'm making a pair of jeans-style trousers out of our Classic Levi Denim - Medium Wash. This is a mid-to-heavyweight denim (423 GSM), and it is a delight to work with. But I've found that, when making narrow (5/8" double folded) jeans hems, the part of the hem where it crosses the side seam and inseam can be difficult for some machines to handle. There are tools out there to help with that ("Hump Jumper" and "Jean-a-ma-Jig" come to mind), but there is also an easy fix to eliminate that bulk before it becomes a problem.
I took a coat tailoring class with Kenneth D. King, in which he showed us a way to reduce bulk in intersecting seams. This method works equally well on jeans and other hems in bulky fabrics. Check it out...
1 - Mark and Press Your Hem
Don't double fold the hem yet. Just press it so you can see the crease.
2 - Trim Your Seam Allowance
Then, carefully trim your inseam and side seam allowances close to the stitching line (about 1/4 inch is good). Stop trimming right at the hemline crease:
3 - Double Fold and Pin the Hem
You can already see that it's less bulky than if you left the seam allowance intact.
Sew Your Hem
Sew your hem per usual. I bet you'll find you don't need any jigs to sew over the seams, and the final result gives you a lovely, bulk-free finish:
Try this on your next pair of jeans. I think you'll be pleased with the results!
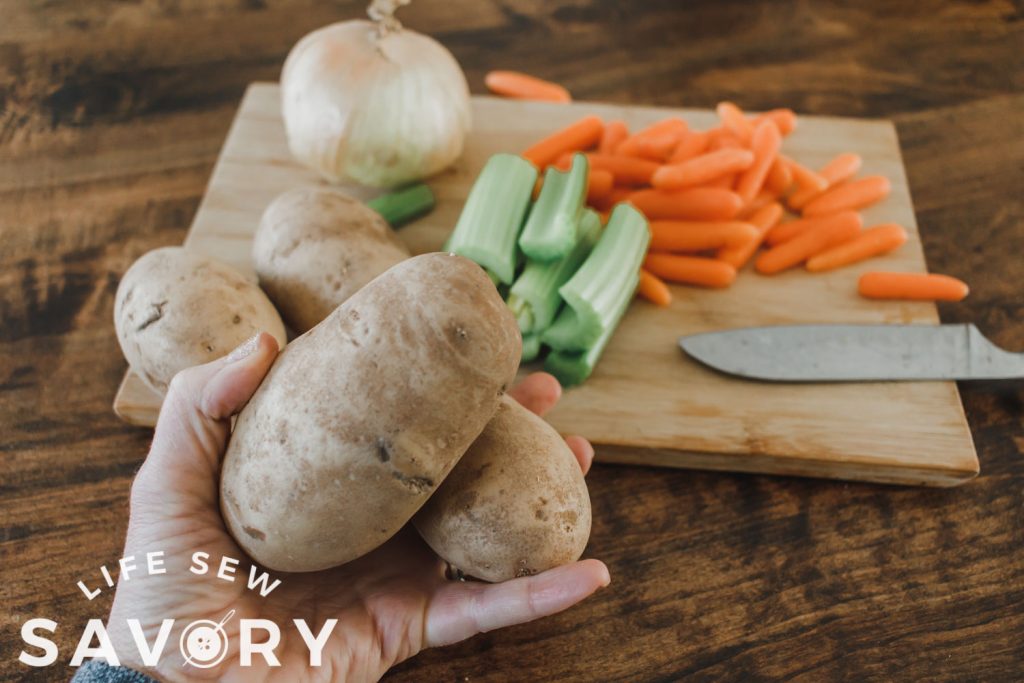
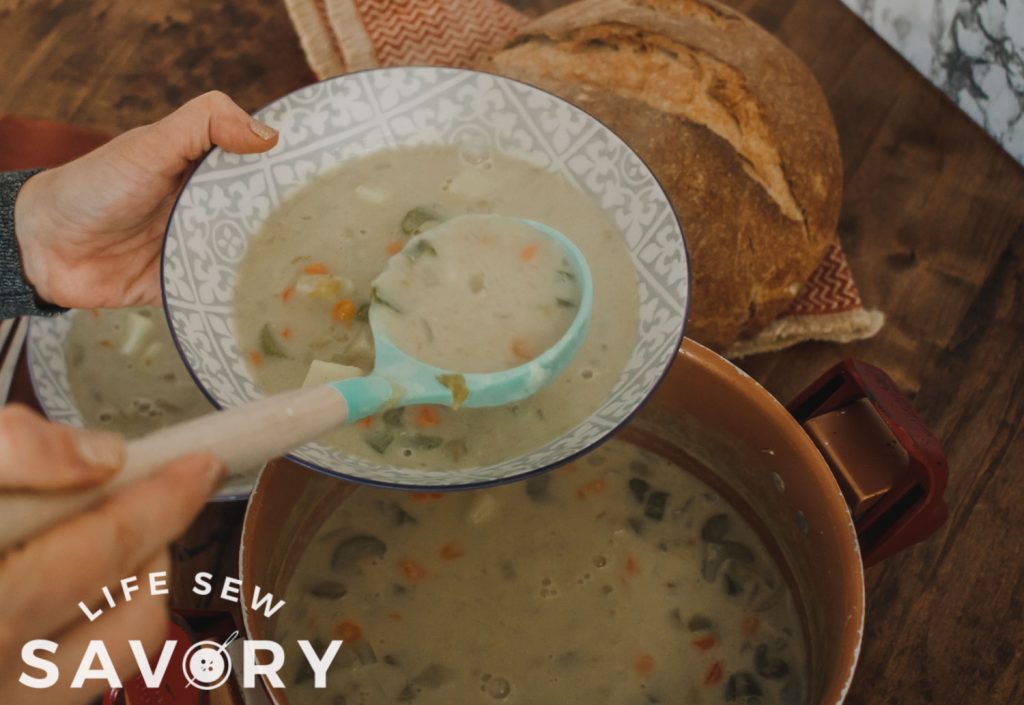
Inside: Cook and eat the most delicious potato soup. This light potato soup is full of flavor but light on calories. This simple potato soup is a favorite of our family and I know you will love it too.
Years and years ago a friend served me a soup like this for lunch. I had never had a potato soup quite like this before. I LOVED it so much I asked her for the recipe and have since added to the recipe to make it our favorite light potato soup.
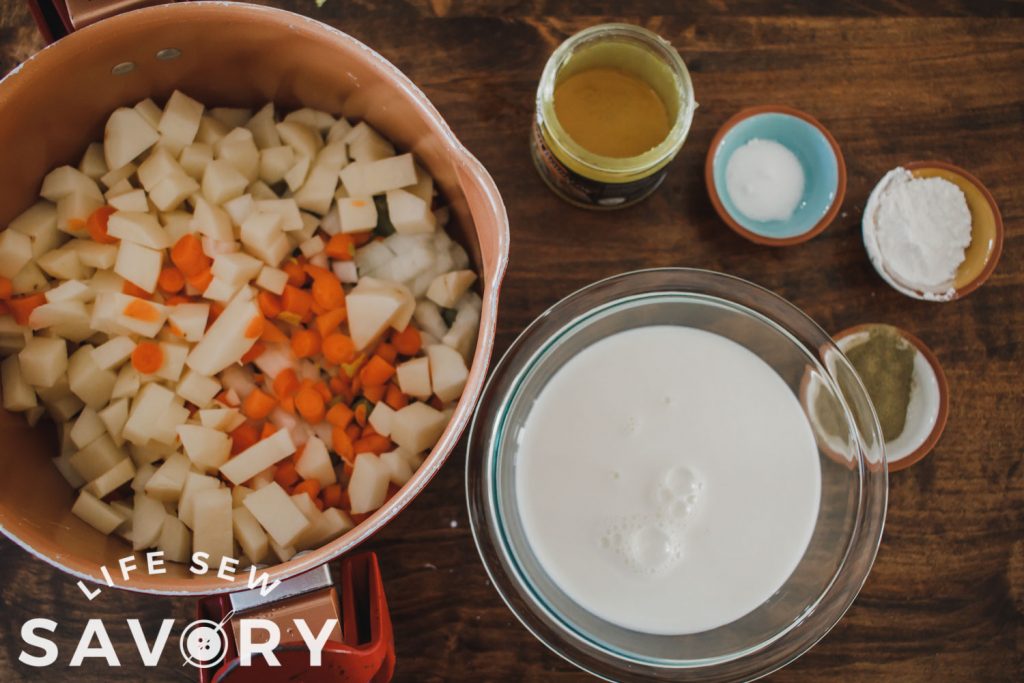
Light Potato Soup recipe
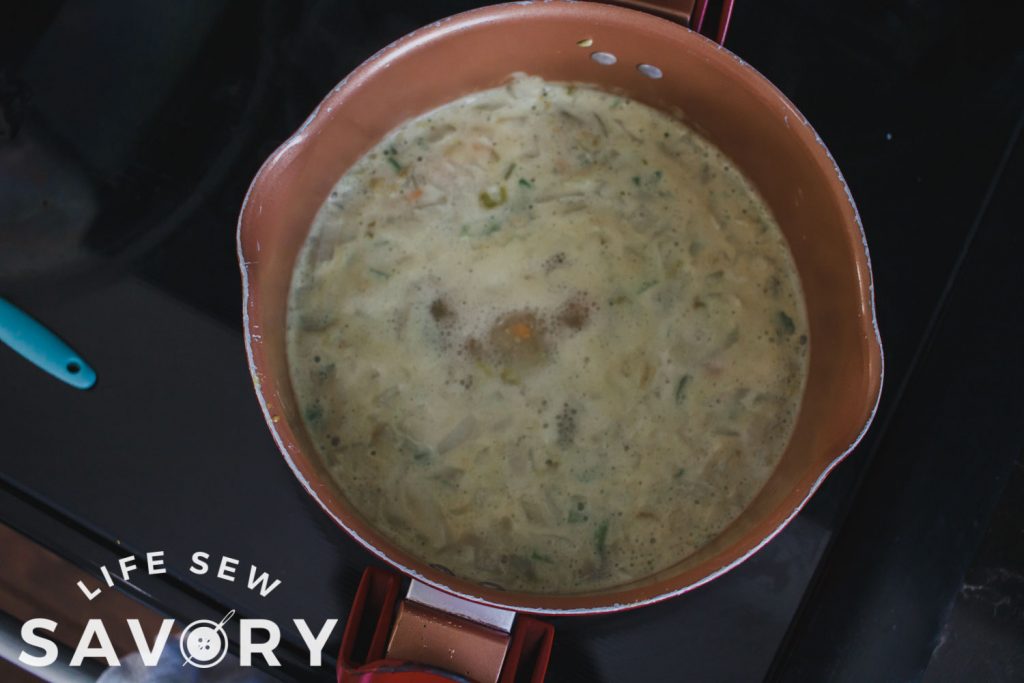
I call it light potato soup because it’s more of a broth base than a cream base, but it still has a hint of milk that makes it absolutely delicious.
Long ago, Nancy Zieman’s family acquired a tattered vintage quilt. Admittedly, when Nancy’s mother, Barbara, ran across the quilt stored in a garage, she wasn’t sure where the quilt came from or who made it. It was collected and stored for quite some time. When it was finally rediscovered, the quilt was in the same deteriorated condition as when it was stored away. The vintage piece was beyond repair. It was at that time Nancy had the vision for sharing the quilt for years to come. See the quilt and follow along as we share the steps Nancy used for displaying this beautiful, weathered quilt.
Caution: Quilt Lovers, these next three images are not for the faint of heart.
Once the quilt was adequately aired out and the smells faded, Nancy started her project to create a Framed Antique Quilt Block.
Supplies
Frame (Nancy used a 10″ x 10″ frame.)
Project quilt needing new life & love
Rotary cutting mat
Rotary cutter
Square quilter’s ruler (Nancy used a 12″ x 12″ ruler.)
Framed Antique Quilt
Identify the usable portions to feature, keeping in mind, you may want to include shabby areas of the quilt to help tell the quilt’s story.
Work on the rotary cutting surface. You cannot see it in the picture, but a table-size cutting mat is under the quilt.
Using a square ruler, audition the space around the selected area/block.
Use the cardboard backing from the frame to determine exactly where to place the ruler.
Remove the cardboard backing.
Double check the ruler alignment.
Rotary cut two sides.
Reposition the ruler based on the cardboard backing and cut the remaining two sides.
Secure the edges of the cut piece by basting within 1/4″ of the cut edge.
Keeping the glass in the frame and working from the back, place the quilt block into the frame.
Apply the cardboard backing and fold down the metal tabs which hold everything in place.
You can always add a layer or two of acid free paper to serve as a liner between the quilt and cardboard backing.
Ta-dah!
Nancy’s hope was that this project would offer daily enjoyment of a vintage find, or treasured piece, that would have been stored away for many more decades, and likely tossed out by a future family member. We encourage you to take a couple of moments to label your quilts and sewn projects to tell the story of the piece to future generations.
The rich history and family lineage adds elements far deeper than design and warmth. Nancy had the privilege of interviewing Amy Milne of The Quilt Index on an episode of Nancy’s Corner. Her work with The Quilt Index and Quilt Alliance focuses on preserving the details of each quilt.
The Quilt Index encourages the following, as suggested on the Labeling Pledge.
Include at minimum:
Name
Date quilt was completed
Location
Other options to include:
Recipient or reason for quilt
Materials and techniques
Pattern name, if applicable
Story of the quilt
If the quilt was made by someone else, include any of the following:
Where and when the quilt was received
The maker
Where the maker lived during their life
Estimated birth (and death) date of the maker
Pattern name, if known
Thank you so much, Amy! We are lucky to live in a time where there are many options for labeling a quilt. From hand stitched wording to computer generated and printed panels, the options are limitless! Here are a few of our favorite tools for labeling projects:
Premade Labels
In the cases of smaller projects, sometimes a premade label is suitable. Simply fill-in the blanks with a permanent pen.
Embroidered Labels
Nancy loved machine embroidery. Making labels on her Baby Lock Destiny IIembroidery machine was quite easy. Simply use your included designs to personalize a label or grab quilt label embroidery software. The possibilities are limitless. From fonts, to coordinating motifs to sayings and colors, the label will be stitched to reflect your style.
Story Patch Labels
And, for the more computer-savvy quilter, try Story Patch labels. Revolutionize the way you label a quilt. Attach a story with this simple and innovative tag. Make it a keepsake by giving them a photo, audio, or video message they can replay over and over again. You and the project recipient are only four easy steps away from a gift they will treasure for a lifetime.
Make sure you are subscribed to Nancy Zieman Productions, LLC enews mailing list so you won’t miss a thing. Sign up here. Join us on Facebook, plus a host of other social media channels. Connect With Nancy and Friends today!


 Print
Print