"Why are crackers so 'spensive?" (read that with attitude)
That's what runs through my head every time I wander down the cracker aisle. I rarely buy crackers, but when you're entertaining and you've got four or five different dips, they're kind of required. Sure, you can have pita wedges, vegetables, or pretzels, but nothing beats a cracker.
I'm really excited about this recipe. Not because they're the best cracker that I've ever had (admittedly, they're not), but because it's a
really fun project and there are so many ways to alter and expand the recipe. I seriously can't wait to try more!
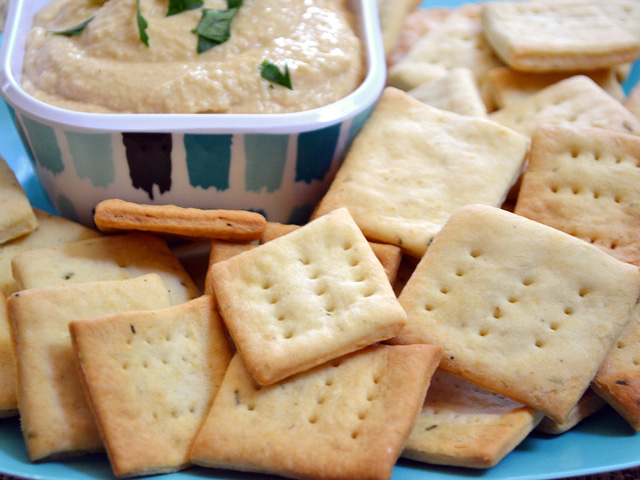
These crackers did turn out pretty tasty (I polished them off in just a couple days, thanks in part to a yummy batch of
hummus). They had just the right amount of crunch without being too hard. I didn't taste the rosemary or cracked pepper as much as I'd like, though, and next time I'll also add a sprinkle of salt to the top of the crackers before baking. That being said, I definitely think you should try making your own crackers. It was surprisingly easy and definitely fun! ...I'm going to try a whole wheat olive oil version next!
Rosemary Crackers

Total Recipe cost: $1.20 (Makes about 6 cups)
Prep time: 15 min. Cook time: 25 min. Total: 40 min.
| INGREDIENTS | COST |
| 2 cups | all-purpose flour | $0.45 |
| 1 tsp | baking powder | $0.10 |
| 1/2 tsp | salt (plus more for sprinkling) | $0.05 |
| 1 Tbsp | rosemary | $0.15 |
| to taste | freshly cracked pepper | $0.05 |
| 4 Tbsp | cold butter | $0.40 |
| 1/2 to 3/4 cup | cold water | $0.00 |
| TOTAL | | $1.20 |
STEP 1: Chop the rosemary well so that there are no large, sharp pieces. Add the rosemary, flour, baking powder, salt, and some freshly cracked pepper to a food processor and pulse until the mixture is evenly mixed (or just stir them together in a bowl).
STEP 2: Cut the butter into pieces and add it to the food processor. Pulse the mixture until the butter is completely incorporated and no chunks remain. Or, cut the butter into the flour mixture with
pastry cutter, two knives, or just with your hands until the butter is completely worked into the flour mixture.
STEP 3: Slowly add cold water to the food processor while pulsing, just until it forms a dough (or stir it in by hand until a dough forms). Depending on the humidity and moisture level in your flour, it will take between 1/2 and 3/4 cup water. I used approximately 2/3 cup.
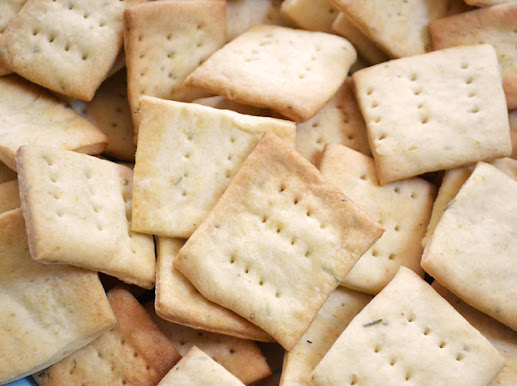
STEP 4: Preheat the oven to 400 degrees. Turn the dough out onto a lightly floured surface and roll it out until it is approximately 1/16th inch thick. Use a pizza cutter or knife to cut the dough into small rectangles, squares, or triangles. Prick each "cracker" with a fork. Carefully transfer the cut crackers to a baking sheet lined with parchment paper.
STEP 5: Sprinkle the crackers lightly with salt, if desired. Bake the crackers for 20-25 minutes, or until they are golden brown. The total amount of baking time needed will depend greatly on the thickness and size of the crackers, so watch them closely. Allow the crackers to cool and then store in an air-tight container at room temperature.
Step By Step Photos
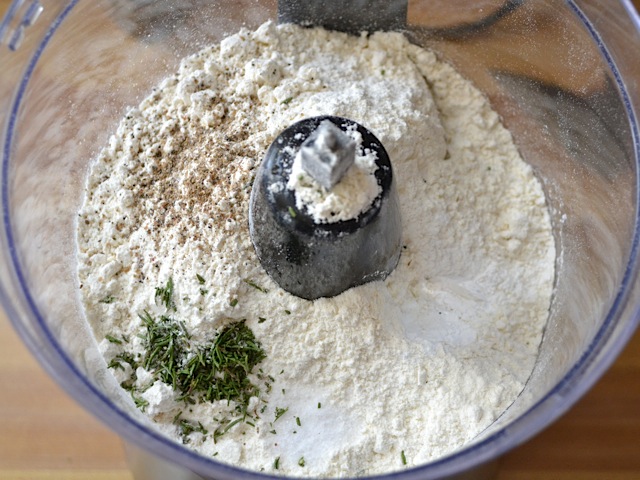 Making crackers is a lot like making pie dough or biscuits. You mix the dry ingredients together first, then work in the butter, and then add liquid until a dough forms. I used a food processor just to make it quick and easy. You can do it by hand, but it will take a bit of elbow grease to work the butter in. Anyway, first combine the flour, rosemary, baking powder, salt, and pepper. You'll want to chop the rosemary up a bit first to prevent large pieces that can poke.
 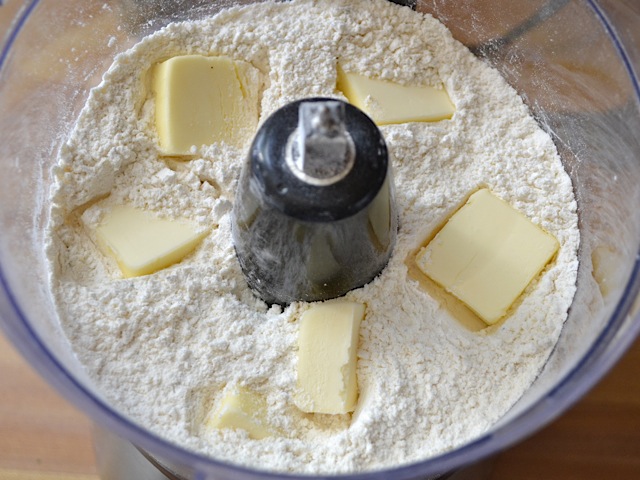 Cut the butter into a few pieces and add it to the food processor. Pulse the mixture until the butter is completely worked in and no chunks remain. In a pie or biscuit dough you'd want some chunks because that's what makes it flakey, but I didn't want a flakey cracker, so I worked it in completely.
 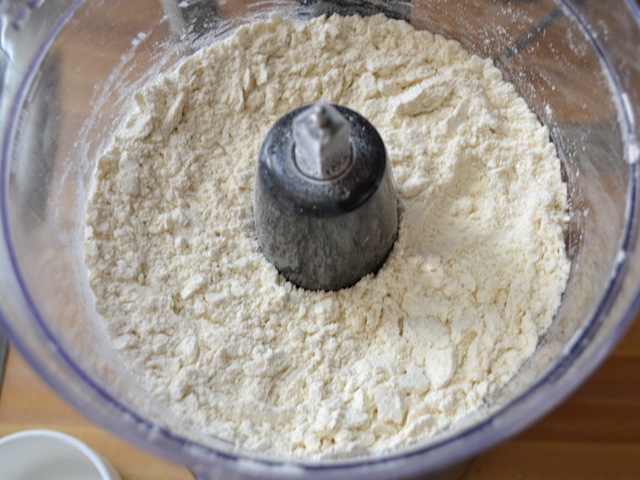 See? The butter is completely worked in.
 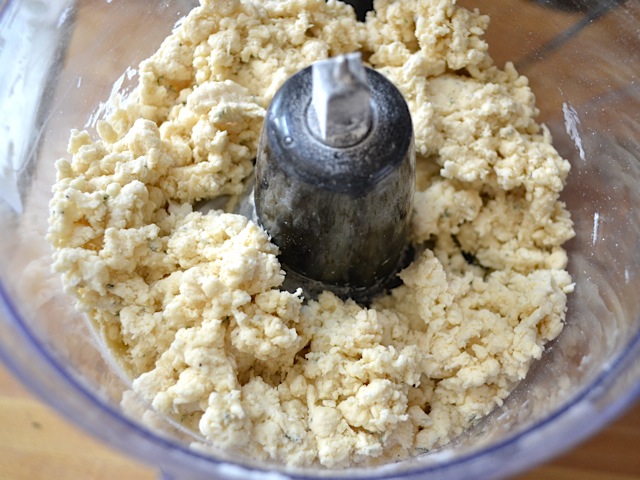 Slowly start to add cold water while pulsing (or just stir in a little bit at a time) until it forms a dough. I know this doesn't look like dough, but that's because the blade cuts it when it pulses. I took a chunk and squeezed it together with my hand and it definitely held together like a dough, so I knew it was done. I used about 2/3 cup water, but you may need slightly more or less depending on humidity and other factors.
 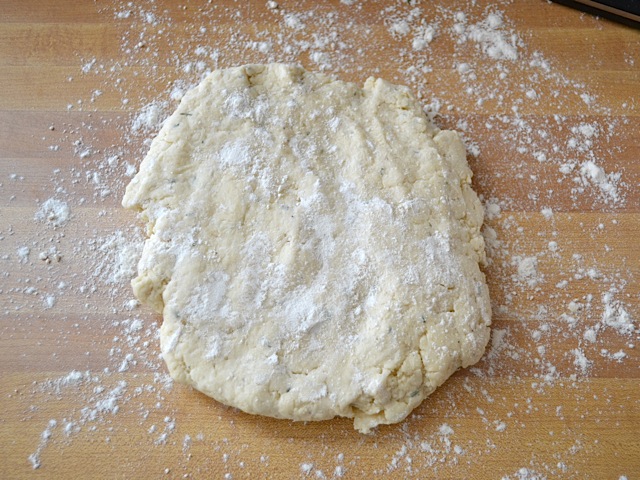 Turn the dough out onto a lightly floured surface.
 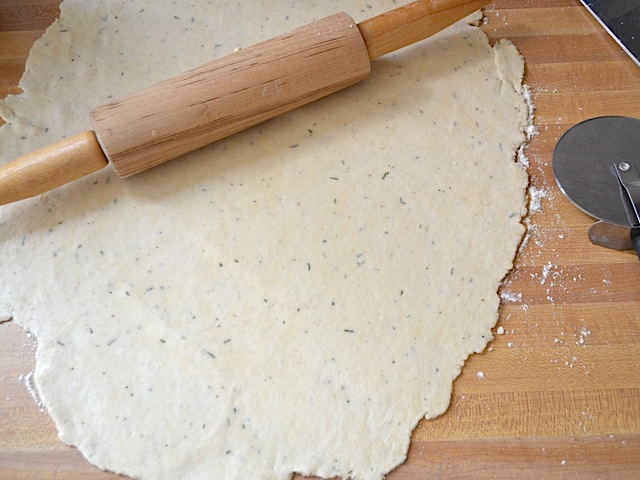 Roll the dough out really, really thin. I probably could have rolled mine even thinner. It does puff up slightly when baked. You may also want to re-dust the work surface as you roll it out to make the crackers easier to lift once cut.
 I used a pizza cutter to cut the dough into small rectangles (don't use a lot of pressure to prevent damage to your counter top and pizza cutter).
 I really didn't know exactly how these would turn out, so I decided to only prick about half of them with my fork. I ended up liking the pricked crackers better than the non-pricked, but that's just personal preference.
 Carefully transfer the crackers to a baking sheet covered in parchment paper. Bake the crackers in a preheated 400 degree oven for 20-25 minutes, or until they're golden brown. You'll want to watch them closely because the size and thickness of your crackers will greatly influence the amount of time needed to achieve golden-brownness.
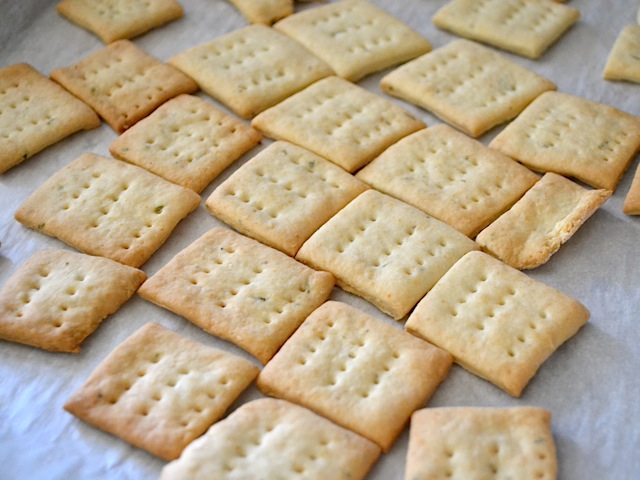 And then they're done and absolutely adorable... and pretty tasty, too!
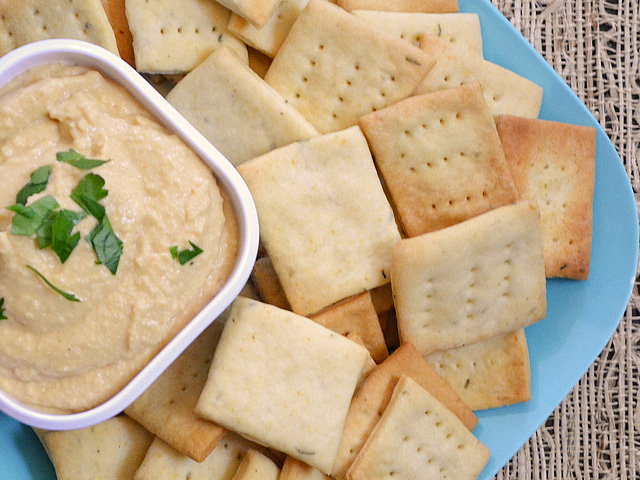 And SO good with hummus!