When we left off in Part 1, I completed and installed the bench frame and added batting to the front edge of the frame. I gave you a sneak peek at the foam on the bench. So, let’s pick up there.
First let’s talk money. The wood for the frame and furniture legs was about $50 total. Add in the cost of foam, batting, and fabric and I built this giant upholstered built-in bench for under $300! It is about 10 linear feet of banquette goodness!

Foam
When I made all the pillows for the bench, I casually mentioned my shock at foam prices. Several of you lovely readers jumped in to offer advice. Many suggested online retailers, but I was inpatient and preferred to check out the foam in person. One reader mentioned using foam mattresses from Ikea. I was intrigued and checked them out online, before heading to the store. The next day I met my mom at the store to check out the foam, I mean mattresses, in person.
Compared to the hundreds of dollars it would have cost me at the fabric store, I spent just $129 at Ikea for the Florvag full size mattress. It was a 74″ x 53″ x 4″ sheet of foam. One full size mattress was enough foam for my entire bench. The mattresses come rolled up, so we were able to fit it across the backseat of my car, with car seats still installed…that is a DIY mama’s dream!
The next day my mom came over to help me butcher, I mean cut up the mattress. The cover has one giant zipper all the way around and comes off in two pieces. Inside is a nearly 4″ thick slab of foam (it is actually a thick and thin piece glued together). My mom brought her electrical knife to make carving the foam easy.

We put the wood pieces directly on the foam and traced around them with marker.

We cut them out with the electrical knife. I was over-excited about this step. I heard it was the easiest way, but never knew how gratifying it would be to cut through a huge slab of foam like butter.

We cut the two side bench pieces first, then we pieced together the leftovers for the corner cushion. We had about a 5″ strip of foam leftover.

To soften the wood boards for the bottom of the cushions, I stapled some extra batting around the edges that would be on the front of the bench. I used four layers, just like I used on the 2×4 frame.

Batting
With the foam ready to go I was telling mom I needed to go get more batting to wrap the cushions with. Then it struck us that the Ikea mattress cover was fabric and a waterproof layer with batting stitched in between. Perfect! I cut up the mattress cover to use as batting.

I used a piece from each side to cover my two straight benches and then had to piece some smaller strips together to cover the corner piece. I laid my batting right side down, put the foam on top and then the board. I pulled the batting tightly around and stapled it to the wood all the way around. I wrapped the corners as neatly as possible.


Fabric
While I was at Ikea, I decided to check out their fabric options. I love how their fabric section is right next to the curtain panels. I have been known to upholster with curtain panels before. Since they don’t carry upholstery weight fabrics (darn, wish they did), I wandered right into the curtain panels. I was like a moth to a flame when I saw the Sanela velvet panels. They came in an amazing turquoise, which would have been way too much with my turquoise table. They also came in a dark gray. Sold! I bought a pair of 98″ panels for 49.99. For just under 6 yards of fabric, I think it was a good deal.
Before starting on the cushion upholstery, I covered the front edge of the banquette frame. I cut long strips of fabric from the curtain panels to cover the batting I already stapled around the frame. I tucked the ends of the strips in between the sections of the frame. At the ends by the wall I folded the end of the fabric under to get a finished edge. I stapled the fabric all along the inside of the frame.


Ana White did a little sewing to give her upholstered banquette a more tailored finish. I opted to go the no-sew route.
I covered the two side benches first. I laid my fabric out right side down and then put the cushion on top with wood facing up. I pulled the fabric tight and stapled all the way around. I always start with the middle of each side, then work out to the corners. For 3 of the 4 corners, I just wrapped as neatly as I could and stapled. I knew three of the corners would be hidden at the back of the bench or next to the corner cushion.


For the one completely exposed corner, I made a rounded corner with the fabric. The key to making them look as nice as possible, is to cut out any excess batting on the bottom of the board. You want everything on the bottom of the bench to be as smooth as possible.

First, I pulled up the fabric corner and stapled it in place. Doing this pulls the foam into a slight curve at the corner.

Then I pulled up the side fabric, carefully tucking in the excess fabric and creating fold. I repeated the same on the other side.


The resulting look is a bit more casual and not tailored at all. It makes the corners rounded and a little puffy. If I ever want a tailored look, I can remove this fabric and sew a seam into the corner.

I found out the hard way, that the fabric direction is super important when working with velvet. The fabric looks silvery in one direction and dark gray in the other. I had to un-staple, flip the fabric, and re-staple one of my cushions, when I realized I had the fabric going the wrong way. Make sure to cover each piece with the fabric in the same direction.
I probably should have bought the 118″ curtain panels, because once I finished both side benches, I barely had 24″ of fabric left from each curtain panel. I had to seam the two pieces to make a piece large enough to cover the large corner cushion. I used my serger to overlock the two pieces together and make the seam extra strong. Once the cushion was covered the seam is hardly noticeable. The seam is toward the back of the cushion. Once it is loaded up with pillows the seam disappears :)


Speaking of pillows…oh, how I couldn’t wait for this part! As soon as I tossed them all on it took every bit of my willpower not to just dive in and nap the rest of the day. The two turquoise pillows in the back corner are Sanela pillow covers from Ikea in the turquoise color I love. I made most of the pillows with my easy envelope pillow cover tutorial. The Love pillow was an Etsy find. The one yellow chevron pillow is a cover I made years ago that has been floating around the house. I think this is a good home for it.

Adding my DIY brass pendant light was the icing on the cake. It feels amazing to have this space done. It really is a dream come true. Who doesn’t want a giant window seat overlooking the backyard with an inviting, colorful game table?!

From a mood board inspired by the turquoise pedestal table to the almost completed space, I am really happy with our casual comfy game room area.

The only thing left is a couple of chairs. Remember all the chairs I considered? I am still torn. I tried the teal ones from World Market, but the color was too green. I also thought they stole the show from the table. I worry the yellow ones I am pondering might do the same. Now that you see the space in real life, what kind of chairs do you think I should use? I am leaning toward understated white or wood chairs.
Sharing this post here:
It’s Overflowing
Tatertots and Jello
Suburbs Mama
DIY Showoff
Home Stories A2Z


 President Obama attempted something familiar in his
 planners, but the leak made that impossible, and sent Al Qaeda scrambling to cover its tracks, officials said.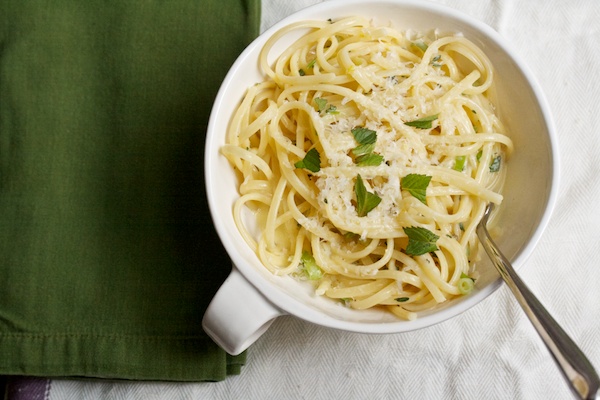
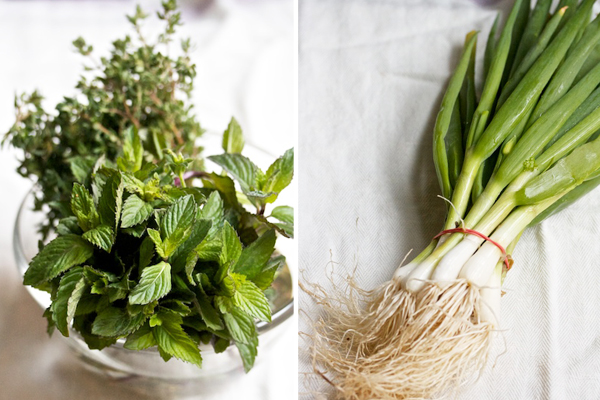
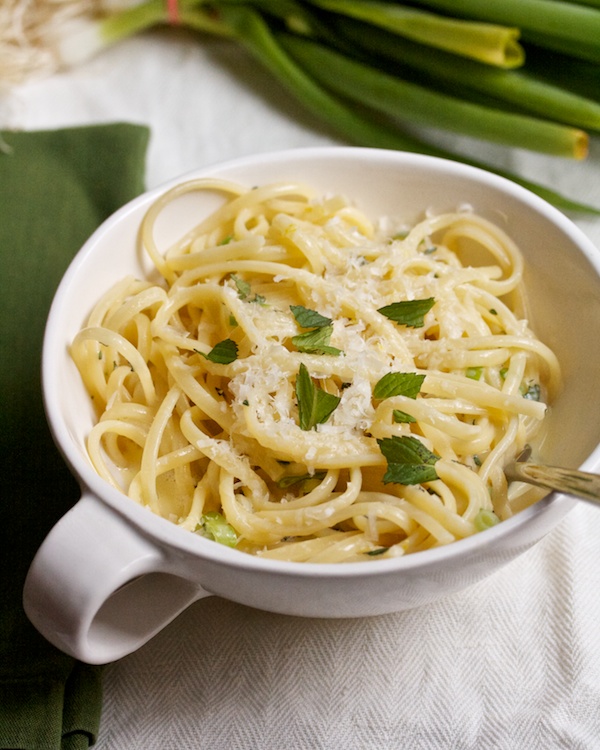
 , I realized it bore a similarity to one of the first dishes I ever got in the habit of cooking for myself, a pasta dish I wrote about in
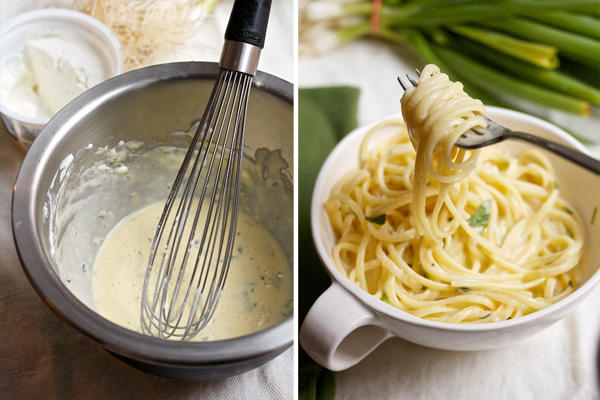
  , which uses egg, yogurt, and pasta water to create a creamy, slightly tangy, no-cook sauce for pasta. In fact, one version of the soup actually has vermicelli noodles in it.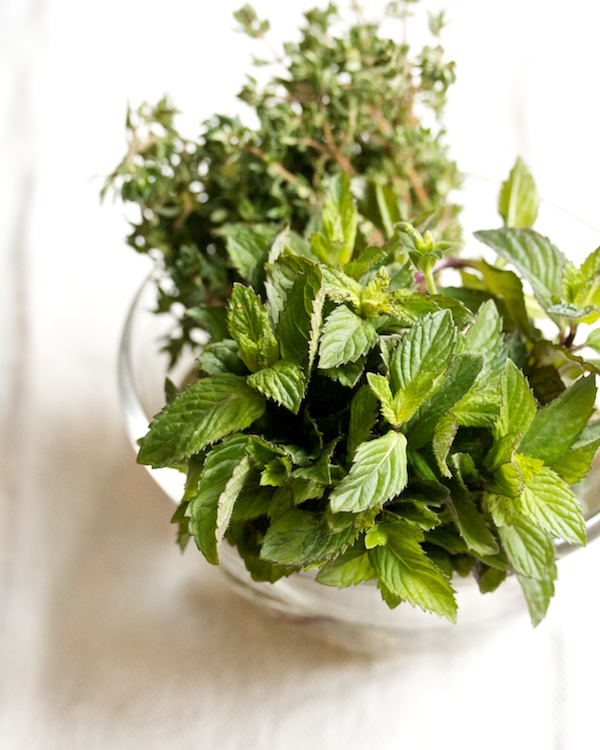


 Easy Hazelnut Chocolate Mousse


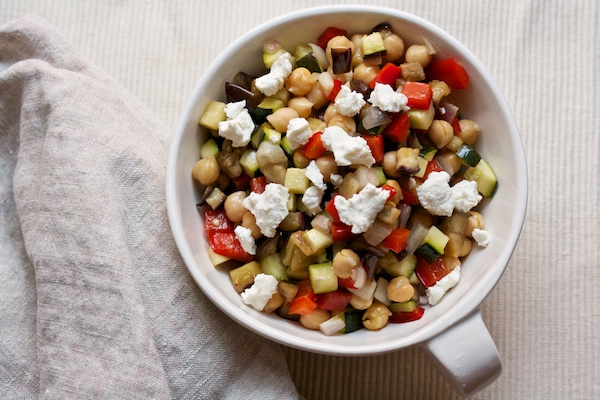
 Roasted Caponata Salad with Chickpeas & Goat Cheese


