December is such a sneaky month. Every year, it rolls in from out of nowhere and surprises me. Somehow I’d like to figure out a way to slooooow it down though, so I can enjoy every little bit of it. Ahhhhhh….December.
And with a new month, comes another Michaels Makers challenge…..and this month was of course, Christmas themed! All of the Michaels Makers received a different theme and mine was — Simple Hostess Gift Ideas. Oh hello, in case you haven’t met me, my name is Ashley and I have a special LOVE for quick projects….so I was excited about this challenge (plus, it would also help me cross some names off my gift list! :) )
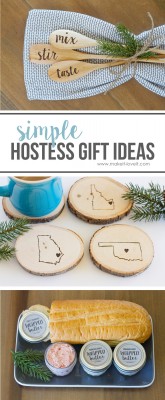
As I started thinking about what I would make, I started thinking about hostess gifts that I would actually be really excited to receive……and USE!!!! So, that’s when I came up with these 3 ideas —

Okay, and I know this post is packed with pictures and normally I don’t try and fit 3 separate ideas into 1 post, but we were challenged to come up with 3 ideas……so they are QUICK to make and actually really FUN! And I also think that hostess and neighbor/friend gifts can definitely overlap, so I think these would be great for anyone on your list!
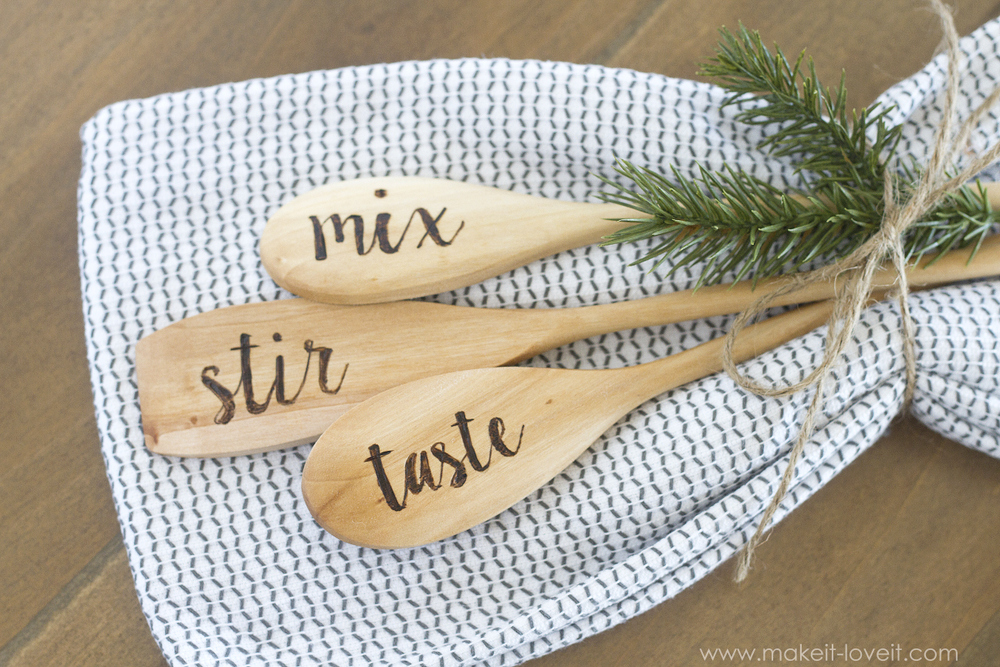
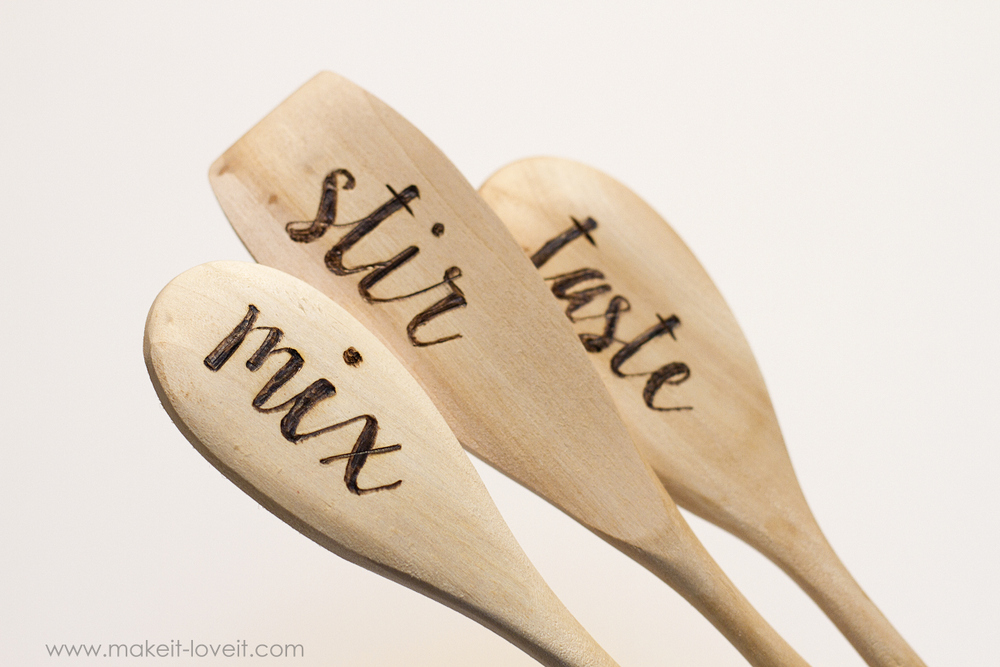
First up — and the most simple of all 3, Etched Wooden Spoons. Yep, you read that right…..those letters are burned right into the wood of those spoons! There are so many ideas that you could use to make your spoons unique….and I’m telling you, once you start etching with a wood burning tool, you’ll be hooked.

The words are actually etched into the back of each spoon and will never fade or wash away. This is a such a fun personalized gift that any hostess (or friend/neighbor/etc) would love….especially if you paired it with some new kitchen towels or maybe an apron!
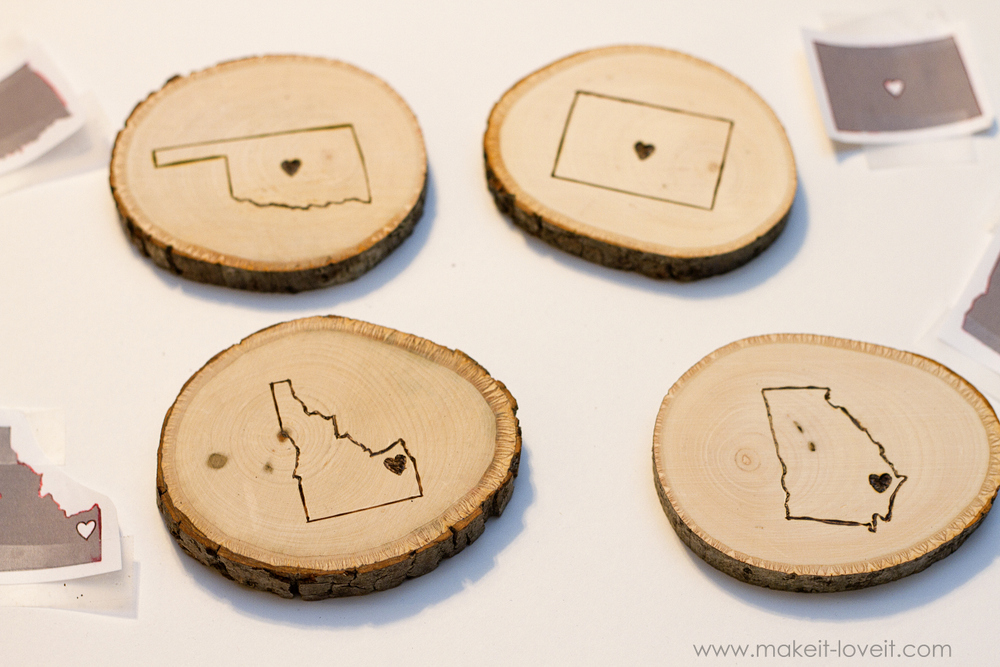
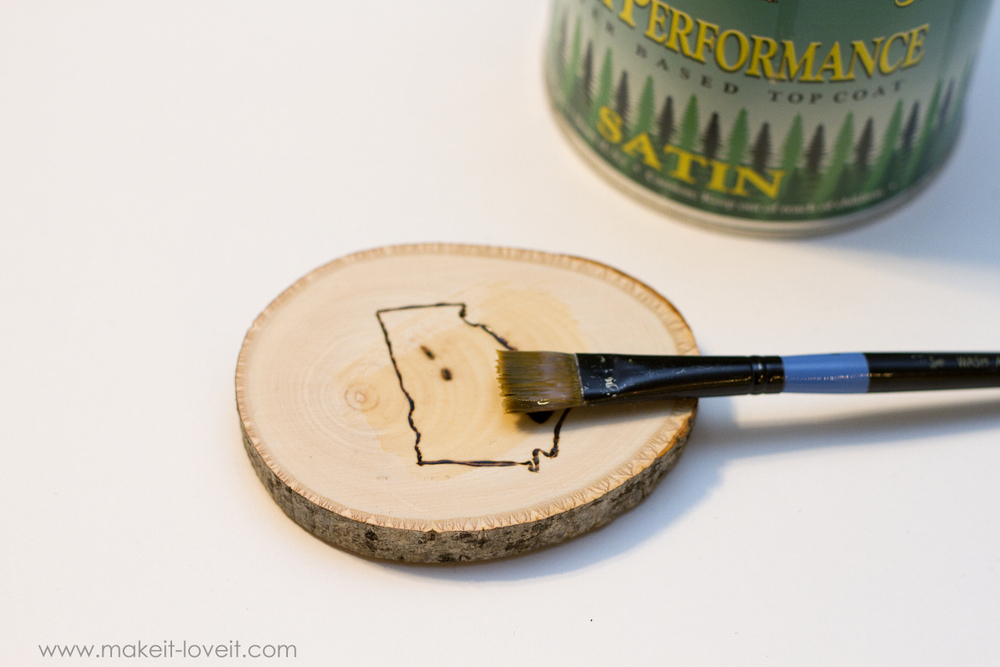
The next hostess gift idea is something that I have REALLY been wanting to make and I thought, “hey this would be a fun hostess gift too!”…….so I added it to today’s gift ideas and finally made some ‘Engraved Home State Coasters’. So yes, every state we’ve lived together as a married couple/family, made its way onto a coaster. So, this actual set isn’t one I’m giving away….but I have extra wood slices to make more! (And as a bonus, my kids think it’s a geography game!)
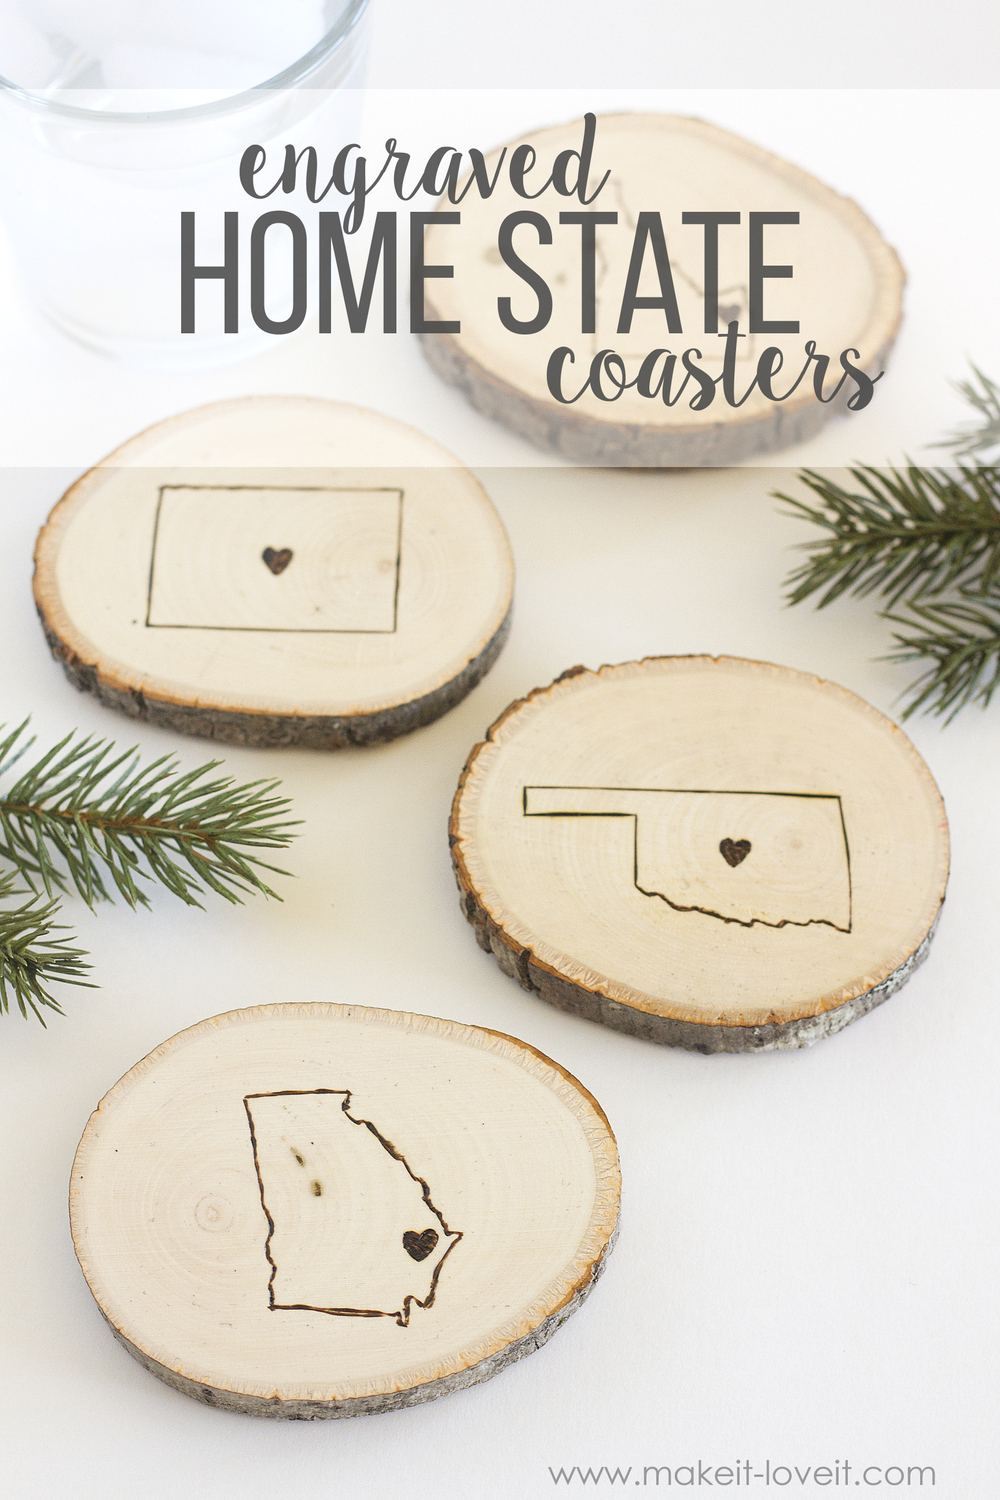
These are made with thick pre-cut slices of basswood and are so earthy and perfect! You could make your hostess a set of matching coasters from the state she’s in now, or figure out the places she has lived and add those to some coasters. Such a fun conversation starter too, am I right?? :)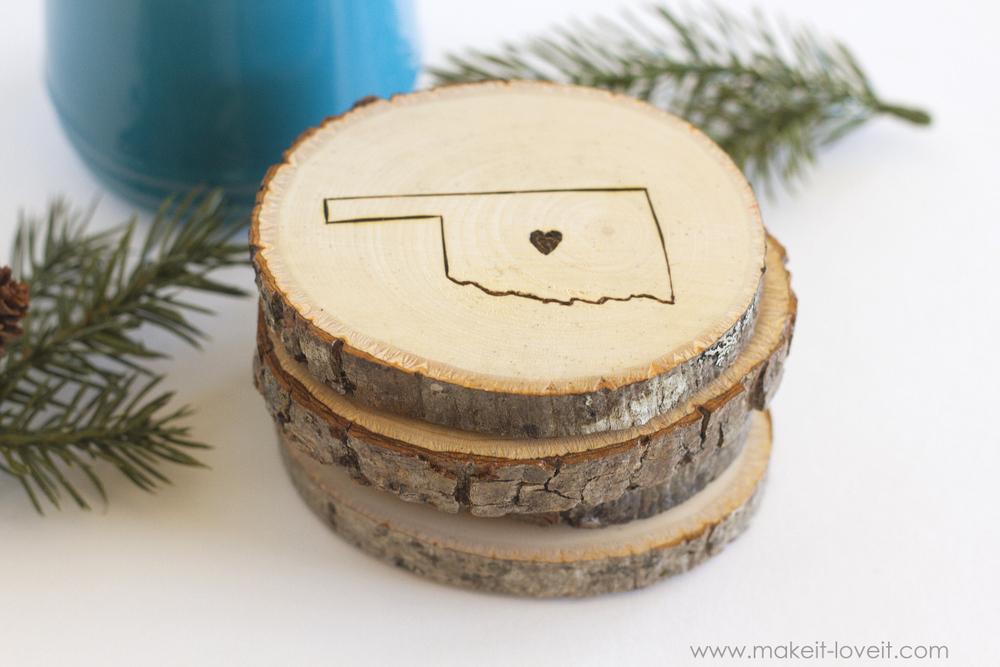
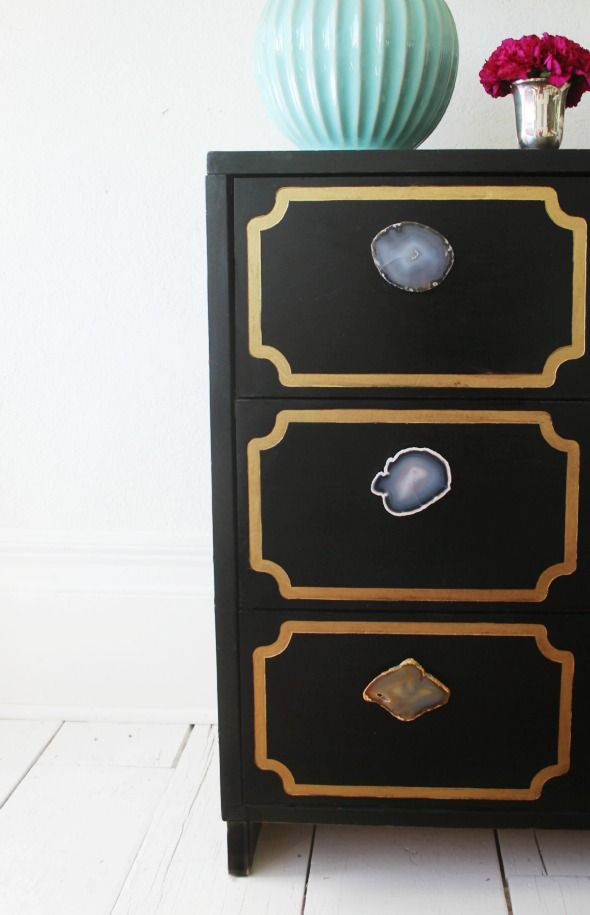
The last hostess gift idea is something you could give to anyone—–your neighbor, a co-worker, a friend, a guy, a girl……anyone would love this! Plus, it takes 2 seconds to make and doesn’t cost much at all!
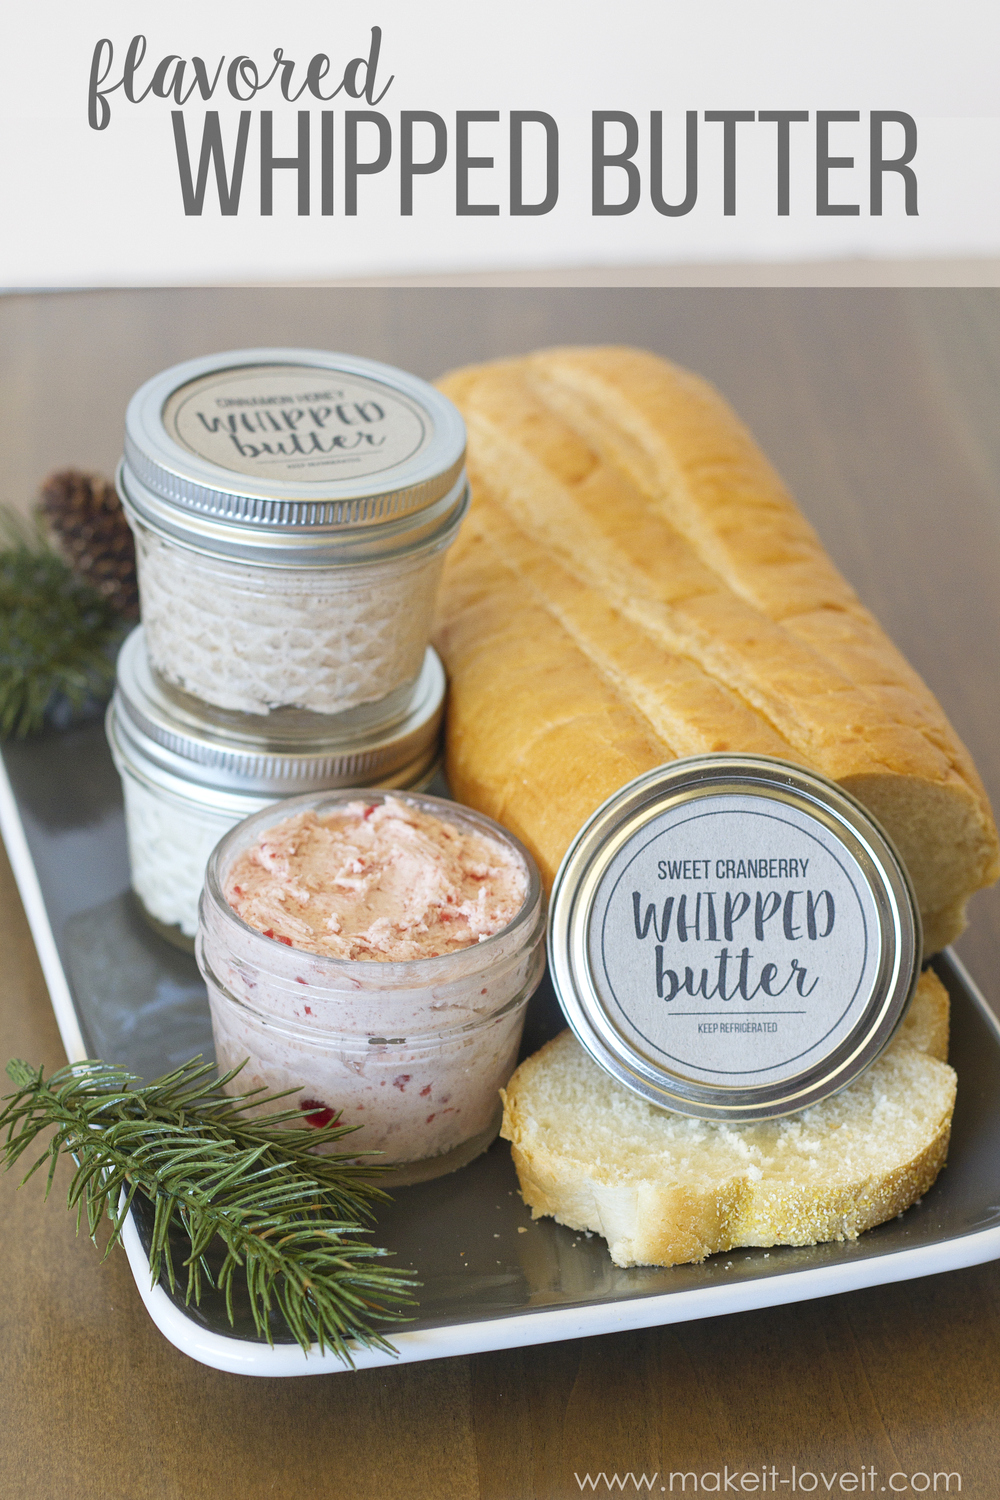
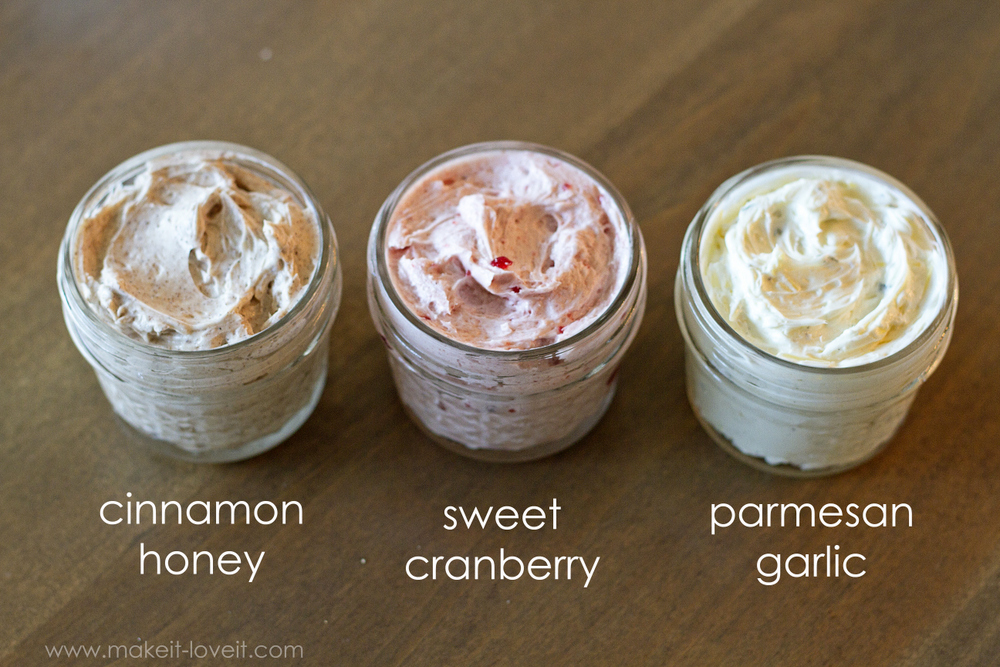
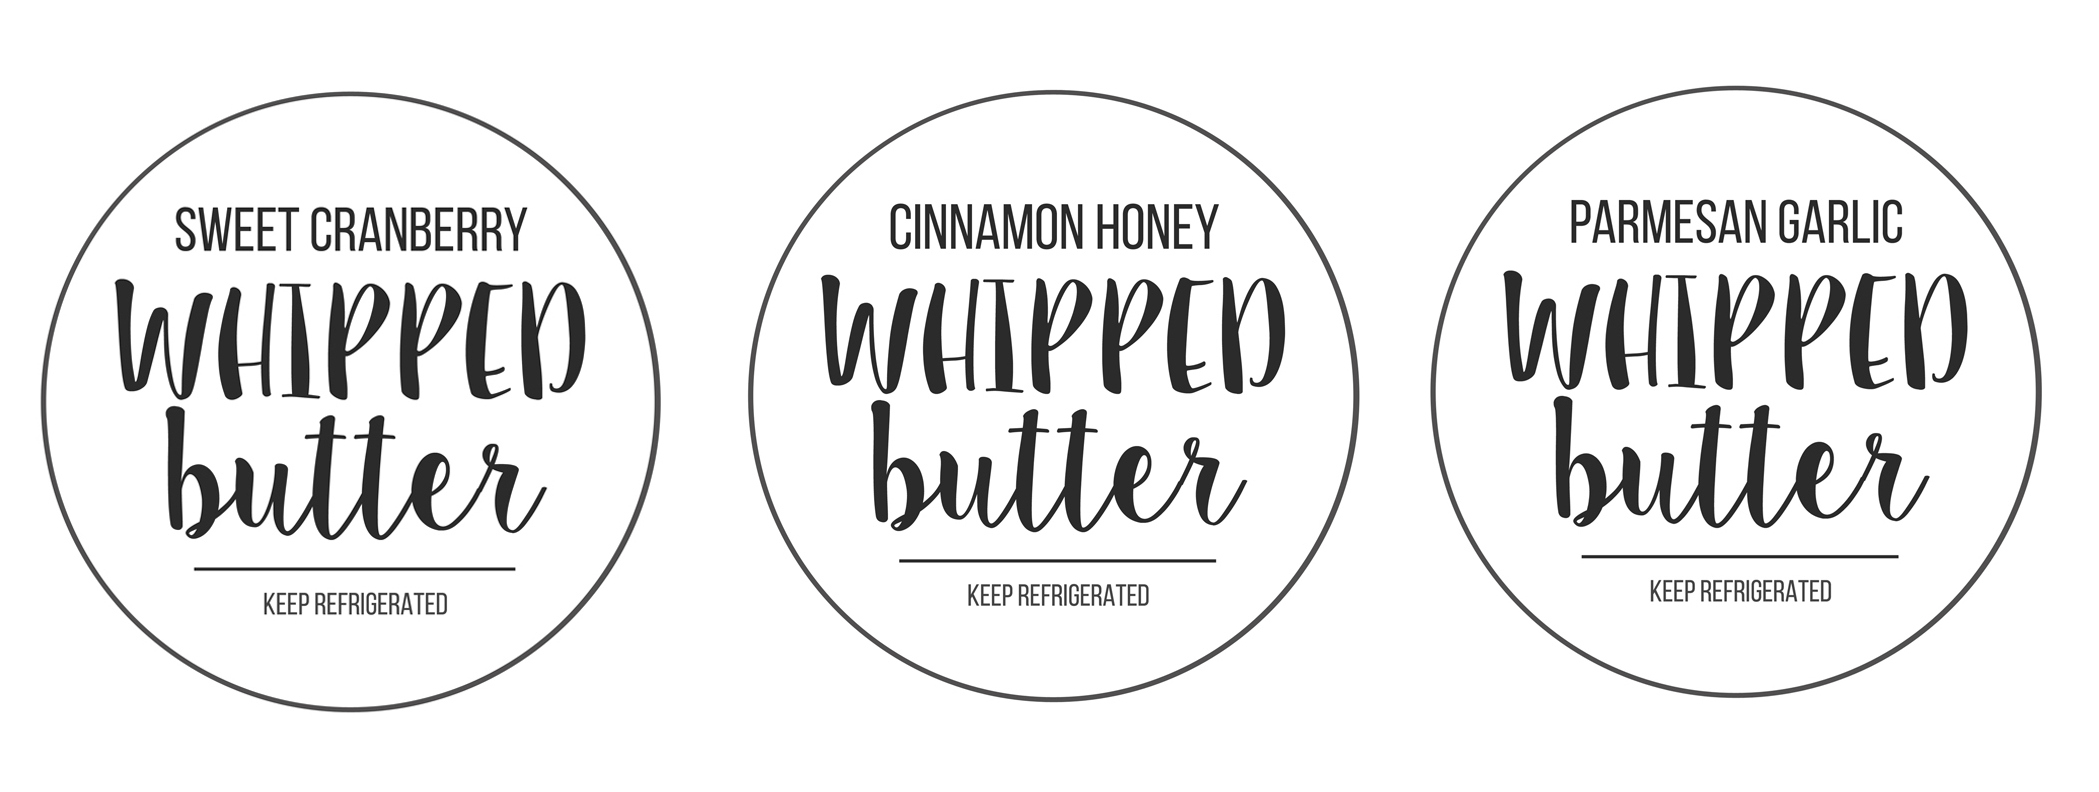
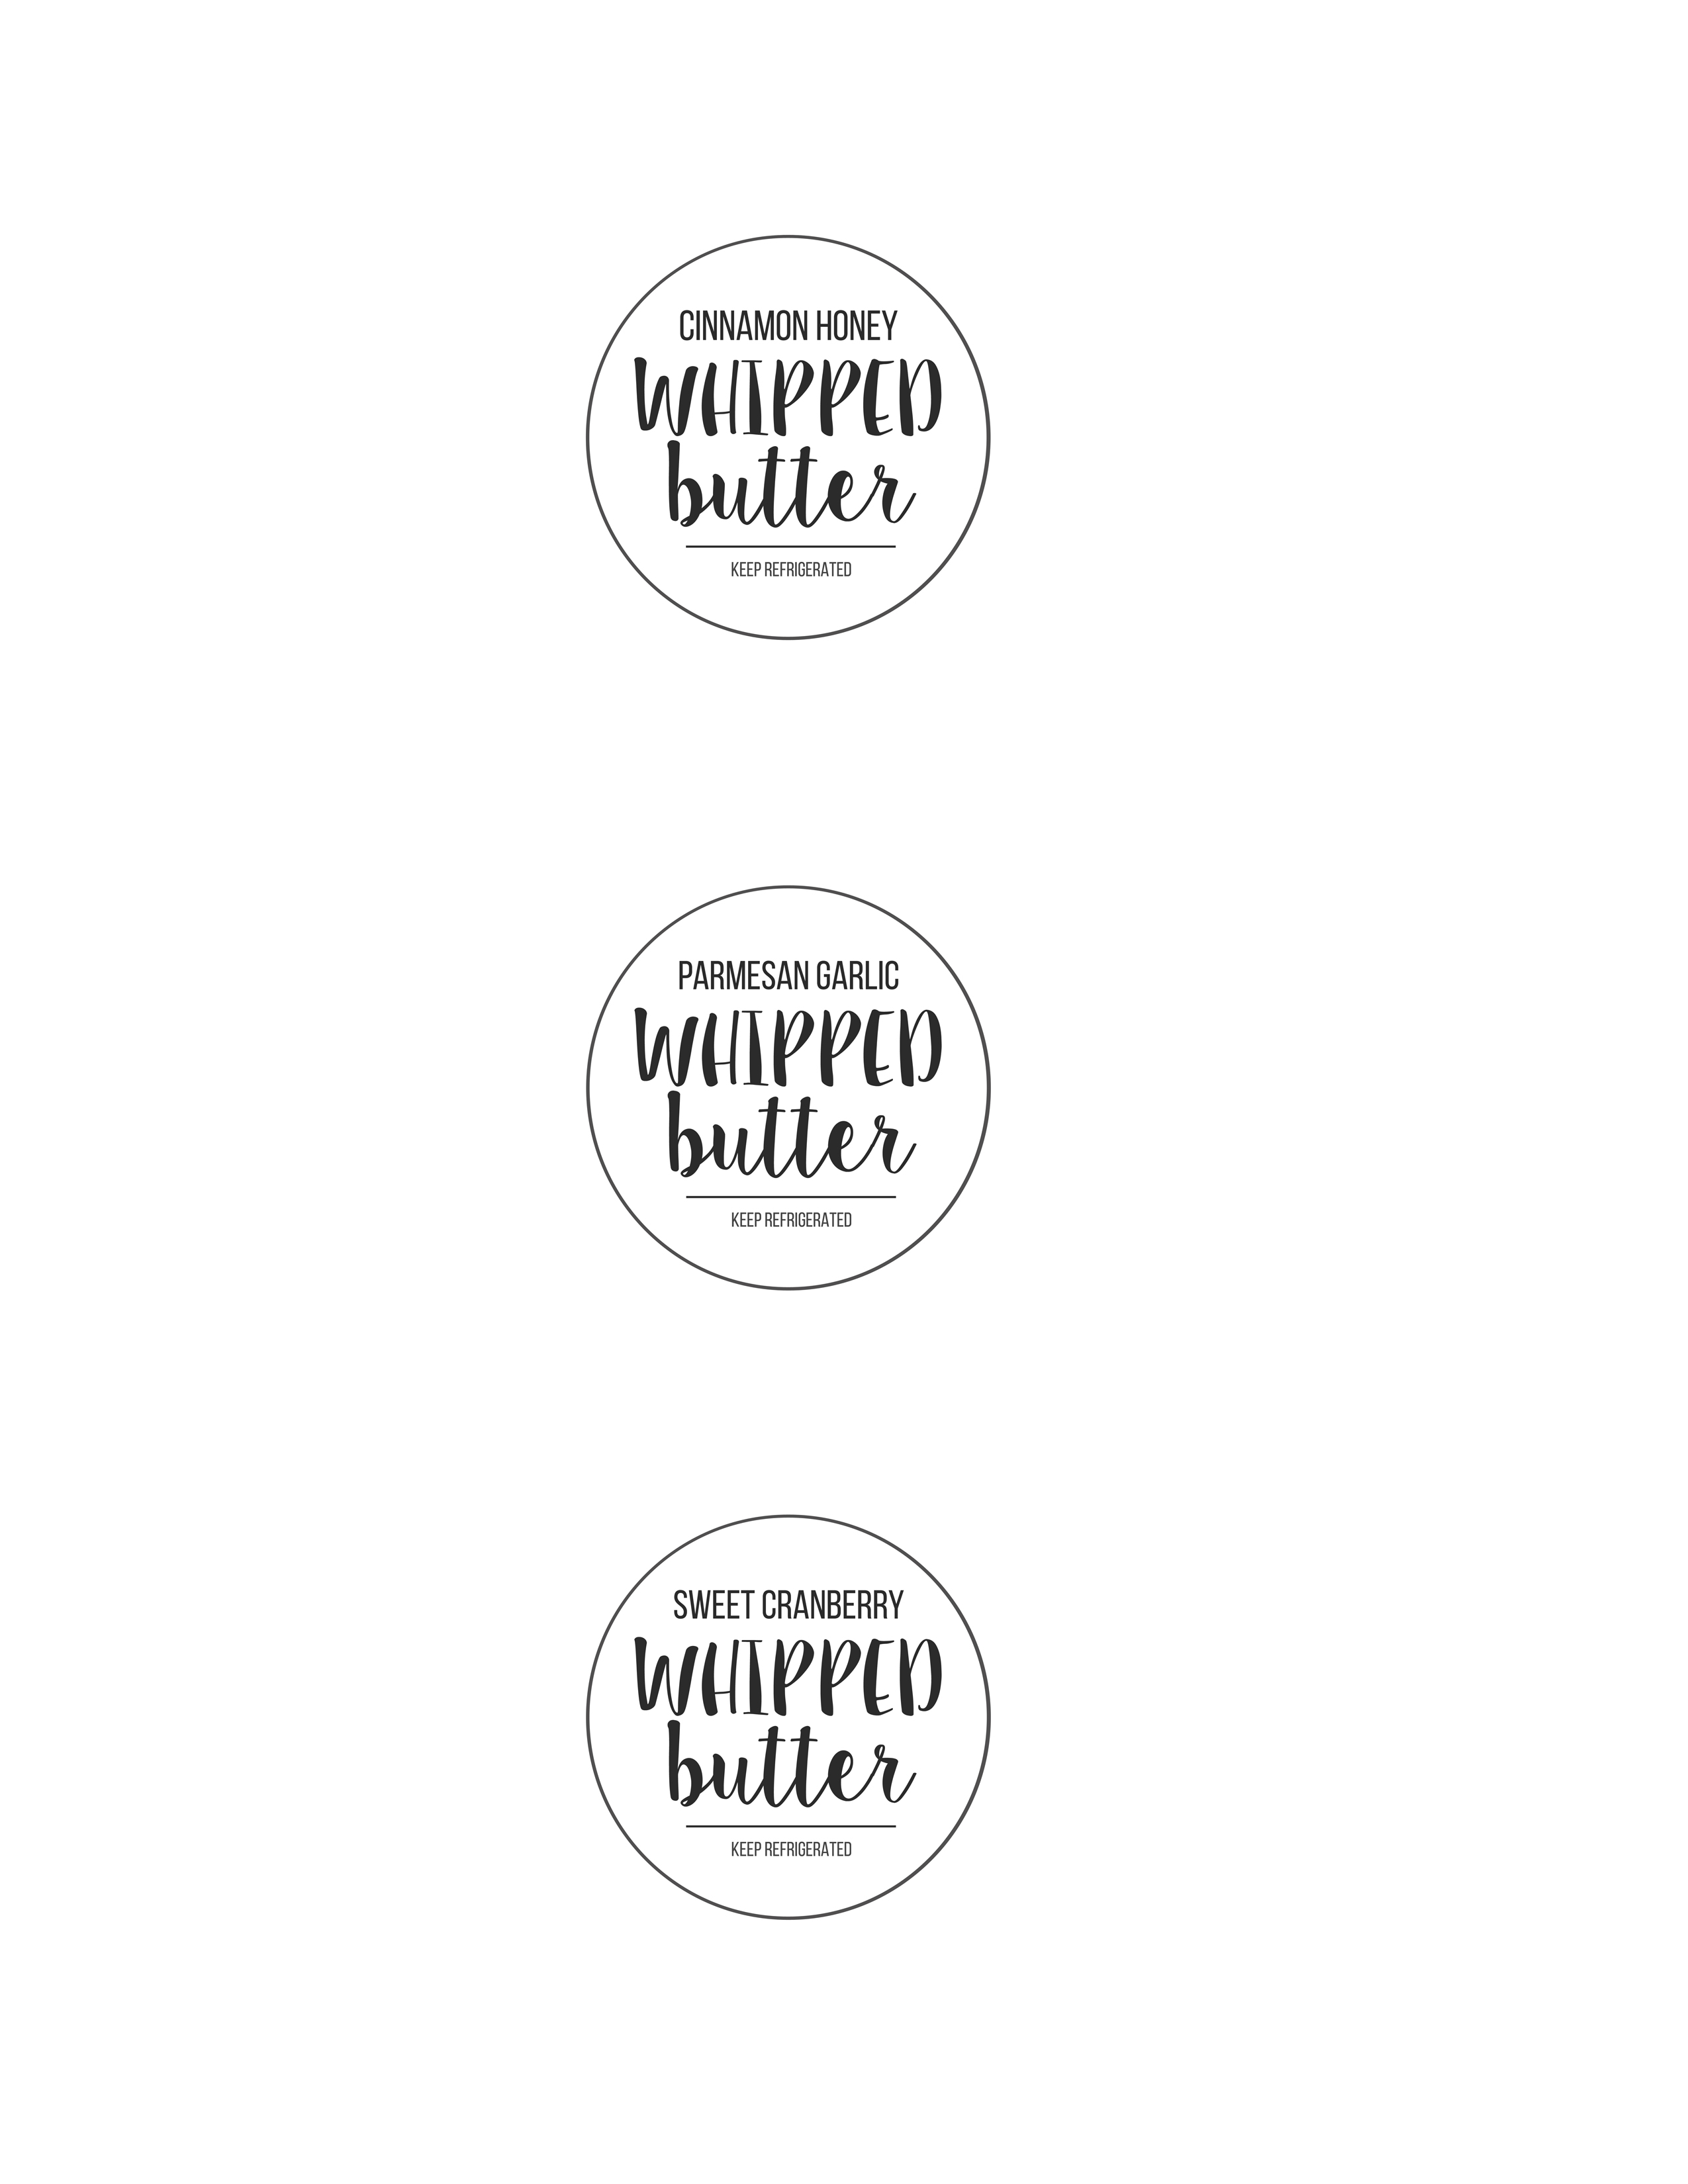
I made each of these butter flavors in 1/2 cup portions and put them in these cute little jars and printed out some labels for the top (labels included below). I’m not sure which one is my favorite but my kids can’t get enough of the Cinnamon Honey Butter. But the Sweet Cranberry Butter is perfect for holiday time and is just—yum! But oh, if you prefer a savory spread (or want something to accompany your dinner)……that Parmesan Garlic Butter will knock your socks off!

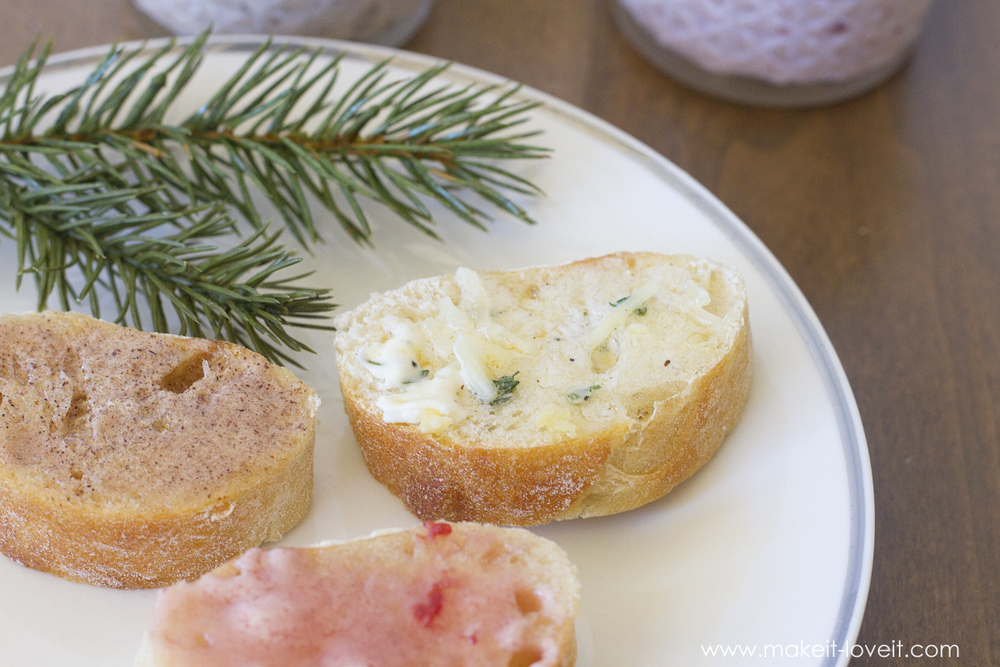
Each of the butters are whipped, so it’s light and easier to spread but still carries a lot of flavor with each bite! Now, just layer some of this stuff on hot bread and OH MY WORD!!!!!!…..Yum. (If you want to make this gift even better, pair it up with some homemade bread. But, with it being holiday time……..it’s totally fine to grab some from the bread store. Permission granted. ;) )
Wow, so many ideas floating around in this post…….but you could make all 3 ideas in one afternoon. Or whip some up with friends!
Okay, onto the first idea—
Flavored Whipped Butters
I made 3 different flavors and all are equally simple. I purchased the 4-ounce crystal jelly jars from Michaels….and they’re the perfect size for these recipe sizes. I’ll share the ingredient lists first and then below that, will share how quickly they come together.
—> SWEET CRANBERRY WHIPPED BUTTER
Ingredients:
- 1/2 cup salted butter, room temperature
- 2 Tbsp jellied cranberry sauce
- 1 Tbsp honey
—> CINNAMON HONEY WHIPPED BUTTER
Ingredients:
- 1/2 cup salted butter, room temperature
- 2 1/2 Tbsp honey
- 3/4 tsp cinnamon
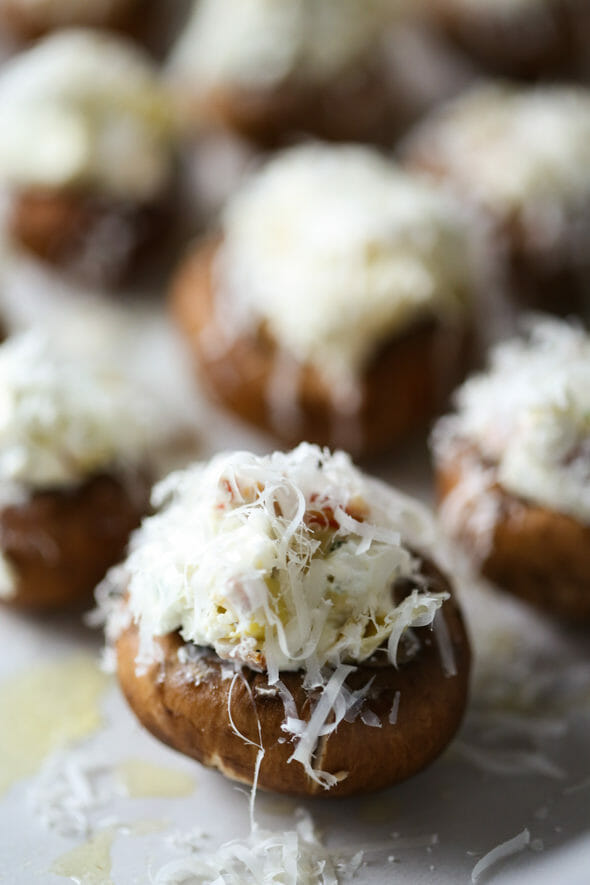
—> PARMESAN GARLIC WHIPPED BUTTER
Ingredients:
- 1/2 cup salted butter, room temperature
- 2 1/2 Tbsp parmesan cheese, grated
- 1 clove garlic, minced
- 1 tsp parsley flakes
- 1/4 tsp black pepper
If you only make one of the butter flavor recipes, you’ll notice that there’s only 1/2 cup of butter. If you try and whip 1/2 cup of butter in a mixer, it won’t whip because it’s too small of an amount and the beater can’t reach it. (Unless you use a hand mixer or a smaller food processor, etc.) So, I mixed all 3 butter amounts together (1 1/2 cups)….and then divided into 3 portions after whipping the butter.
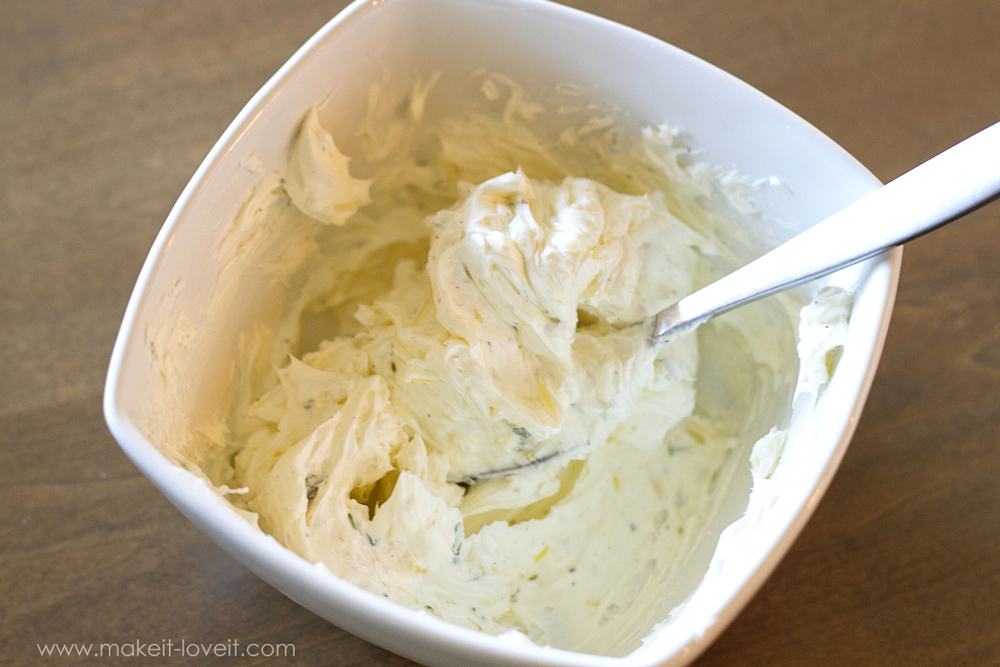
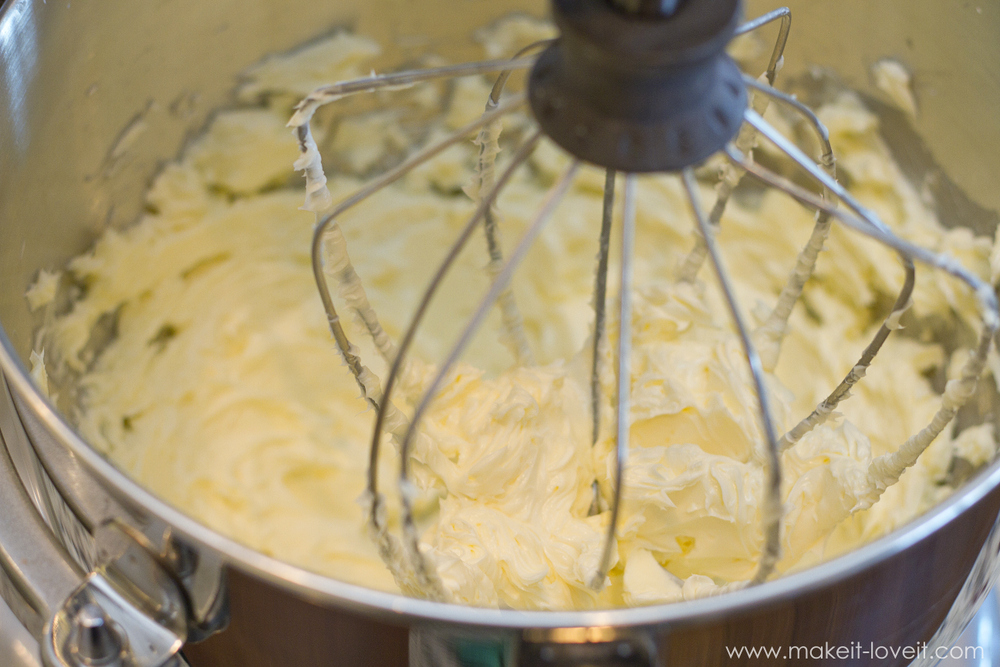
Turn your mixer on high and start whipping your room temperature butter. After whipping a minute or two, you’ll notice that the butter will start to lighten in color and will look like it’s increasing in amount. This is good….that means air is being added to the butter, making it light and fluffy. Scrape the bowl occasionally and continue to beat on high until fully whipped.
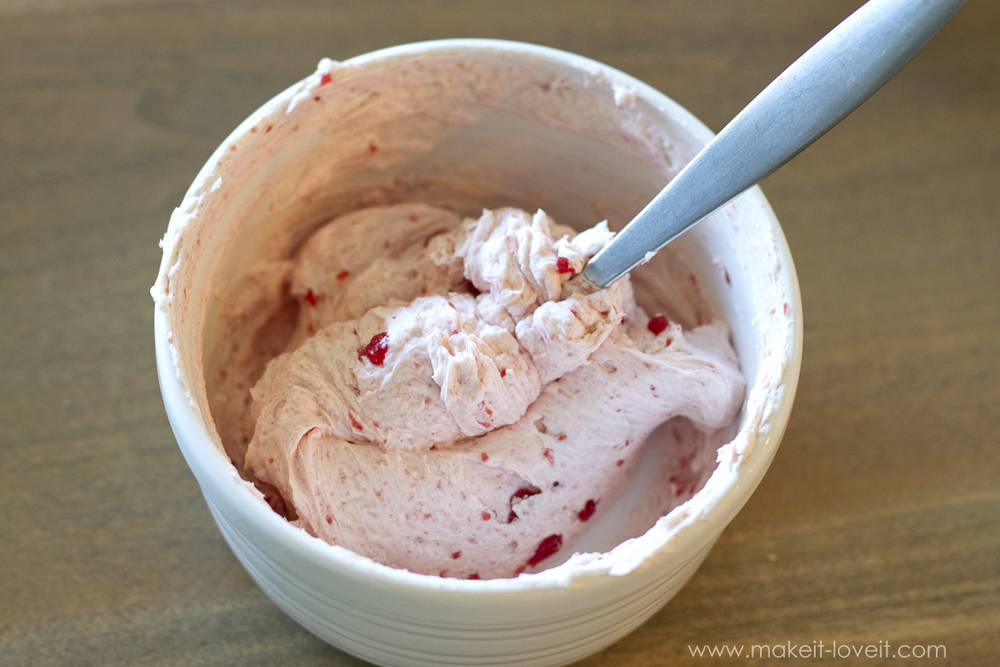
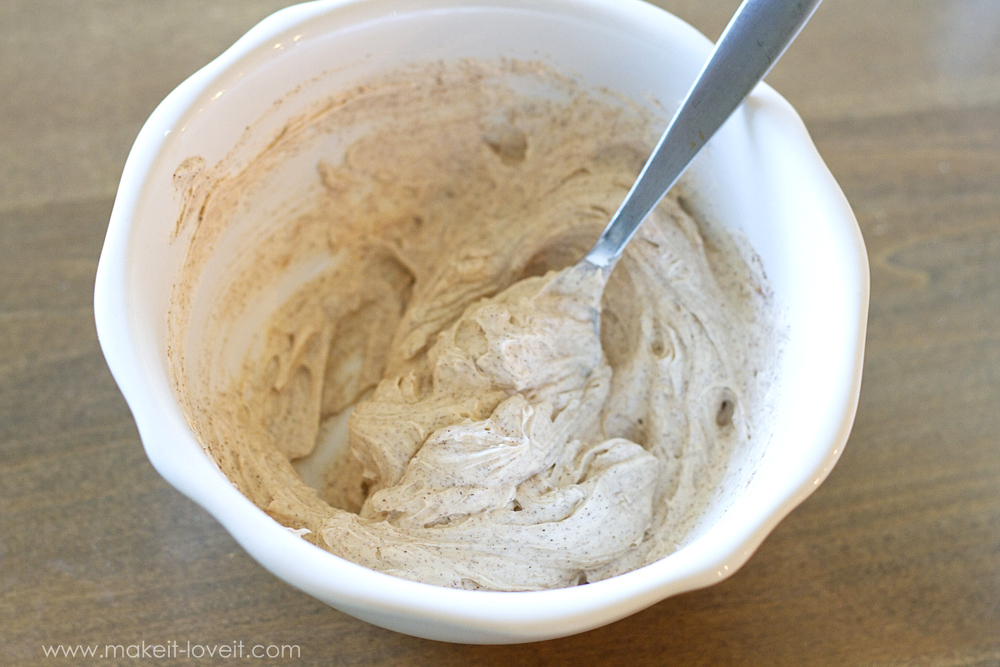
Now, divide your butter into 3 bowls and then add their different ingredients.
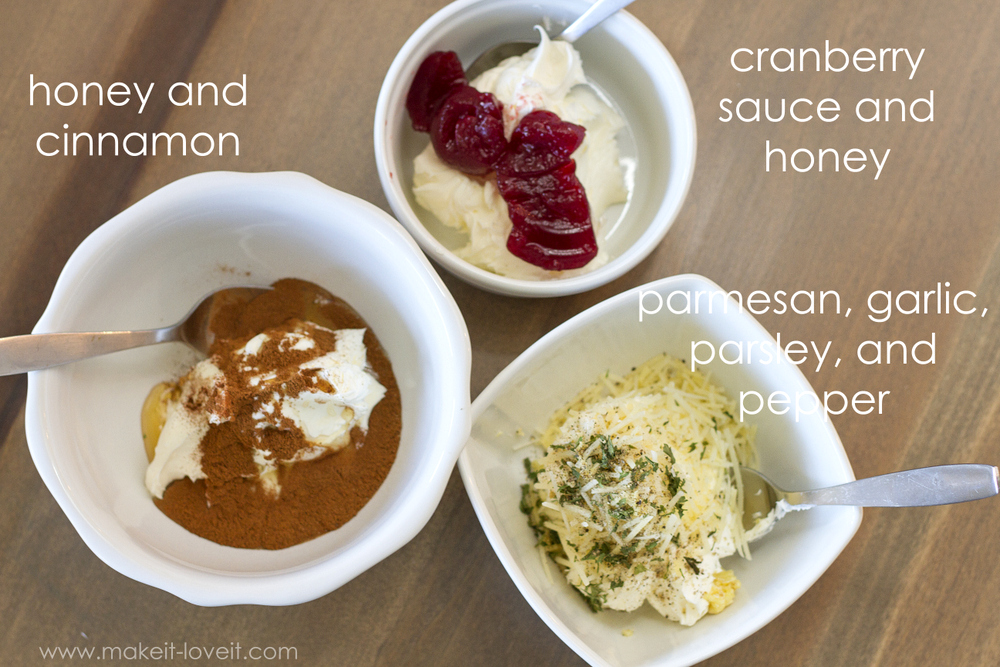
Hand mix until well blended (refer to the images above) and then place each flavor combination into the 4-ounce jelly jars.
I added labels to the top of my jars that you’re welcome to use, HERE. (I printed mine out on brown card stock.)
Okay, next hostess gift idea —
Engraved Wooden Spoons
SUPPLIES:
- wooden spoons of any kind
- wood burner tool
- oil conditioner, optional (I used Fractionated Coconut oil and it worked great to warm up the color of the wood and made it look higher quality. But not all oils work as a conditioner.)
Print out whatever word you want on your spoons, and flip the words in your Word document to be mirror image. Cut out your word and place face down and tape in place onto the spoon, to hold it in place.
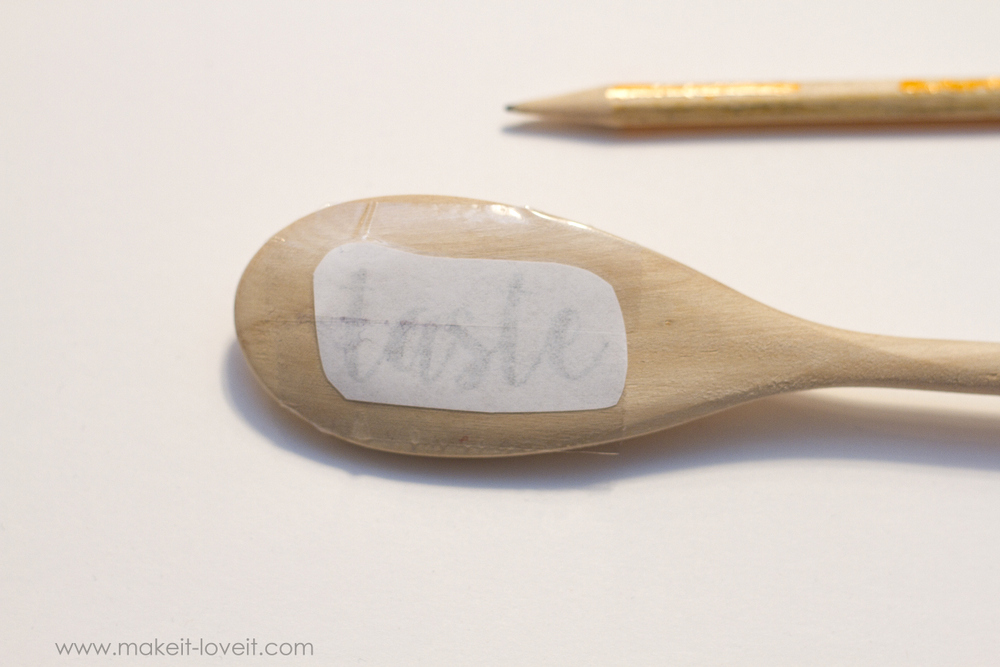
Use a pen or pencil and trace around your lettering, nice and hard……creating an outline of your word on the wood.
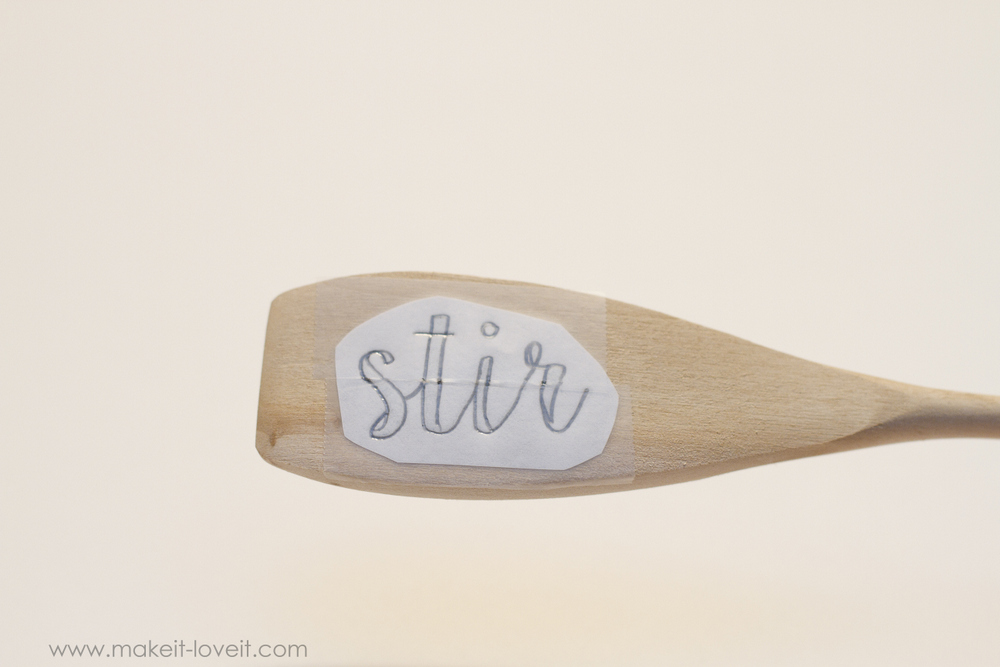
Peel back the paper and you’ll see some of the printer ink transferred onto the wood. That’s good….it will help the outline show up a little better.

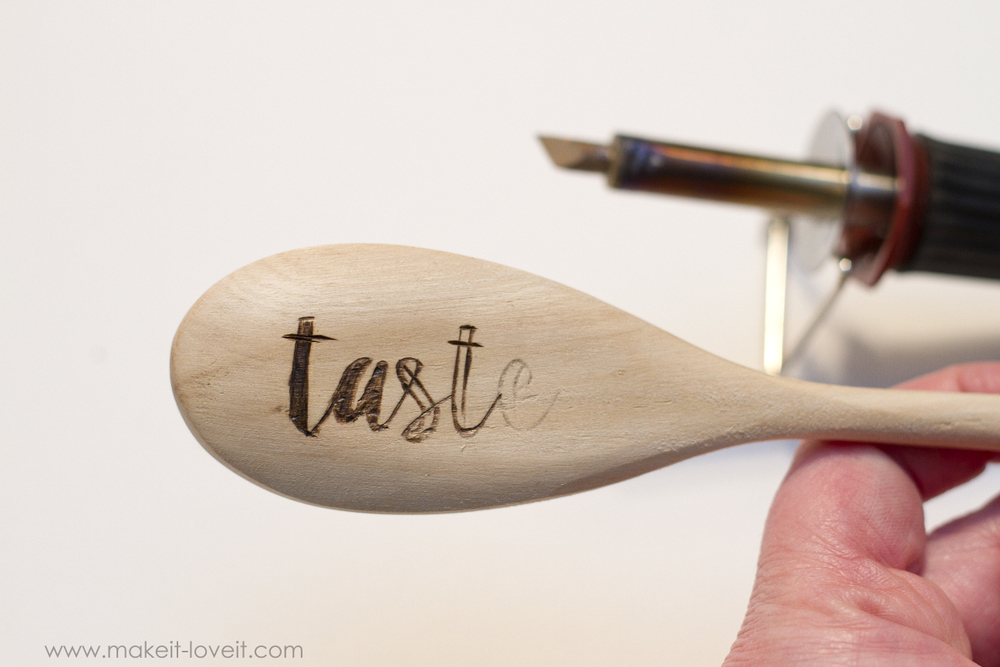
Heat up your wood burner tool with the diagonal tip attached……and BE CAREFUL!!! This tool gets HOT!!! Now, grab some scrap wood and practice a bit. It takes some time to get the hang of it but just remember, it doesn’t have to be absolutely perfect. Just go with it….and love it!
I found it easiest to burn around the edges of each of your letters and then filling the extra space when needed.
Now repeat with your other spoons.
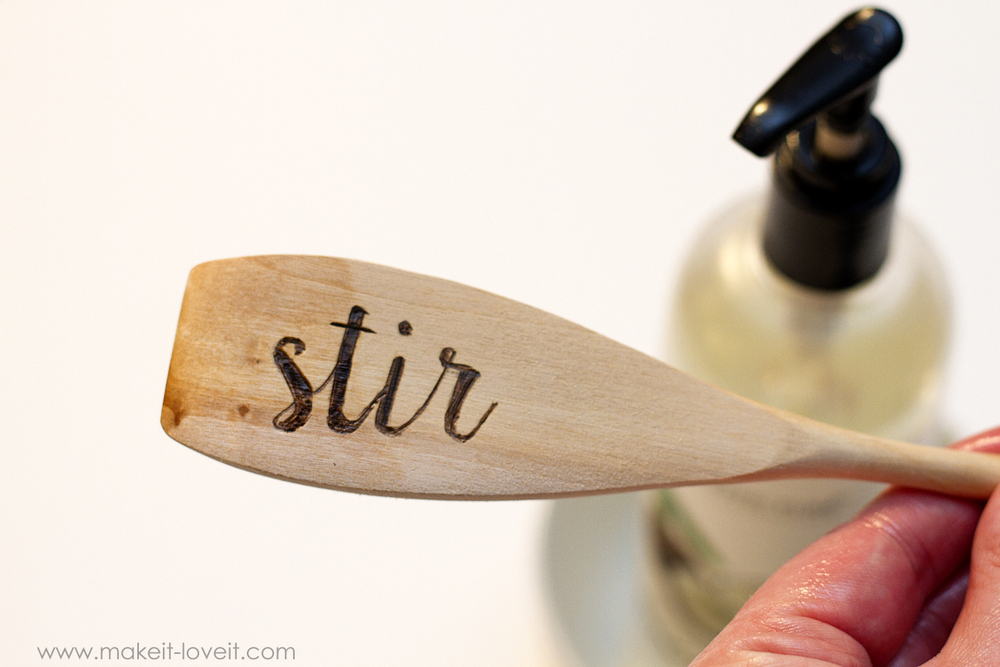
Now, this is completely optional but these were very inexpensive spoons and didn’t have much color to them. And wooden spoons that haven’t been used yet look a little dry. So to help warm up the color and improve the look a bit, I rubbed Fractionated Coconut Oil onto each spoon. (I have the oil on hand for dry skin and such but it worked well on the wood. You can also use a wood conditioner or beeswax or mineral oil, if you have some.)
I put the oil just on the upper corner, to show you how it really changes the warmth of the wood. Looks a little more worn and soft.
And now, the 3rd hostess gift idea…
Engraved Wood Slice Coasters
SUPPLIES:
To get a silhouette shape of your desired state, google your state name and then copy/paste into a Word document. Then, print out the size you need and trace onto your wood coasters, the same way as the wooden spoons from up above. I added each of the hearts in the location that we lived in each of those states…..but you can leave them off if you’d prefer.
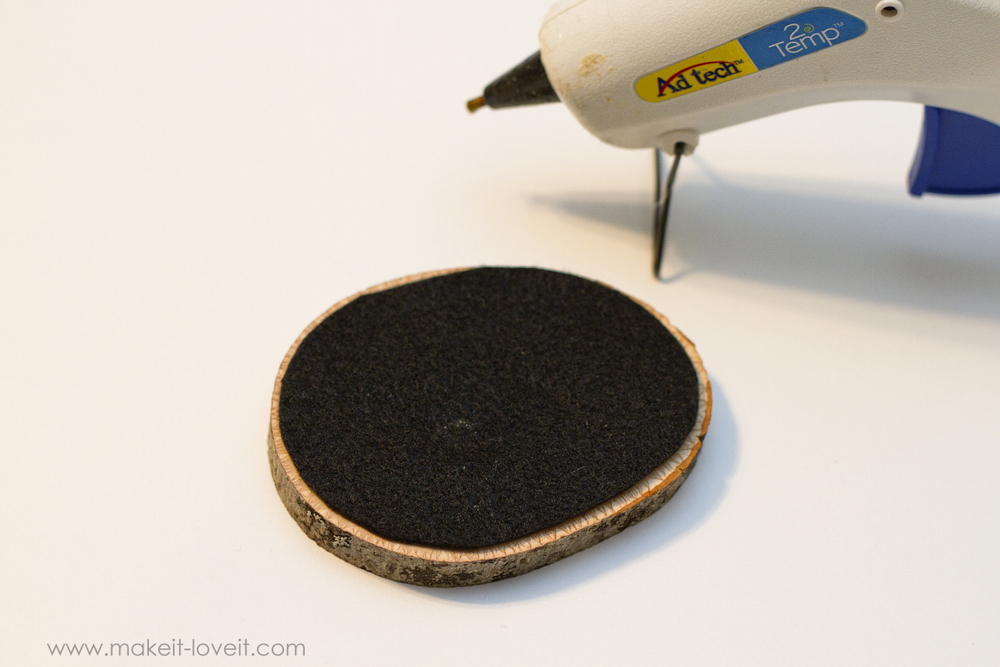
Then, cut out a piece of felt that’s slightly smaller than your coaster and hot glue it to the bottom of your coaster. (This is keep it from possibly scratching any of your surfaces.)
Lastly, apply a layer of polyurethane to your coaster, to keep the wood from warping if it gets wet.
And that’s it! 3 gift ideas for you to whip right up and tell your hostess “Thanks!”…….or for anyone else you know, to show them you care!
Enjoy!
-Ashley
Check out with the other Michaels Makers have been making:

Loading InLinkz ...
The post Simple HOSTESS GIFT IDEAS: (flavored butters, engraved coasters and spoons) appeared first on Make It and Love It.


 All I can say is, I am so so glad I have managed to avoid a similar situation with my own kids. The very mention of beans, tortillas, or Mexican anything elicits cheers of excitement. They are well versed in the differences between tacos, quesadillas, enchiladas, burritos, and more. Our absolute


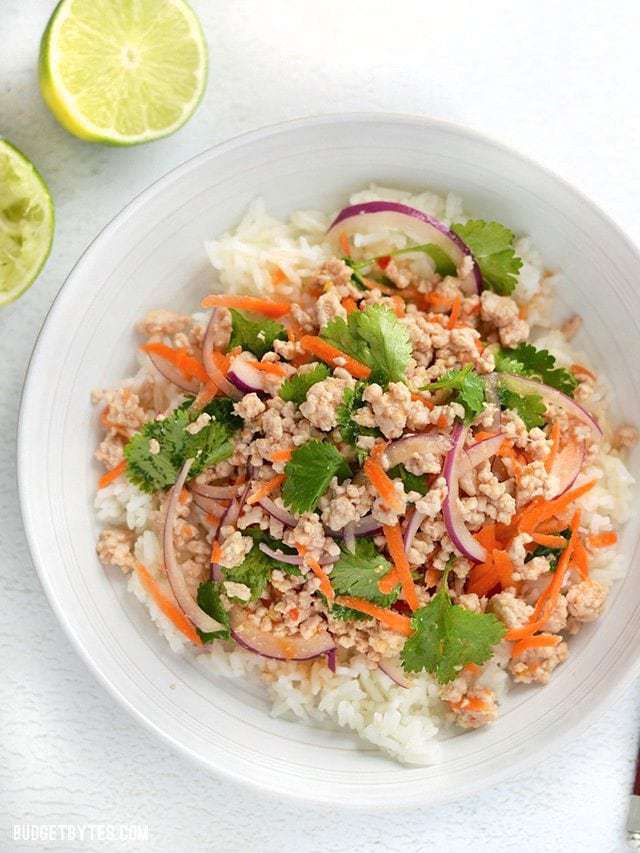
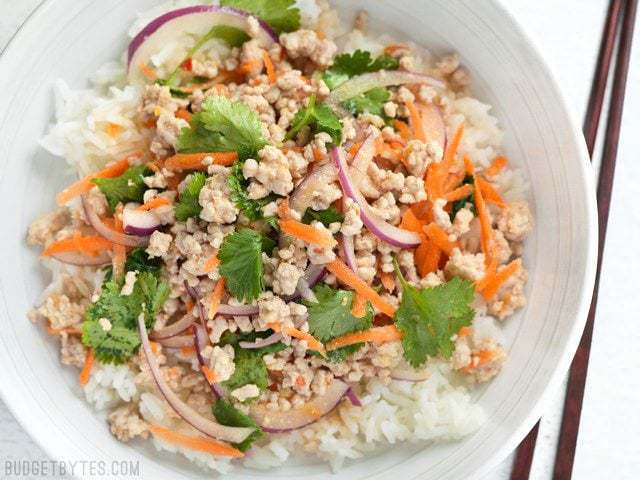
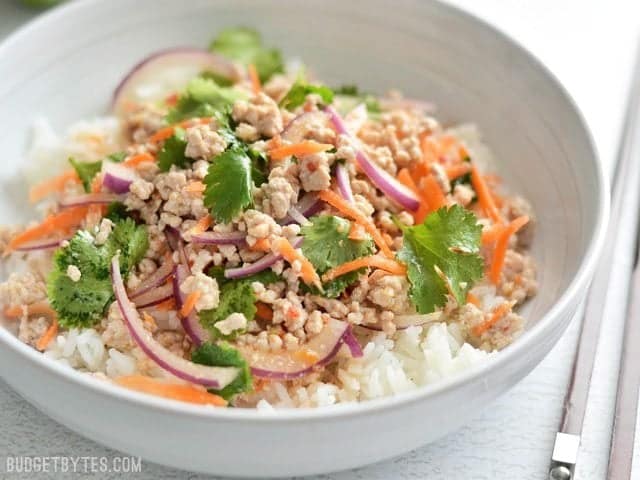
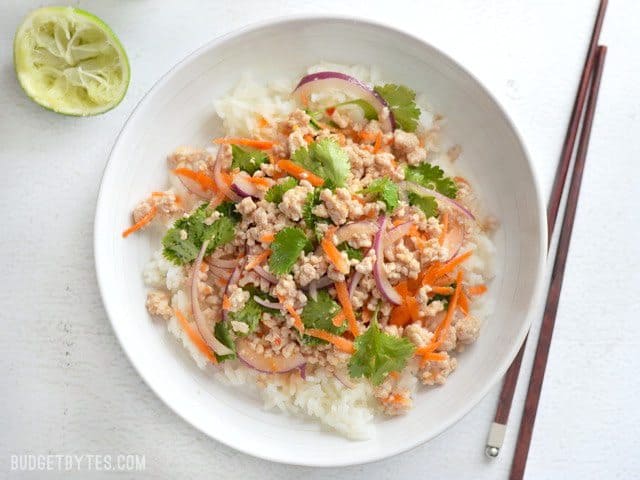
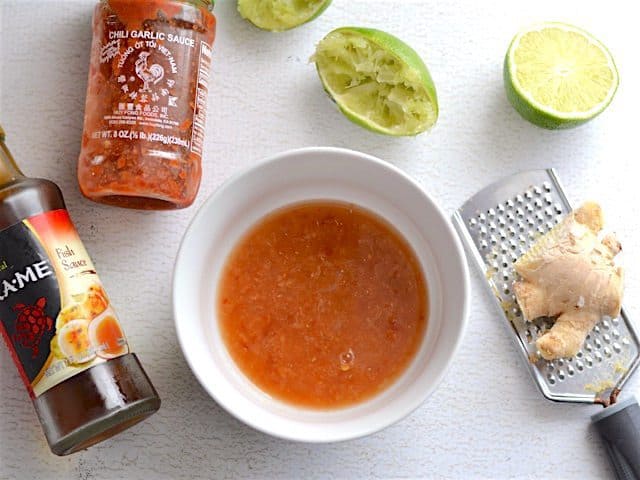 Start with the dressing so the flavors have a bit of time to blend. Combine 1/4 cup fresh lime juice, (about 2 limes), 1 Tbsp fish sauce, 1.5 Tbsp
 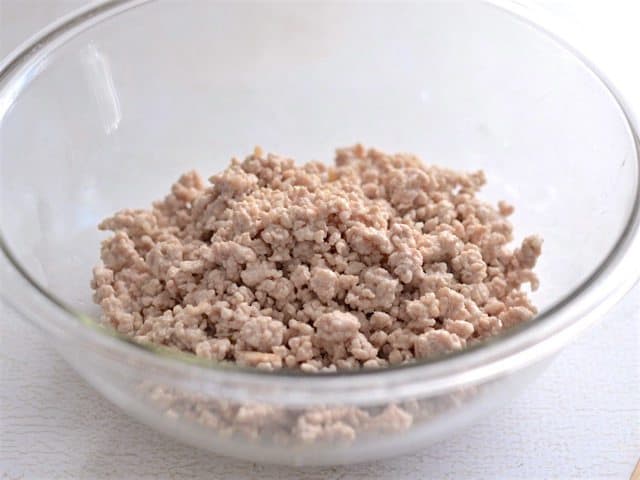 Next, cook 1 lb. of ground pork (or turkey) with 1/2 Tbsp canola oil and one clove of minced garlic. Sauté the ground pork in a large non-stick skillet until it’s cooked through (about five minutes). Avoid over cooking the pork as you want to make sure it stays moist and tender for the salad. Drain off any excess fat and allow it to cool slightly.
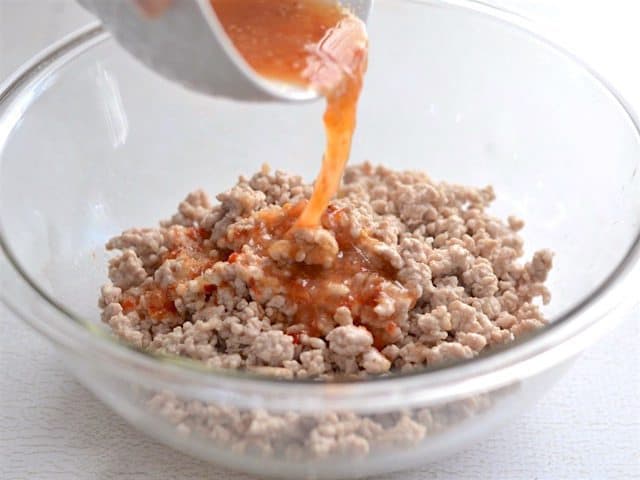 Once mostly cooled, transfer to a large bowl and pour the dressing over top. Stir to combine.
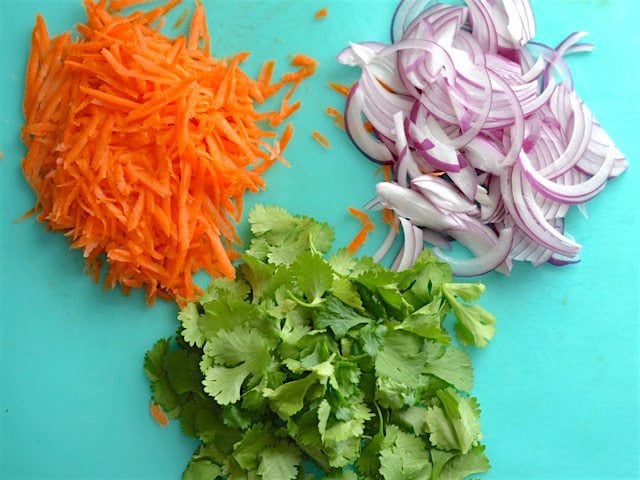 While the pork is cooking/cooling, peel and shred one carrot. You can use a large holed cheese grater for this, a spiralizer, or mandolin. Thinly slice 1/2 of a small red onion, and pull the leaves from about 1/4 bunch of cilantro.
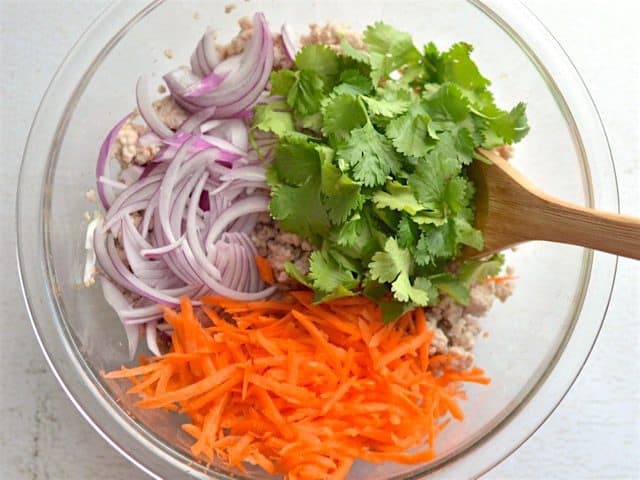 Add the carrot, onion, cilantro, and 1/2 cup unsalted PEANUTS (sorry, I forgot the peanuts in the photos) to the seasoned meat.
 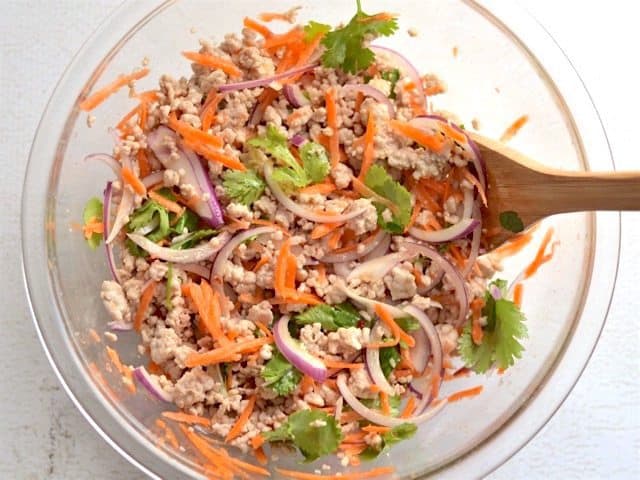 Stir the salad to combine. And that’s it! (adjustments can be made to the dressing even at this point if it’s not where you like it).
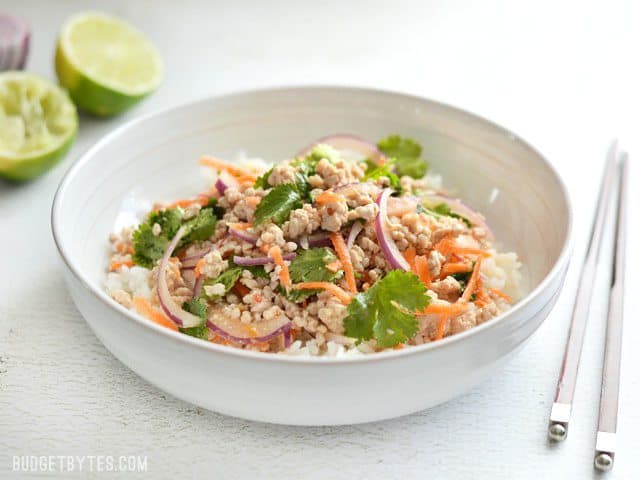 I <3 Thai flavors.


 Loading InLinkz ...


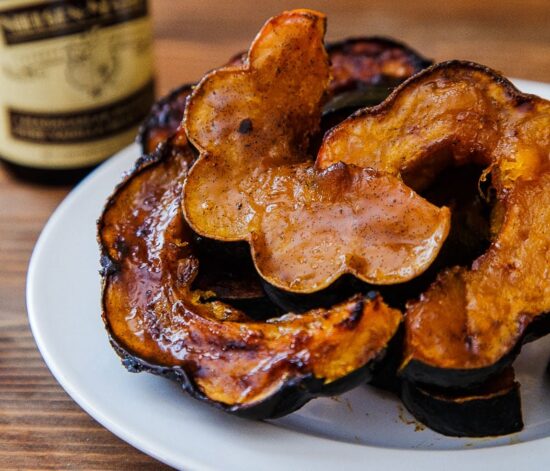 This post is lovingly sponsored by one of my very favorite companies to work with–Nielsen-Massey Vanillas. I was compensated by Nielsen-Massey for my time in developing this recipe and post. As always, all opinions are my own. And I really do love their products. We made it! We’re at the final side dish for our small Thanksgiving gathering! All that’s left is dessert, for which


 Artwork by


