I apologize for the space in between posts. I’m sort of stumbling through life right now – my manuscript is due shortly, and I’ve been working on a few side projects as well that have kept me very busy. The second my littles get on the school bus until the moment they get home, I am baking, writing, testing, re-testing, panicking, reassuring myself, still panicking, photographing, typing, and panicking. Then it’s evenings filled with trying to pry ‘what happened at school today?’ out of two beings who just don’t want to talk about it, and then homework and dinner and reading and bed (for them), and then more baking and writing and the pitter patter of small feet up and down the stairs so many times with questions and comments and scary monsters and water needs. Somewhere in there I chat with my husband and we watch an episode of Seinfeld together while I try to sort through my inbox (apologies, apologies, if you haven’t heard back from me!) and then I shuffle upstairs and find somehow it’s morning again already, and someone hit the ‘play’ button when all I wanted was to press ‘pause’.
These are not complaints, however. Life is always in flux, and I am working hard in this crazy time, knowing that in just under two months I will send in all my hard work and then joyfully crash. I’ve already warned my family that they won’t see me in anything but pajamas for an entire week after my manuscript is turned in, and I plan on doing nothing during those beautiful seven days except read this entire series, which has been on my ‘must-read’ list for years.
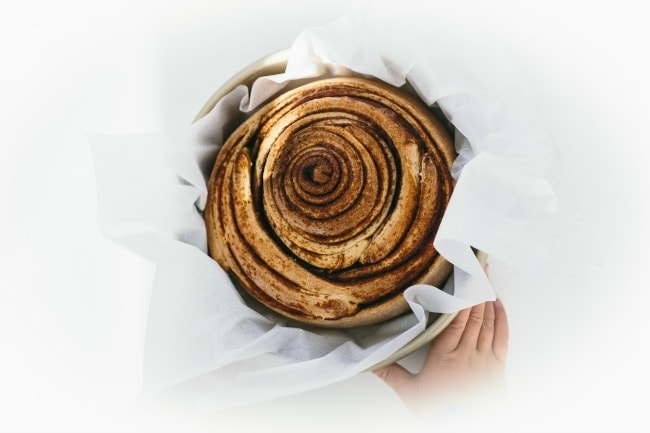
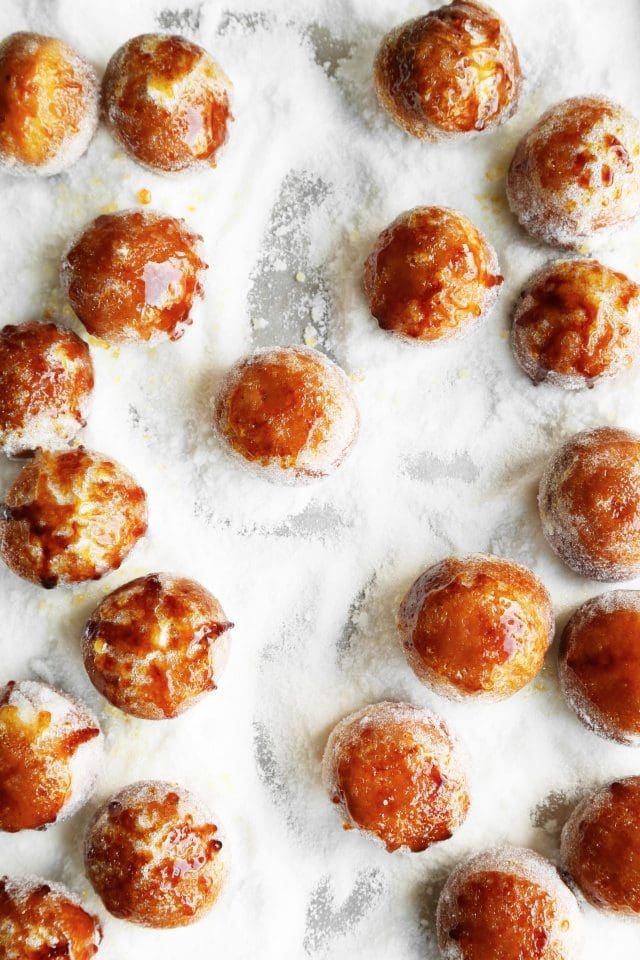
I’m sure however, that I will bake something during my all-inclusive vacation (all the coffee I can drink in the comfort of my own home sounds just fine at this point), and I wouldn’t mind waking up to a gigantic cinnamon bun some chilly morning in the near future. This swirly masterpiece is from Sarah Coates new book ‘The Sugar Hit‘. I’ve been a fan for awhile of Sarah’s fun and sassy approach to baking, and her book does not disappoint: ‘Think of me as your cheeky younger sister. I’m not a responsible older sibling who’s going to teach you how to apply lip-liner correctly, or explain why you should eat kale salad…I’m still working on those adult skills myself. What I have got worked out, though, is the short-cut route to the best, sexiest and tastiest sweet things for those days when it’s time to cut loose and enjoy yourself.’ (Sarah Coates) Perfect.

Giant Cinnamon Bun With Brown Butter Icing
adapted from The Sugar Hit
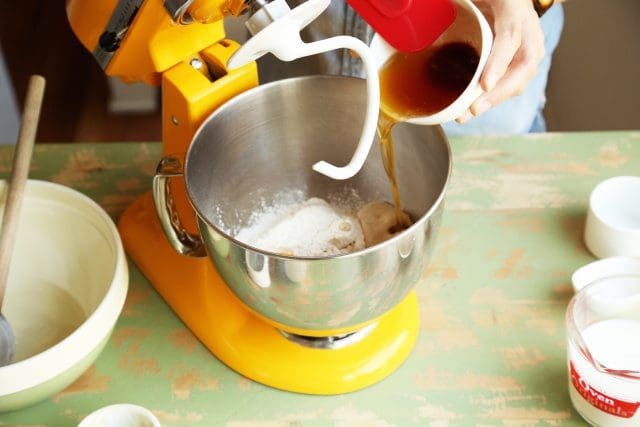
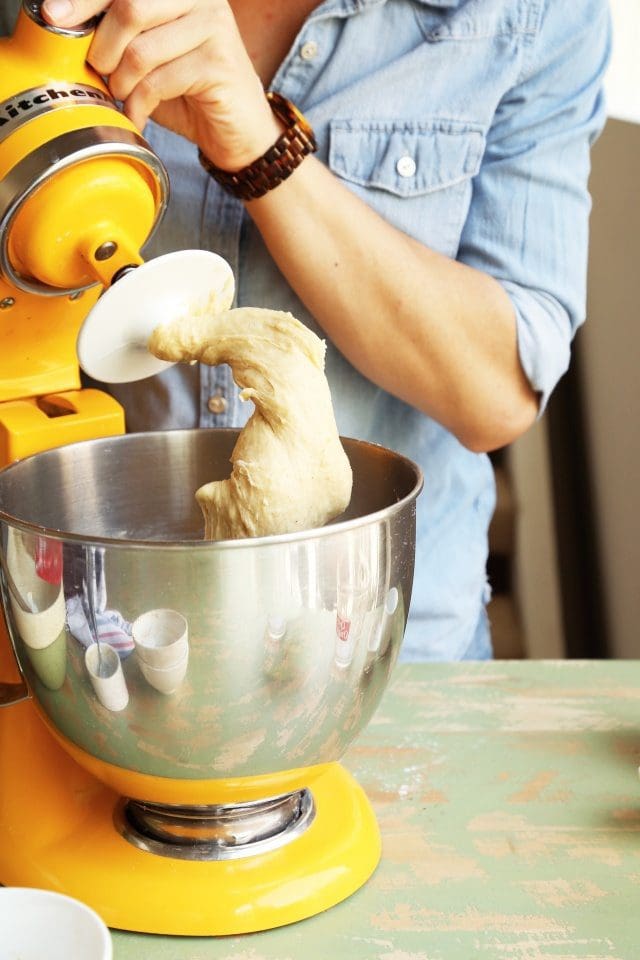
After making Bread in 5’s brioche on a regular basis, I find I’m used to working with a slightly sticker dough, so I ended up adding a little more liquid to this recipe than called for. After combining the dough ingredients in the stand mixer, I added about 1/3 cup of water (a few tablespoons at a time, until the dough was sticky but didn’t stick to the sides of the mixer when mixing on low) which made my dough a little ‘looser’, and it baked up soft and light.
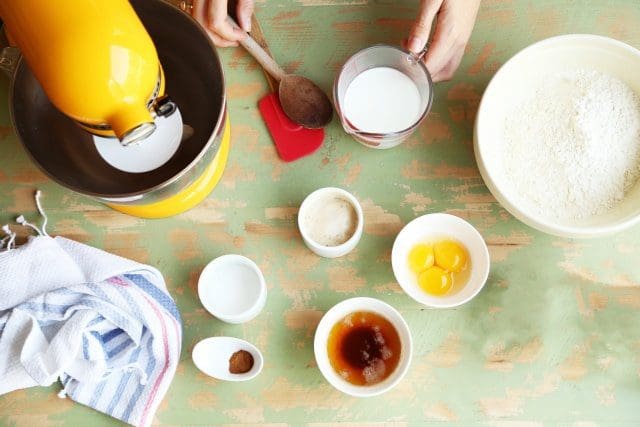
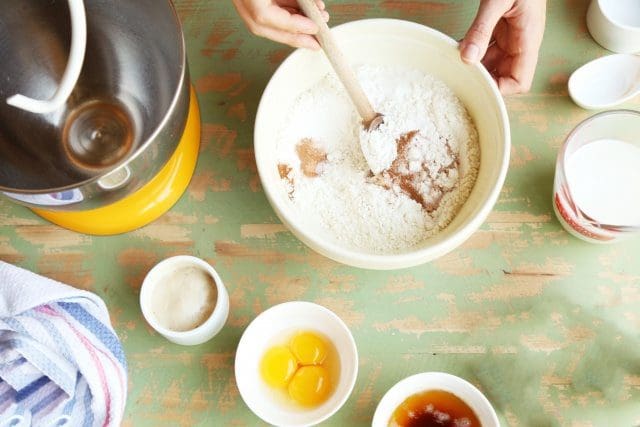
Dough:
1/4 cup plus 1 tablespoon | 75g unsalted butter
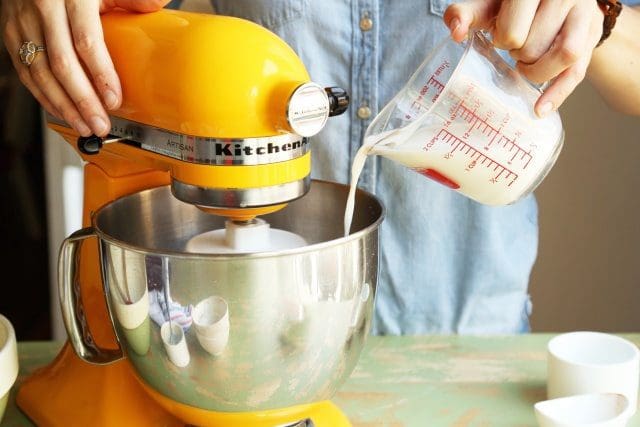
3/4 cup | 190 ML whole milk
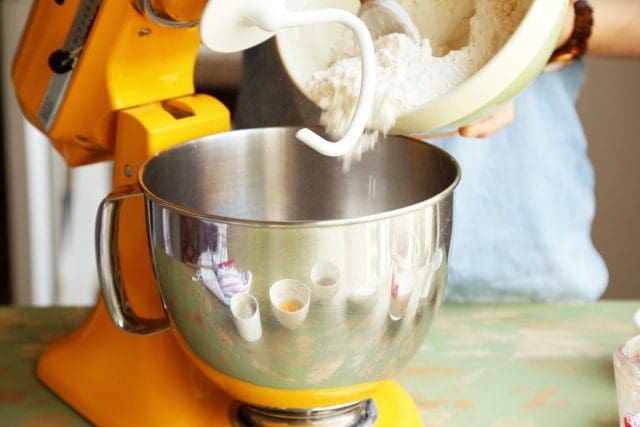
3 cups | 450g bread flour
1/4 cup | 55g granulated sugar
1 1/2 teaspoons dry active yeast
1 teaspoon salt
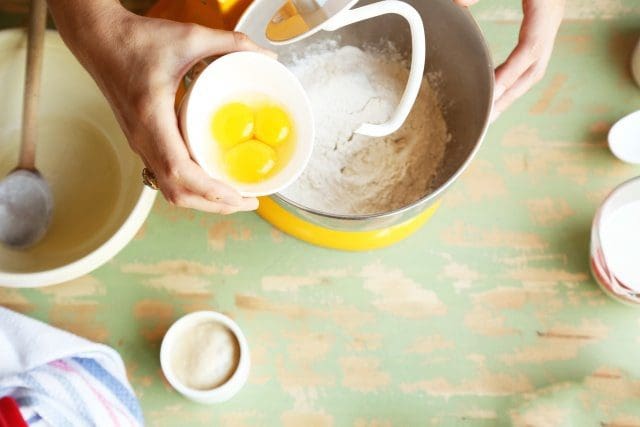
1 large egg, beaten
1/4-1/2 cup water (see note)
Filling:
1 ounce unsalted butter, melted
1/2 cup |115g firmly packed light or dark brown sugar
1 tablespoon ground cinnamon
Pinch salt
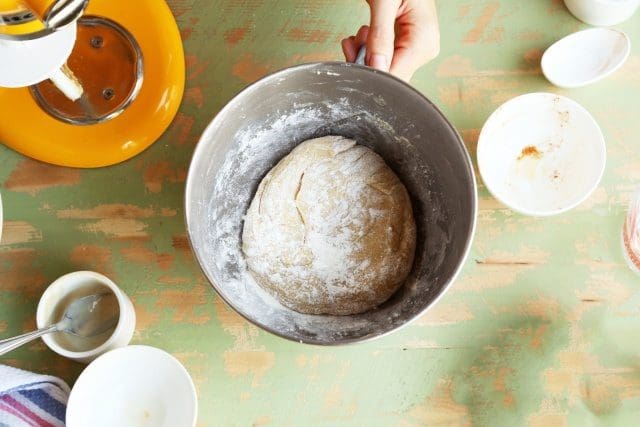
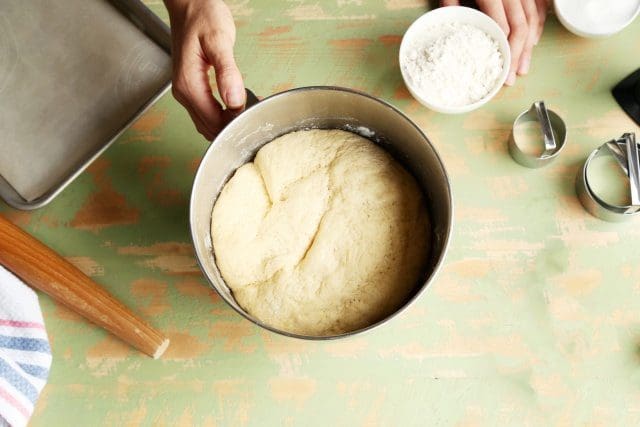
To make the dough, melt the butter in a small saucepan over low heat, add the milk, then remove from the heat and set aside to cool slightly. Put the remaining dough ingredients and the slightly cooled milk and butter mixture in a large bowl (or the bowl of your stand-up mixer) and stir to bring the mixture together (see note about adding water at this point). On a floured work surface (or using a stand-up mixer with the dough hook), knead until a smooth, elastic and ever-so-slightly tacky dough forms, about 5 minutes. Put the dough back in the bowl (or keep it in the bowl of the stand-up mixer) and cover with plastic wrap. Leave in a warm place to rise for 30 to 45 minutes, or until doubled in size.
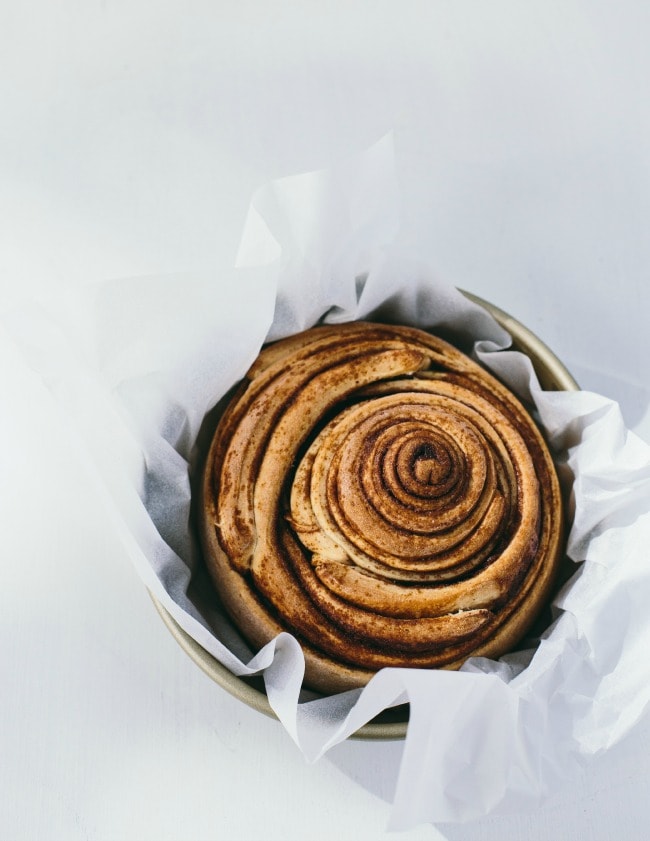
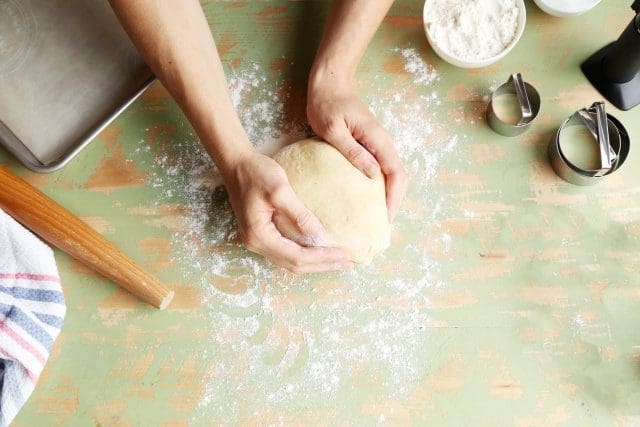
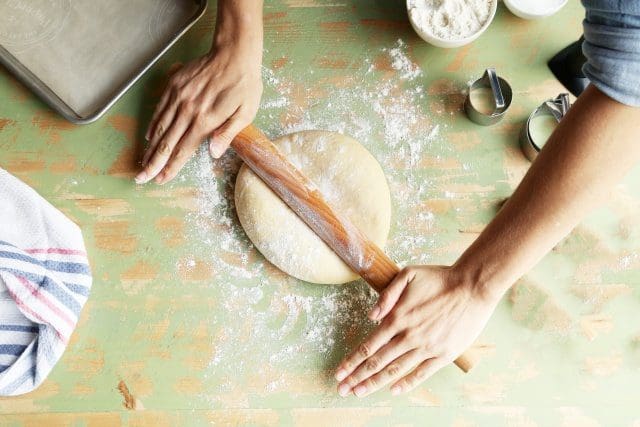
While the dough is rising, grease and line a 9-inch round springform pan. When the dough has risen, punch it down and turn it out onto a lightly floured work surface again. Roll the dough out into a 12-inch square. Stir together the brown sugar, cinnamon, and salt. Spread the melted butter over the dough and evenly sprinkle over the brown sugar mixture.
Slice the dough lengthwise into 6 equal strips (perfectly even strips will make a perfectly even cinnamon roll). Roll the first strip up in a spiral, just like a regular cinnamon roll. Place the rolled cinnamon roll on the edge of the next strip and roll that strip around the cinnamon roll, until all the strips are rolled around and you have one giant swirly bun.
Move the bun over to the greased pan, and cover gently with plastic wrap. Set aside for about 45 minutes to rise.
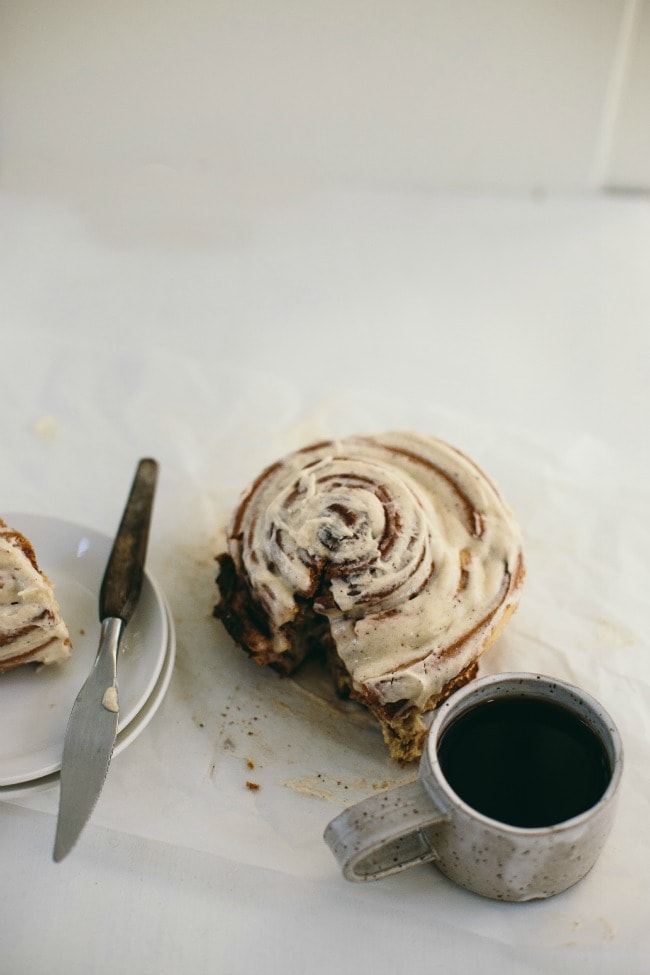
Preheat the oven to 350 degrees F. When the bun has risen, remove the plastic wrap and bake for 35 to 45 minutes, or until golden, risen and cooked through. Remove the bun from the tin and leave to cool just until warm. Cover the bun with icing (recipe follows).
Brown Butter Icing:
8 tablespoons (1 stick) | 113g unsalted butter
2 ounces |57g cream cheese, room temperature
1 teaspoon vanilla
pinch of salt
1 cup |114g powdered sugar
To brown the butter: Melt the butter in a medium-sized saucepan. Swirl the butter around until it starts to brown — it will smell nutty and you’ll see little brown bits at the bottom of the pan. Remove the pan from the heat, pour the brown butter and bits into a freezer-safe bowl, and let cool for 10 minutes. When the butter is partially cool, place the bowl in the freezer and let the butter chill until solid, about 30 minutes (you can also put it in the fridge to cool down, but it will take a bit longer). When the butter is solid (but not frozen!), take it out and place it in the bowl of a standing mixer.
Add the cream cheese to the browned butter, and beat on high until smooth and creamy, 3-5 minutes. Add the vanilla and salt, and beat again until incorporated. Add the powdered sugar and mix on low until combined, then increase the speed to medium-high and beat until the frosting is creamy.


 This Snicker Peanut Butter Oreo Pie will make you swoon. An Oreo crust is filled with smooth peanut butter filling and topped with Snickers, peanuts, caramel sauce and chocolate chips. Hi friends! It’s Jess here from Sweetest Menu – all the way from Australia! A big thank you to Julianne for letting me share a […]


 In a few months, the stethoscope will celebrate its 200th birthday. A medical breakthrough in 1816, it’s still a part of nearly every doctor’s visit today and a symbol of medicine itself.
Yet the stethoscope hasn’t changed much in the past 200 years. No different than in the 17th century, listening to a heartbeat has been a manual process that relies entirely on a…
In a few months, the stethoscope will celebrate its 200th birthday. A medical breakthrough in 1816, it’s still a part of nearly every doctor’s visit today and a symbol of medicine itself.
Yet the stethoscope hasn’t changed much in the past 200 years. No different than in the 17th century, listening to a heartbeat has been a manual process that relies entirely on a… 


