Esmaspäeva hommikul stardime seitsmese laevaga, õhtul hästi hilja lubati välja visata käsivarres. Ühesõnaga, tuleb jälle selline "kohapeal vaatab kuidas areneb" matk.
Statistika: Postitatud Postitas Nohik — 25 Juul 2019, 21:41
Statistika: Postitatud Postitas Nohik — 25 Juul 2019, 21:41
 Bob Dylan’s 1970’s classic, Forever Young, is in essence a blessing, perfect words for clinking glasses in a toast this Thanksgiving Day and for celebrating a 100th birthday.
Statistika: Postitatud Postitas sepaonu — 04 Mai 2016, 08:09
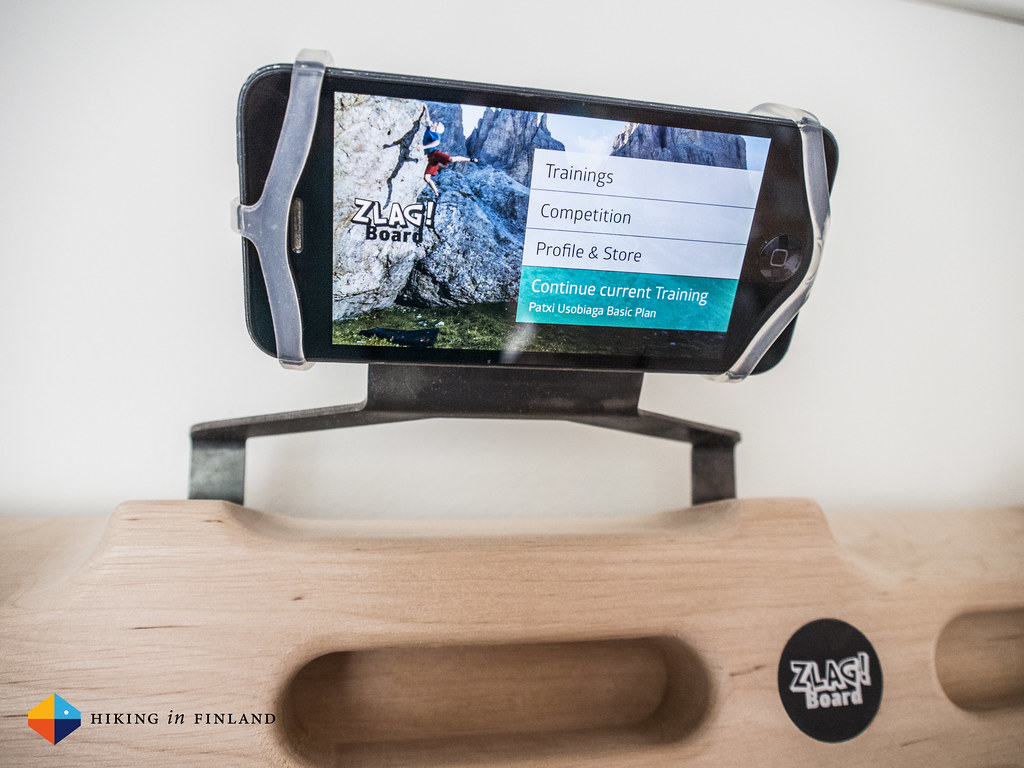
At the OutDoor last year I stumbled on the Zlagboard for the first time and immediately thought it’s an awesome way to train at home. The Zlagboard comes with a Smartphone App and training plans for every level, which allows you to track your progress over months. I have been training with the Zlagboard Pro since February and this is my review of it.
As a father & entrepreneur it’s right now not as easy for me to go to the gym or outdoors for a round of climbing, but I feel bad if I can’t go. I’ve had a pair of Metolius Rock Rings for several years but wanted something more - something that allows me to track my training, measure progress, set goals and let me get strong. Enter the Zlagboard and the great App. I’ll look at these two components and then the training with both.
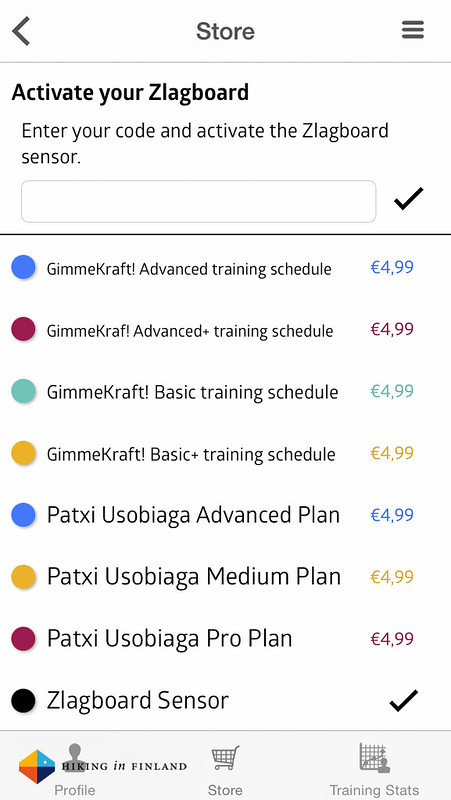
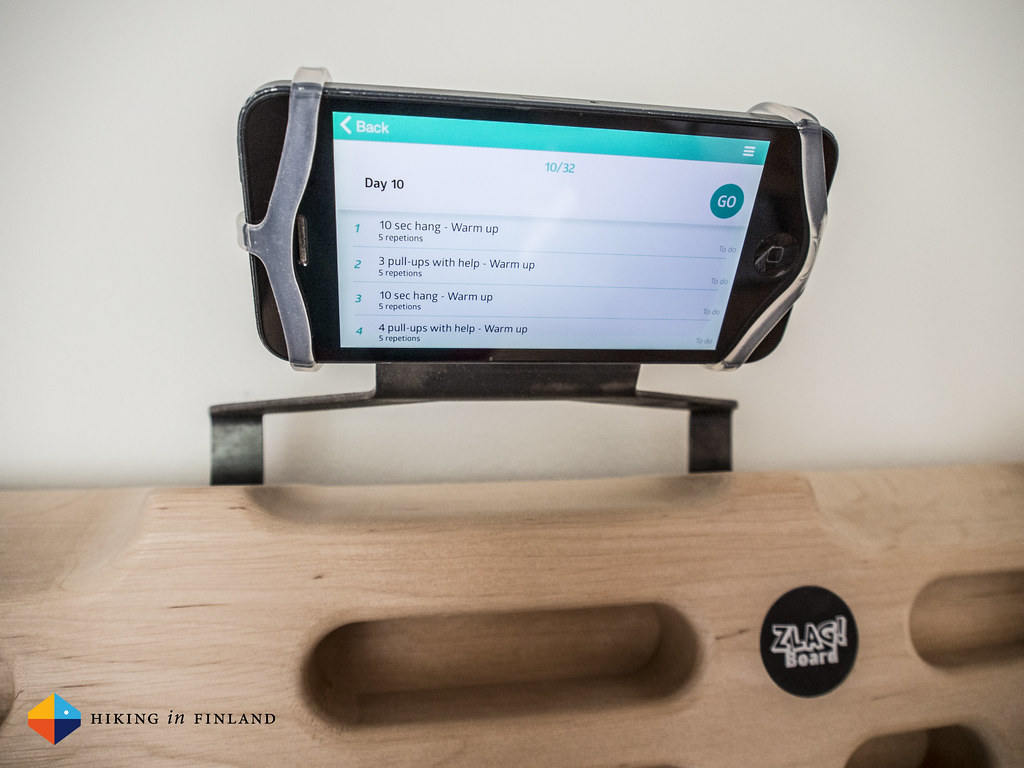
The Zlagboard App (available on iOS and Android) is the digital part of your training. Modern smartphones like the iPhone come with a lot of sensors, and the physical Zlagboard in combination with the App make use of these sensors to measure your training. On the Start Screen you probably first want to set up your Profile and then head to the Store to activate your Zlagboard - you’ll find the code on the back of the Zlagboard to do so, and it’s good for five users. In the Store you also can purchase additional training plans, for example from GimmeKraft!
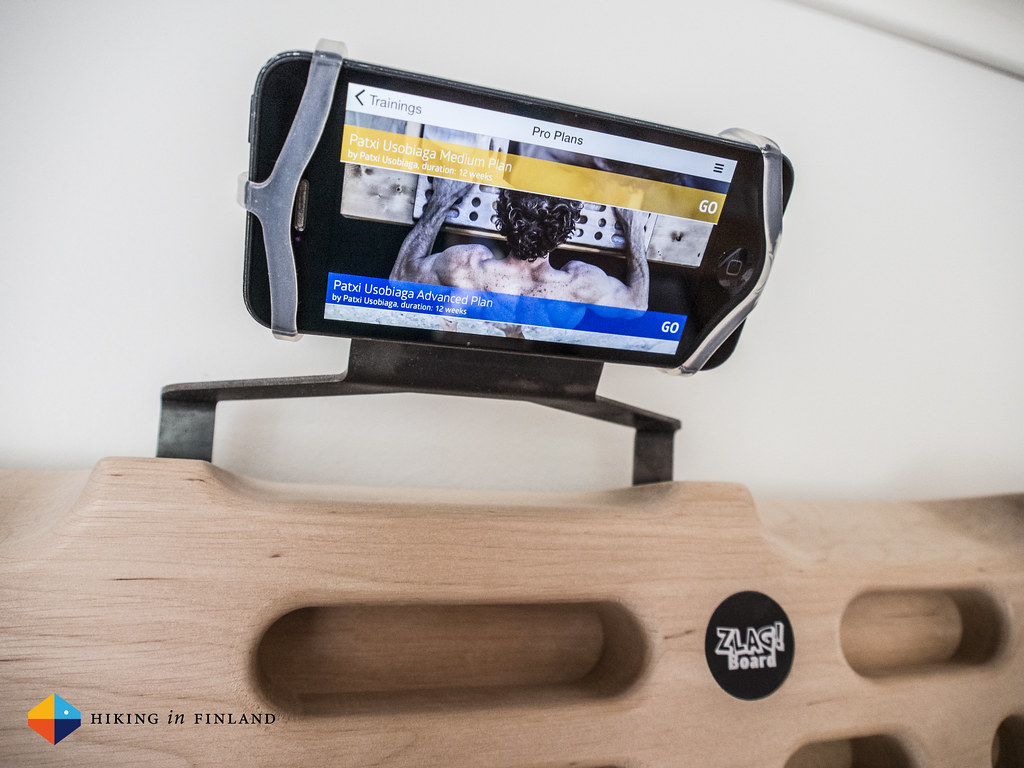
Once activated I did the Test which recommends you which Training Plan to follow, but I decided I start at the lowest Level and went with the Basic (free) Plan. The four Training Plans that are shown were developed by Patxi Usobiaga and all run 12 weeks. You’re not bound to stick to the scheduled days, but it of course would make sense to do so for the best training effect. And if you miss your Wednesday training you can just do it on Thursday.
I found the App well structured but missed some more instructions on some exercises, if not in the App at least on the website. This would have made it more beginner-friendly, as likely not every climber knows e.g. what’s the Full-Lock position. I think the prices for the Pro Plans are very fair and everything else in the App was very well designed. It worked without flaws on my old iPhone 5 (running iOS 8) and also should work well on any Android phone.
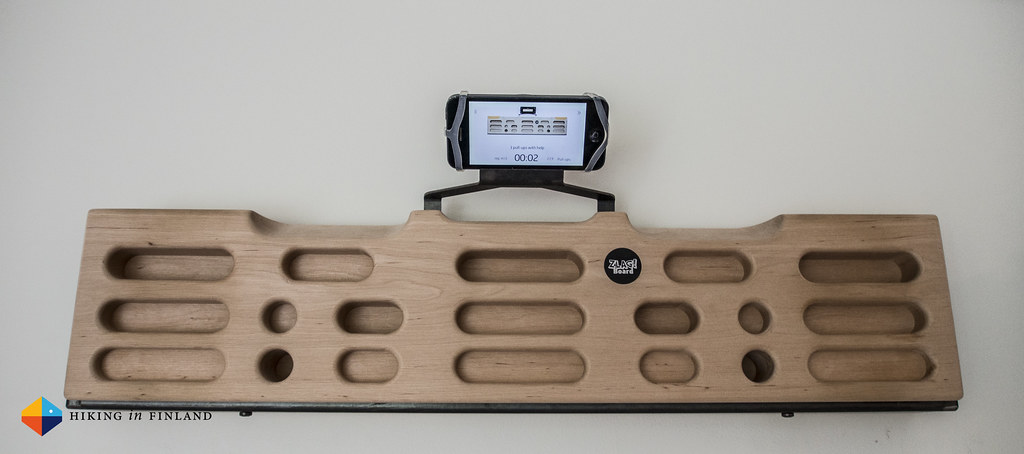
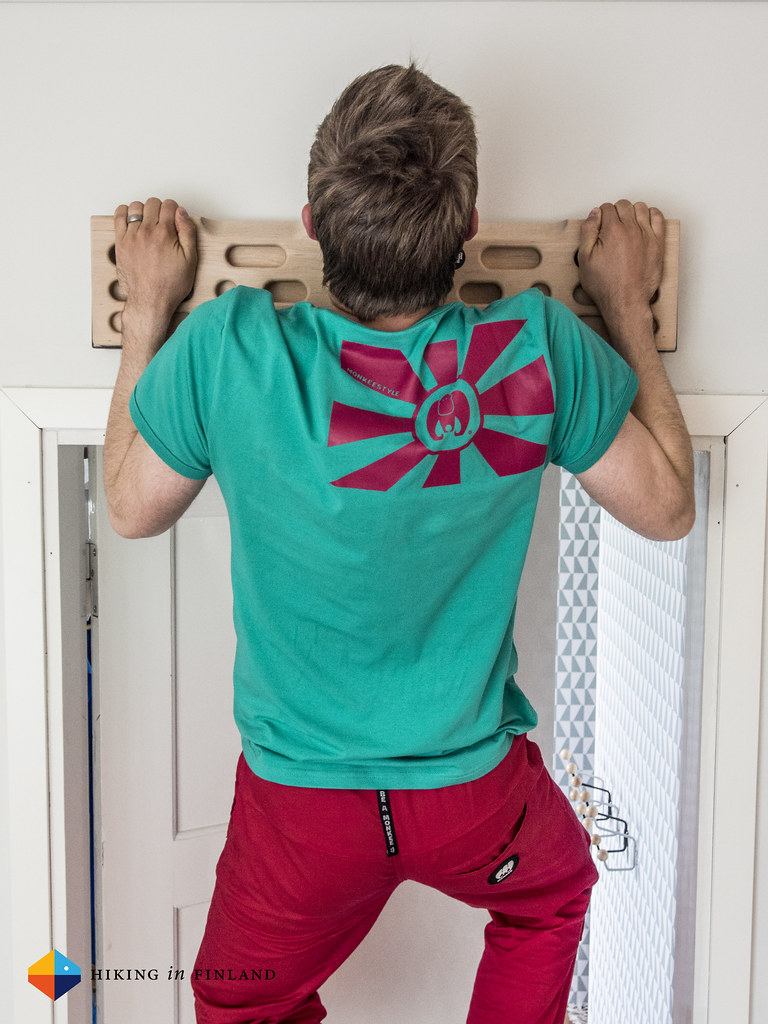
Fingerboard, hangboard, trainingboard - there’s many different names for this, but they essentially all mean the same. It’s a board made of wood or plastic with different sized finger holds for training at home. What’s different about the Zlagboard is that it’s a mounted on a separate frame - it is made of two (three if you count the steel) parts. The Nilo is attached to the wall and allows you to mount the Zlagboard Pro or Vario to it, and you could even mount several Nilo boards in your house and then just move the fingerboards around to use them.
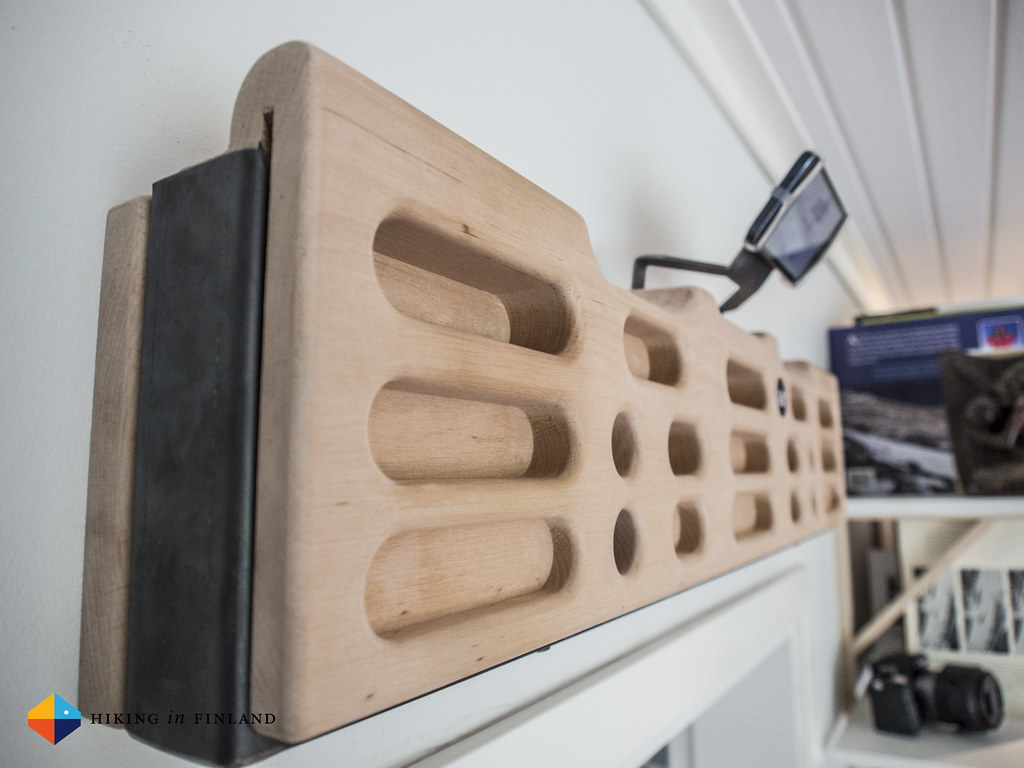
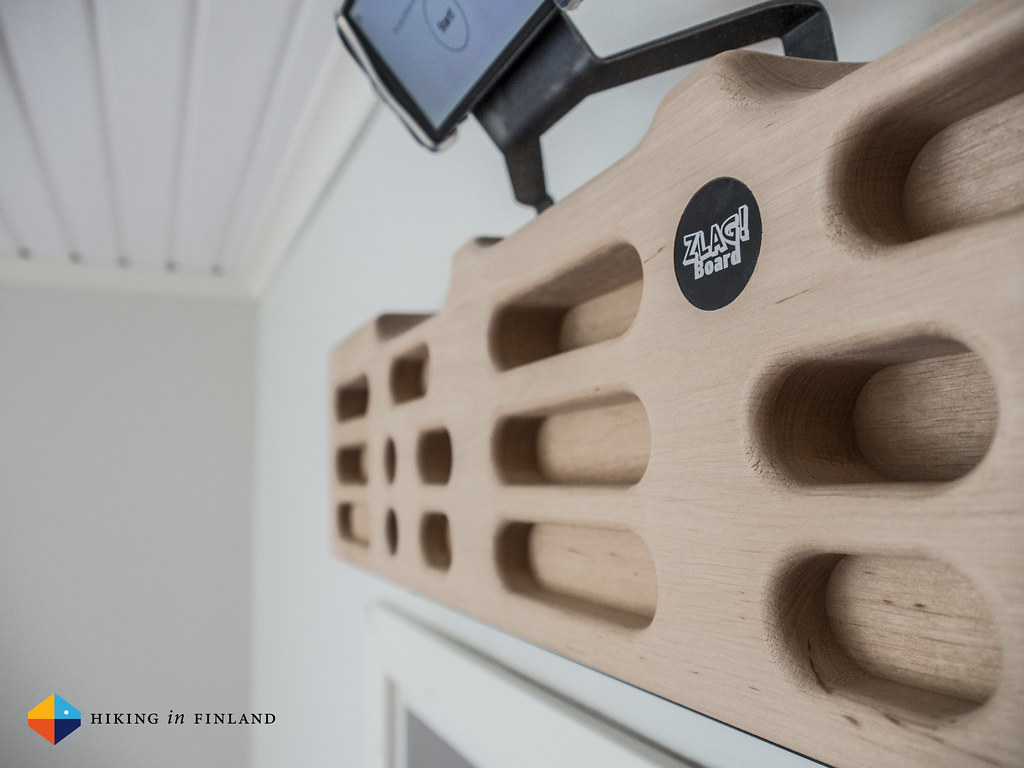
The actual fingerboard is mounted on a steel frame, and so when you hang on the board the steel frame stays in place but the wooden part moves softly a centimetre down. It’s super stable (unless you mounted it sloppily!) and makes for a good feeling when training. The board self is made of Alder wood and weighs 7 kg, with a size of 70 x 16 x 6 cm. It has 24 different holds in 10 pairs with four holds in the centre. There’s two Jugs, one 10° Sloper and two 35° Slopers, and many Crimps & Pockets with a depth from 10 to 45 mm.
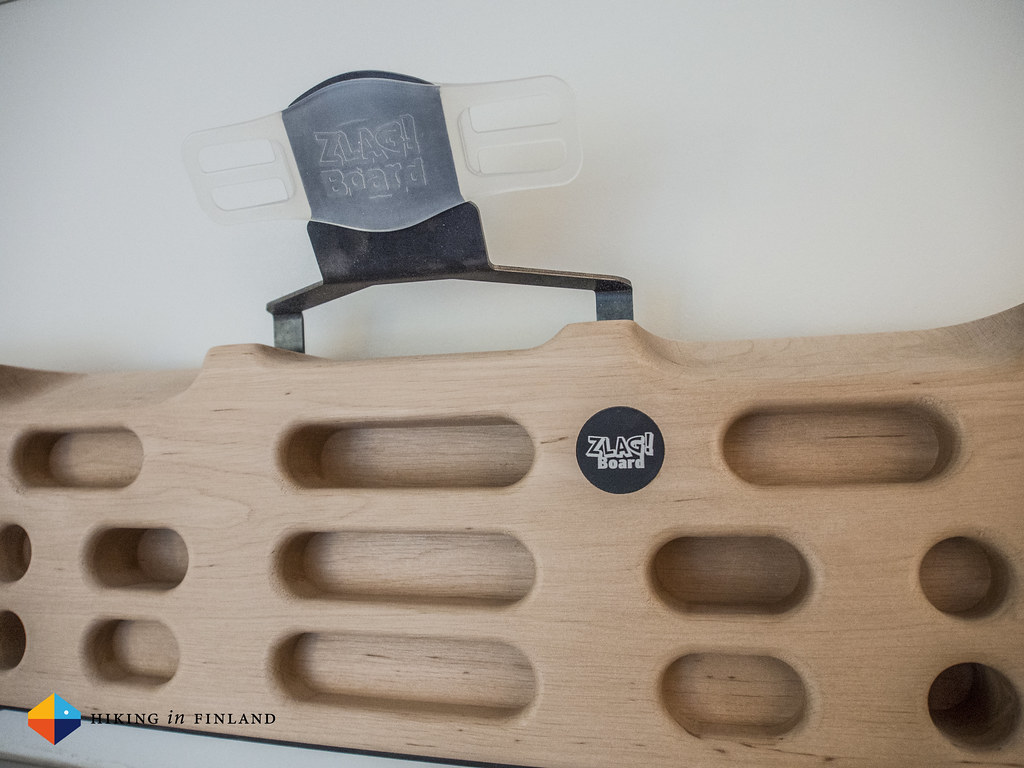
Your smartphone is attached via the Smartphone Mount, which is an elastic gadget that attaches over the four corners of your phone and then you can slide it easily over the top metal part, so that you always easily can see what’s to be done next. These also can be bought separately and in different colours, in case you tend to missplace such things.
Besides the Zlagboard Pro which you see in my photos there’s also a Zlagboard Mini and a Zlagboard Vario. The former is, as the name suggests, smaller and optimized for GimmeKraft! workouts, while the latter allows you to attach a fingerboard of your choice on it, be it a Beastmaker 2000 or Metolius Wood Grips Compact Training Board, you can attach almost any board to it and then create custom workouts for it.

Now that you know about the soft- and hardware, it is time to look at the training.
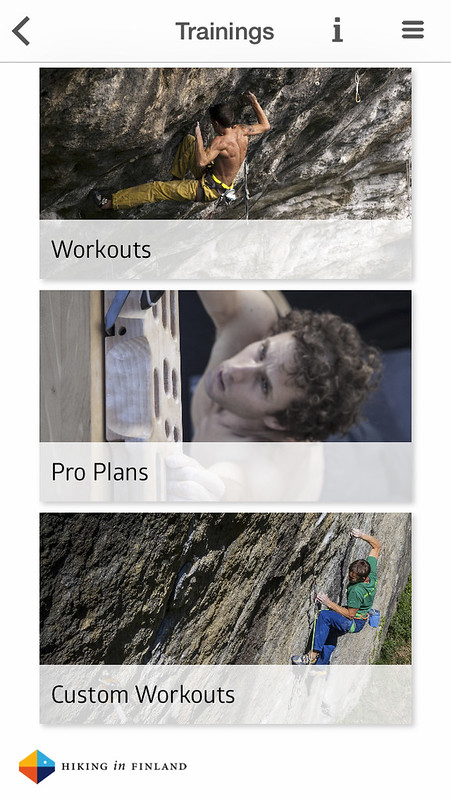
I choose the Basic Training Plan for starters and found it a good 50 minute workout three times a week. It’s organized in such a way that you first build up strength over the first month, in the 2nd month strength & endurance and in the 3rd month you go for power.
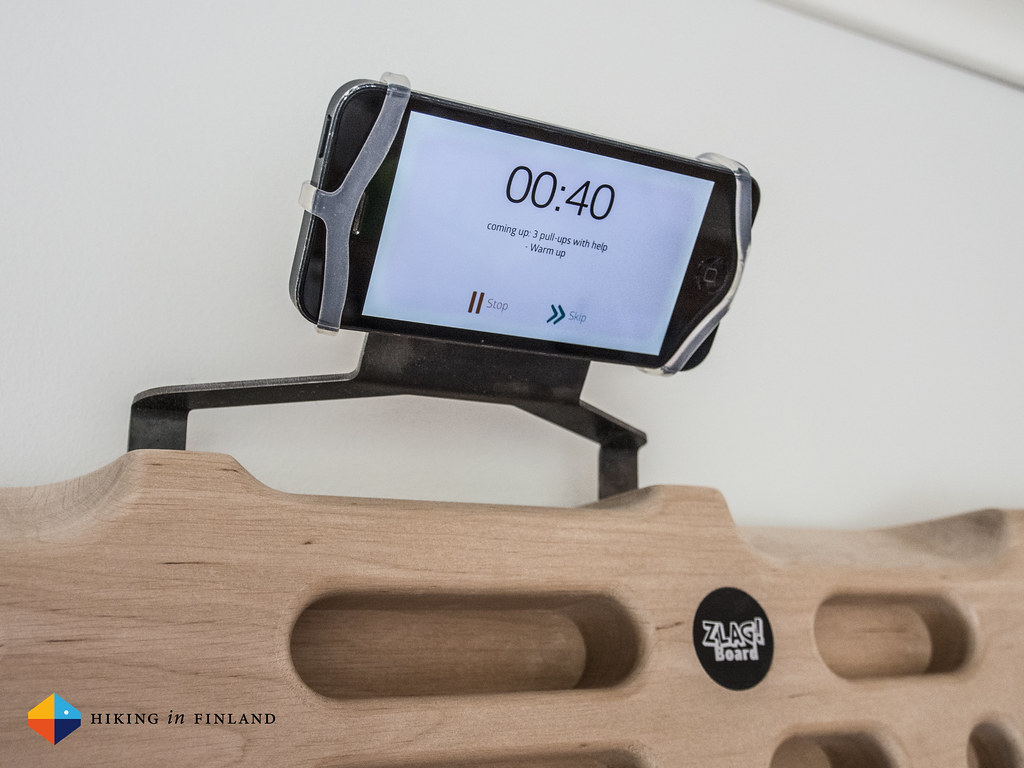
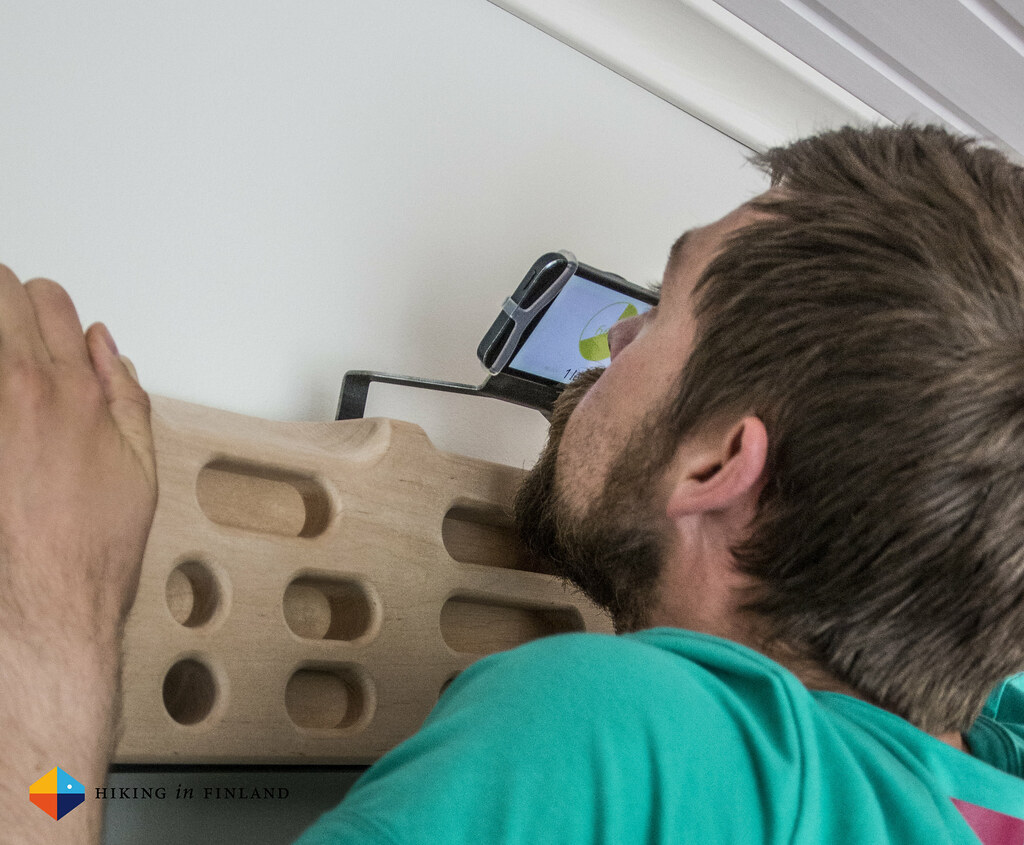
In between exercises the App counts down your break time, tells you what’s next and also allows you to skip the break or pause the exercise if you gotta interrupt it. There’s a varied mix of exercises that makes use of increasingly difficult holds, for longer times, in more difficult positions. Pull-ups on the jugs are a good warm-up, and you can configure the App so that it either automatically counts them or that you need to touch the screen with your nose, as I so stylish demonstrate underneath. The breaks between exercises can go from 7 seconds to 5 minutes, which means you could read a book or answer some emails in between exercises - or just skip the breaks and continue in one go!
If you can not get to the climbing gym or crag as often as you would like to or are tired of your non-interactive fingerboard, then you’ll love the Zlagboard. For me it is one of the best innovations in the climbing market in the last years and allows me to train efficiently at home, with professionally developed training plans, and it tracks my progress so that I can measure my results. The wooden fingerboard is very well made and the App easy & intuitively to use. The training plans are fun and get increasingly difficult, helping to build up strength and techniques for real-world projects - like my trip to the Dolomites next week. For me the Zlagboard is a great tool and I often just do a few pull-ups or hangs on it when standing in front of the computer gets too much. I really rate it very high and would recommend it to everyone who’d like to train at home with professional training plans & measure the progress.
Lets get Strong!
You can get your choice of Zlagboard directly from Vertical-Life, at the Bergfreunde and Bergzeit. And if you liked this post share it with your mates on Twitter and Facebook!
![]()

You know what I can’t handle? Not having handles.
As I mentioned in my previous post about buying new construction, there were not a lot of modern options to choose from, but we did our best with what was available. However, we knew right away that we wanted to customize our cabinets with different handles. The builder offered us a few options: one was a standard knob in various styles and finishes, and another was a simple modern bar handle. However, we weren’t keen on either choice, so we cleverly convinced them not to drill any cabinet holes at all. This was not an easy task and we had to remind each and every person we spoke to every time we talked to anyone, from the designer to the general contractor. They even spray-painted it on the floor and left notes everywhere – “NO KNOBS. DO NOT DRILL.”

Even though we knew this was the right decision, as soon as we moved in, we quickly realized how necessary door hardware can be, especially on cabinets with full overlay doors. Oops. We had to make a decision—and fast.

Let’s not talk about that molding on the upper cabinets. It’s dead to me.
Because we had over 80 cabinet doors in the house (I know – crazy, right?), we knew that we had to figure out a budget right away. We didn’t want to spend more than a few dollars per handle, so our first stop was IKEA.
We bought about six different styles and brought them all home to test them out. We instantly gravitated toward the squared off METRIK style. Nothing else seemed to fit just right.
We also went to a local specialty hardware store, but still felt like we liked the METRIK handles the best. The number of handles we needed was kind of ridiculous and we couldn’t help but laugh at the giant bagful we brought home:

It took a lot of discussion to figure out how to mount and install the handles onto the cabinets. We talked about mounting them horizontally at the bottom, using only small handles on drawers, and whether we should put the handles in the middle or at the top of the drawers. With the odd, small recession in our Shaker drawer fronts (there was no flat drawer option), deciding on where to place the handle proved more difficult. Ultimately, we decided that we’d put the handles in the center of all top drawers and at the top of all bigger, lower drawers. To me, this was the most aesthetically pleasing, but probably more challenging to install (or so I believe based on Mr. Design Milk’s subsequent groans).
The entire installation took two days—a true weekend project. A huge time-saver was buying this FIXA drill template. It was expected that after installing 86 handles, drilling 172 holes, there was bound to be an “oops” moment. Luckily, it came in the form of a bottom drawer in a dark corner of our master bathroom.

Before and after drawer drill hole repair
We filled it with some wood putty and colored it in with a wood marker. Good as new!

We love their industrial look and are pleased with how they turned out. We can’t wait to move on to more exciting projects.
Statistika: Postitatud Postitas Jaan — 07 Juun 2014, 08:01
Windows Mobile võtmes pigem lihtsate ja konfitavate Orux- või Locus-stiilis WMS-i tunnistavate rakenduste vähesuses, Pole midagi teha, mingid platvormid lihtsalt ei kogu kõigis huvigruppides piisavalt toetust. MapMania paistab suunalt õige, aga GIS-rakendused on teise rõhuasetusega.caido kirjutas:
Kui küsimus on lihtsalt maaameti WMS-i (kaarditeenuste) kasutamises nutiseadmetes siis maaametil endal on vastavad soovitused kodukal olemas:
http://geoportaal.maaamet.ee/est/Teenus ... -p429.html
Statistika: Postitatud Postitas margusl — 04 Juun 2014, 11:55
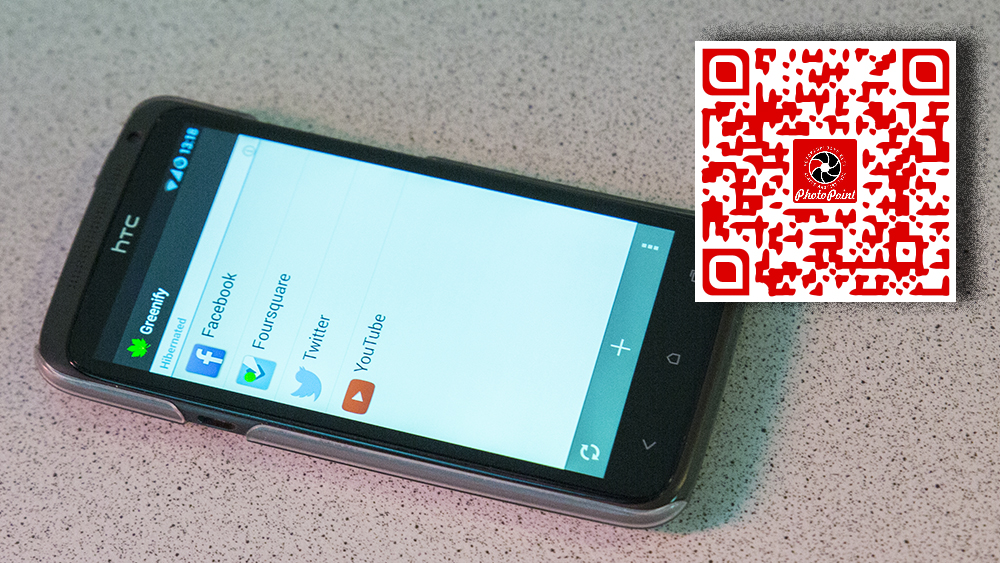
Suured lubadused eksitavas pealkirjas, väike sisu artiklis. Tüüpiline tõlkeartikkel, eks? Ei ei ei, tegelikult me sellist joont siin ei aja. Ma tegelikult tahaks tutvustada üht vahvat Androidi rakendust, mis aitab amokki jooksvad programmid lühikese lõa otsas hoida ning sellega parendada seadme aku vastupidavust. Eelnevalt on meil luubi all olnud Carat nimeline rakendus, mis võimaldas kasutajal analüüsida energiatarvet. Tänane programm – Greenify – käseb rakendustel vait olla ning keelab akust viimased mahlad välja imeda.
Greenify puhul tuleb teada esmalt kolme tõsiasja. Esiteks, täisfunktsionaalsusega töötamise jaoks on rakendusel vaja root õigusi teistele programmidele koha kätte näitamiseks. Programm töötab ka root õiguseta, kuid siis on funktsionaalsus natuke piiratum. Teiseks, kui sa kasutad Android 2.3 või vanemat operatsioonisüsteemi oma seadmes, vaheta see välja. Greenify ei tööta kahjuks allapoole Android 4.0′i.
Kolmandaks peab teadma erinevate “Task Killer” ja muude analoogsete rakenduste omapära, sest siit tulebki Greenify erilisus välja. Esiteks ei hakka Greenify kassi-hiire mängu tegema rakendustega – kes kelle eest plehku paneb, töötada saab ning seega veel rohkem akut tühjaks imeda. Teiseks ei ole see rakenduse karantiin, kus programmi käivitamiseks tuleb lisaliigutusi teha. Ilmselgelt ei ole tegu ka Titanium Backup stiilis rakenduse külmutamisega, kuna seal tuleks hilisemalt programm uuesti aktiveerida, et muutuks nähtavaks/kasutatavaks.
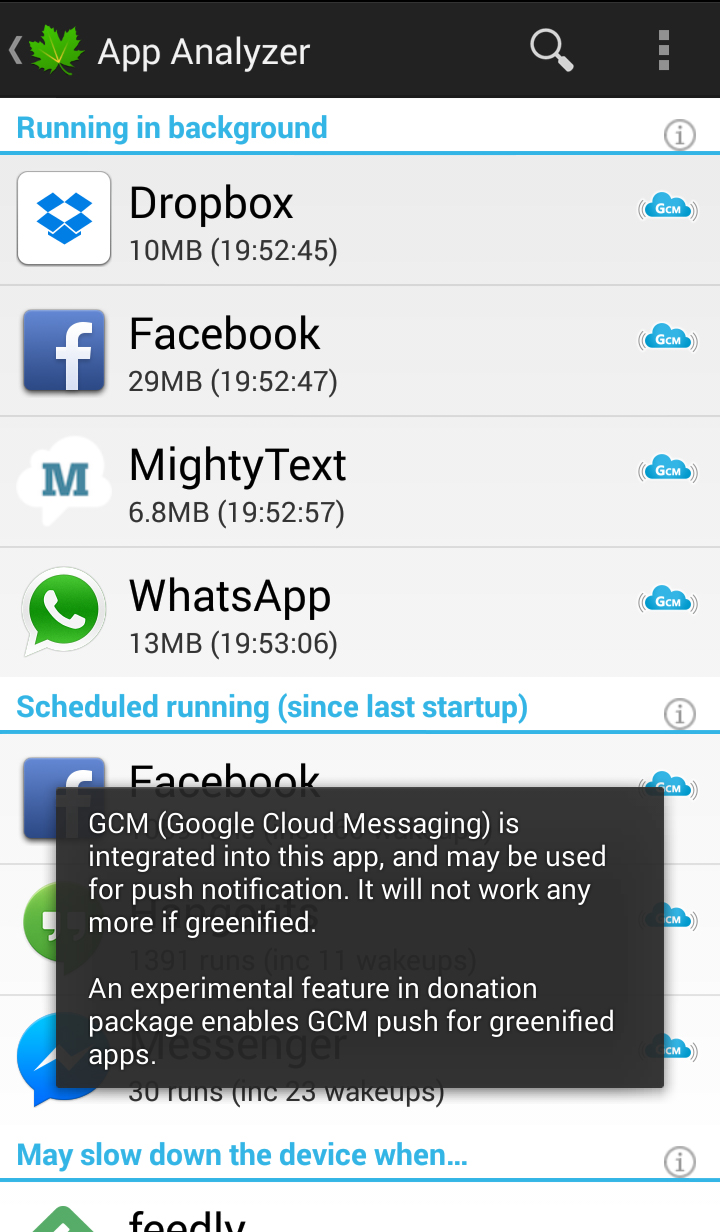
Greenify oma olemuselt keelab ära sihtrakenduse kõik taustaprotsessid – alates eelmääratletud perioodiliste ülesannetega ning spetsiifilistele sündmustele reageerimisega, lõpetades teadete edastamisega jne. Tänu sellele saab efektiivselt hoida seade nn deep sleep staadiumis ning seega ka protsessor säästvamas olekus hoida. Samas ei tohiks Greenify rakendusega üle käia äratuskellast, sõnumiprogrammist või mõnest muust olulisest taustal töötavast rakendusest – alarmi keelates ei ole äratuskellast kasu!
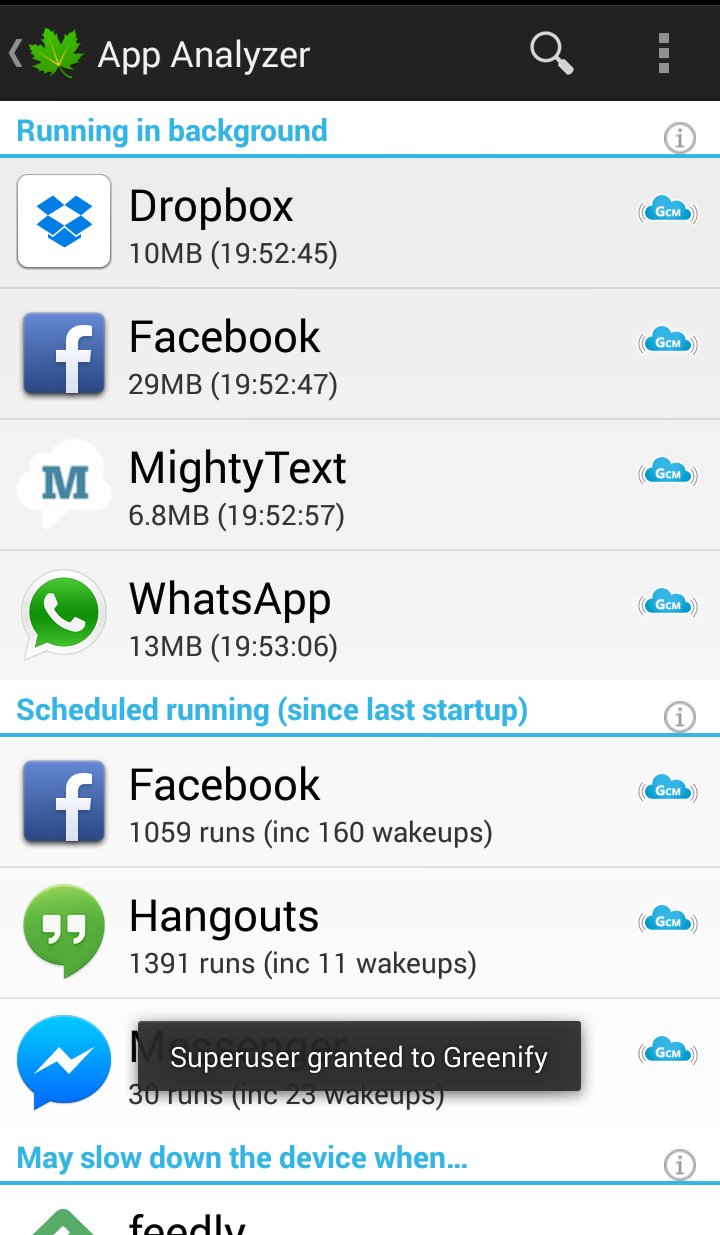
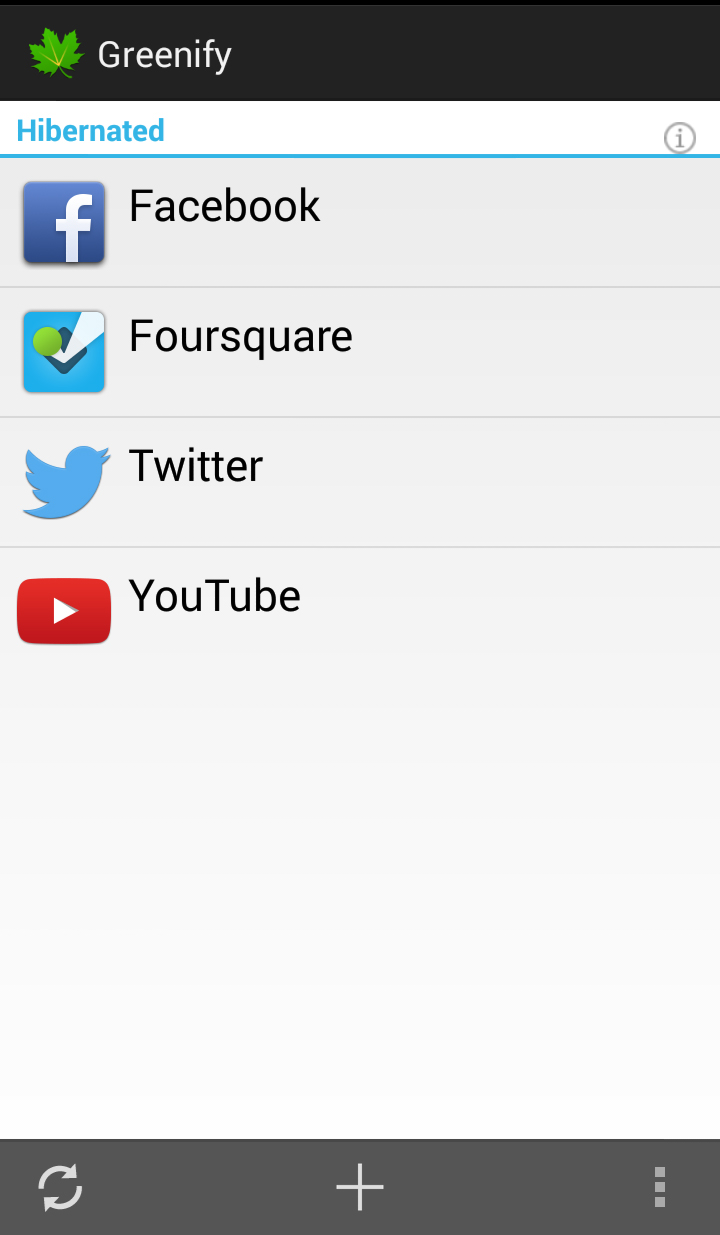
Igapäevases kasutuses ei panegi Greenify rakendust taustal tähele – kontrolli all olevad programmid käivituvad aktiveerimisel ikka nii, nagu peavad. Funktsionaalsus neil ei muutu (v.a. alla surumine unerežiimis). Ehk et tegu väga mugava ja kasutajasõbraliku lähenemisega.
Mis rakenduse juures kõige parem tegelikult on – ta on sale, peaaegu olematu protsessori koormusega ning väga väikese mälukasutusega.
Nädala rakenduse rubriigis kirjutame ikka ja jälle programmidest, millest pea kõik saaksid kasu. Sama käib ka Greenify kohta. Kes meist ei tahaks seadet, mille aku peab päeva lõpuni probleemideta vastu või saaks kasutada nii, et ei peaks iga öö laadima. Et oleks väiksemad elektriarved tänu vähesemale akulaadimisele? Okei okei, viimane on kerge huumoriga võetud, kuid jutul iva on täitsa olemas. Lihtsalt selle rakenduse puhul ei pea süvenema seadme logisse – mis programm põhjustab sügavast unest väljatulekut tihti, mis aktiveerib protsessid jne. Lihtsalt viska vähemvajalikud rakendused nimekirja ja naudi mugavat kasutust.
… on veel üks mõjuv põhjus, miks oma seade ära root’ida ning kasutada Androidi veel mugavamalt. Teiseks, erinevalt igasugustest task killer tüüpi rakendustest (tõsiselt, ma ei ole neid üldse soovitanud, tegelikult kah) teeb Greenify efektiivselt töö ära. Nüüd aga suundu Google Play rakendustepoodi ning tõmba ka endale Greenify alla.
Statistika: Postitatud Postitas udusiil — 10 Jaan 2014, 10:34
Statistika: Postitatud Postitas yloka — 29 Dets 2013, 14:20