(by Sophie Van der Perre)
Reportlab is a very flexible PDF creation package for Python. You can layout your documents using absolute positioning or by using Flowable objects, such as a Paragraph, a Table or Frame. You can even mix the two together! In this article, we will be looking at how to create some custom Flowables. For example, what do you do if you need to add a line to demarcate the start of a new section in your document? There isn’t really a built-in Flowable for that, so we’ll design our own. We will also design a flowable that has a line and a box with text inside of it.
Let’s get started!
Creating a line flowable is actually quite simple. Basically you just need to sub-class Reportlab’s Flowable class and tell it to draw line. The following is based on an example from the Reportlab mailing list
from reportlab.lib.pagesizes import letter
from reportlab.lib.styles import getSampleStyleSheet
from reportlab.lib.units import inch
from reportlab.platypus import (Flowable, Paragraph,
                                SimpleDocTemplate, Spacer)

########################################################################
class MCLine(Flowable):
    """
    Line flowable --- draws a line in a flowable

http://two.pairlist.net/pipermail/reportlab-users/2005-February/003695.html

    """

    #----------------------------------------------------------------------
    def __init__(self, width, height=0):
        Flowable.__init__(self)
        self.width = width
        self.height = height

    #----------------------------------------------------------------------
    def __repr__(self):
        return "Line(w=%s)" % self.width

    #----------------------------------------------------------------------
    def draw(self):
        """
        draw the line
        """
        self.canv.line(0, self.height, self.width, self.height)

#----------------------------------------------------------------------
def create_pdf():
    """
    Create a pdf
    """
    story=[]
    doc = SimpleDocTemplate("test.pdf",pagesize=letter)
    styles=getSampleStyleSheet()
    spacer = Spacer(0, 0.25*inch)

    ptext = '<font size=12>%s</font>' % "Section #1"
    story.append(Paragraph(ptext, styles["Normal"]))
    story.append(spacer)

    line = MCLine(500)
    story.append(line)
    story.append(spacer)

    ptext = '<font size=12>%s</font>' % "Section #2"
    story.append(Paragraph(ptext, styles["Normal"]))

    doc.build(story)

#----------------------------------------------------------------------
if __name__ == "__main__":
    create_pdf()
If you run this code, you should end up with a PDF that looks something like the following:
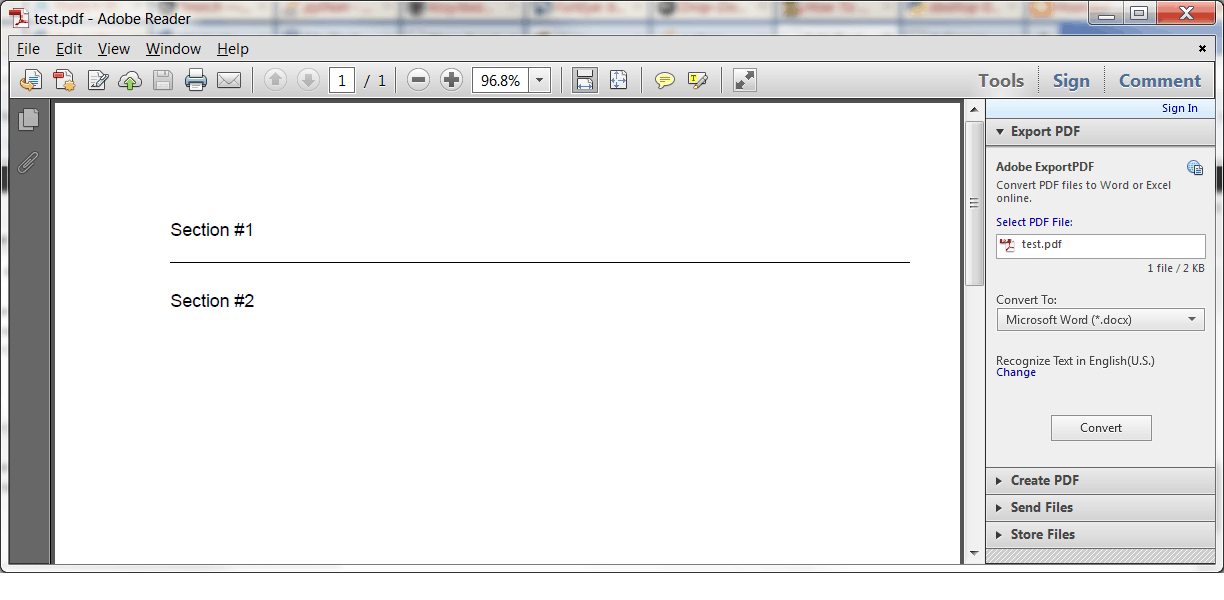
The code in the create_pdf function creates a document based off a template that’s included with Reportlab. Then we create some Flowables and add them to a normal Python list. We want a little space around the two fake “sections” that we create, so we add a Spacer Flowable before and after the line Flowable. Then we build the document and voila! We have a newly minted PDF!
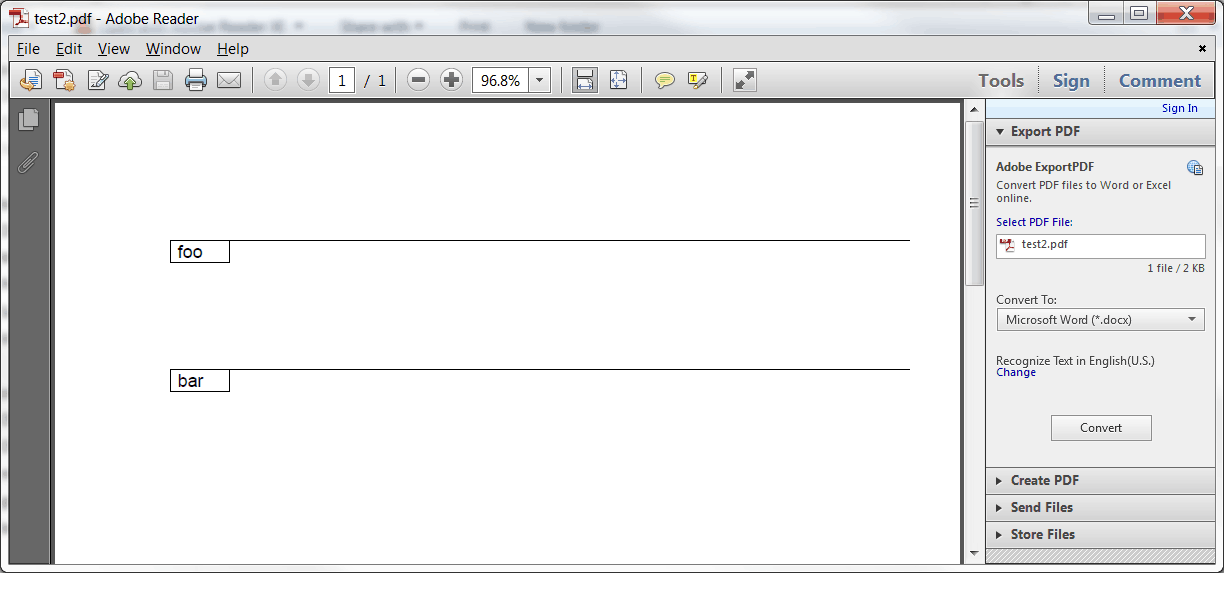
Recently I needed to create a text box with a border plus a line that went from the top of the box off to the right and I needed to be able to add it to my document as a flowable. It kind of looked like this piece of ASCII art:
-----------------------------------------
| foobar |
----------
It took a bit of experimentation, but I eventually came up with the following solution:
from reportlab.lib.pagesizes import letter
from reportlab.platypus import Flowable, SimpleDocTemplate, Spacer
from reportlab.lib.units import inch

########################################################################
class BoxyLine(Flowable):
    """
    Draw a box + line + text

    -----------------------------------------
    | foobar |
    ---------

    """

    #----------------------------------------------------------------------
    def __init__(self, x=0, y=-15, width=40, height=15, text=""):
        Flowable.__init__(self)
        self.x = x
        self.y = y
        self.width = width
        self.height = height
        self.text = text

    #----------------------------------------------------------------------
    def draw(self):
        """
        Draw the shape, text, etc
        """
        self.canv.rect(self.x, self.y, self.width, self.height)
        self.canv.line(self.x, 0, 500, 0)
        self.canv.drawString(self.x+5, self.y+3, self.text)


doc = SimpleDocTemplate("test2.pdf",pagesize=letter)
story=[]

box = BoxyLine(text="foo")
story.append(box)
story.append(Spacer(0, 1*inch))
box = BoxyLine(text="bar")
story.append(box)

doc.build(story)
Let’s break this down a bit. First off, we once again sub-class the Flowable class. This time we add some additional parameters so we can tell it to change the size of the box and the width of the line as well as display a bit of text. Then in the draw method we finagle the text into the correct position. If you mess around with the size of the box, then you might need to change the positioning of the line or the text. I ended up enhancing this slightly so that I could use a Paragraph object instead of the canvas’s drawString method. Here’s how that works:
from reportlab.lib.pagesizes import letter
from reportlab.lib.styles import getSampleStyleSheet
from reportlab.lib.units import inch, mm
from reportlab.platypus import (Flowable, Paragraph,
                                SimpleDocTemplate, Spacer)

########################################################################
class BoxyLine(Flowable):
    """
    Draw a box + line + text

    -----------------------------------------
    | foobar |
    ---------

    """

    #----------------------------------------------------------------------
    def __init__(self, x=0, y=-15, width=40, height=15, text=""):
        Flowable.__init__(self)
        self.x = x
        self.y = y
        self.width = width
        self.height = height
        self.text = text
        self.styles = getSampleStyleSheet()

    #----------------------------------------------------------------------
    def coord(self, x, y, unit=1):
        """

http://stackoverflow.com/questions/4726011/wrap-text-in-a-table-reportlab

        Helper class to help position flowables in Canvas objects
        """
        x, y = x * unit, self.height -  y * unit
        return x, y

    #----------------------------------------------------------------------
    def draw(self):
        """
        Draw the shape, text, etc
        """
        self.canv.rect(self.x, self.y, self.width, self.height)
        self.canv.line(self.x, 0, 500, 0)

        p = Paragraph(self.text, style=self.styles["Normal"])
        p.wrapOn(self.canv, self.width, self.height)
        p.drawOn(self.canv, *self.coord(self.x+2, 10, mm))


doc = SimpleDocTemplate("test3.pdf",pagesize=letter)
story=[]

box = BoxyLine(text="foo")
story.append(box)
story.append(Spacer(0, 1*inch))
box = BoxyLine(text="bar")
story.append(box)

doc.build(story)
The primary advantage of using a Paragraph instead of drawString is that you can now control what font you’re using and the size of the font using Reportlab’s HTML-like tags:
txt = "<font size=10>This is a 10 point font</font>"
I personally find that simpler to use then using the Canvas’s font related methods.
Now you know how to use Reportlab’s Flowable class to create your own custom Flowables. This gives you additional flexibility when creating your own PDF documents.