Finally, I’m starting my very own Bombshell Swimsuit!
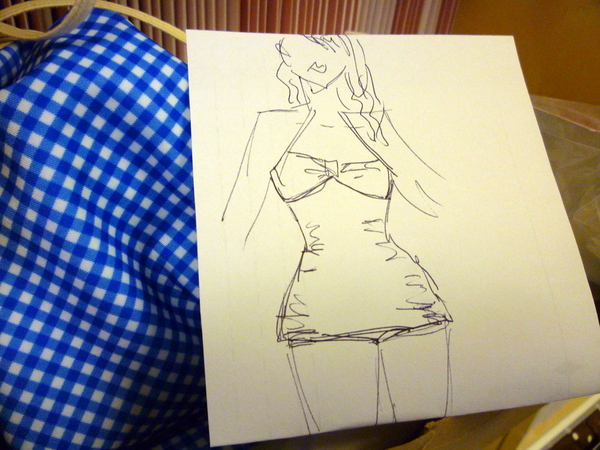
Are you tired of seeing this one yet? Hope not, because it’s my turn to make one!
I made some notes as I went, so I’m posting them in case they’re useful to you, and also so that I have a record of what I did! It’s nice to have notes and photos of the sewing process as it’s easy to forget once the garment is completed.
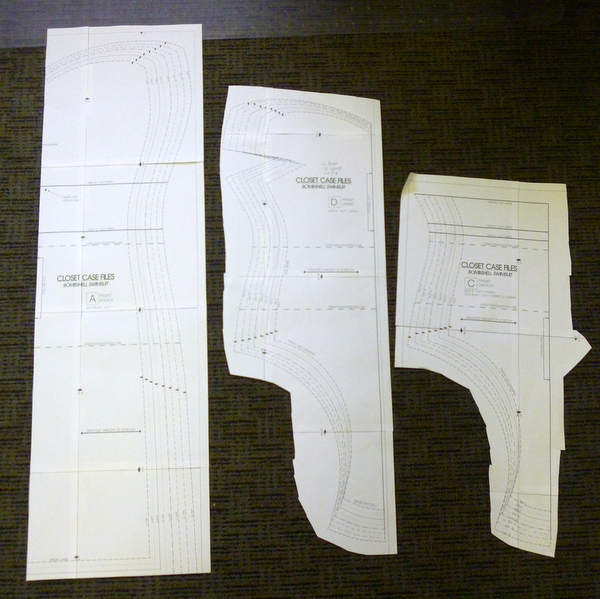
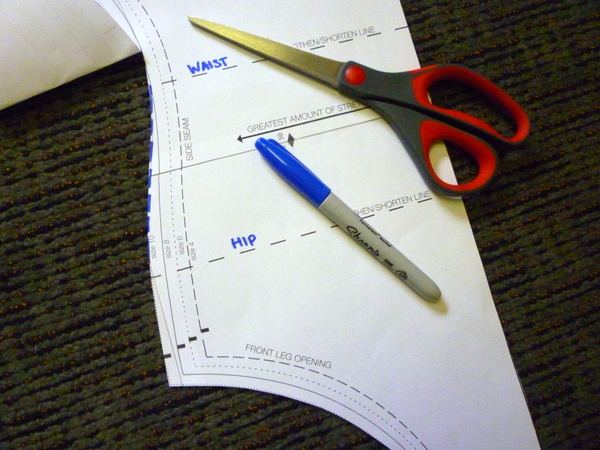
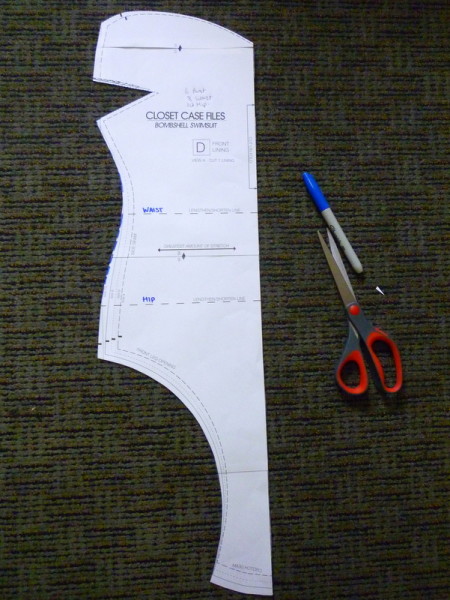
First off, I assembled the pattern.
Paper-saving tip: if you have your computer near enough to your sewing setup to read the monitor, skip printing the instructions. I only printed the pattern pieces, and I’m going to read the instructions off my computer. Plus, the photos are in colour so it’s going to be easier to follow that way.
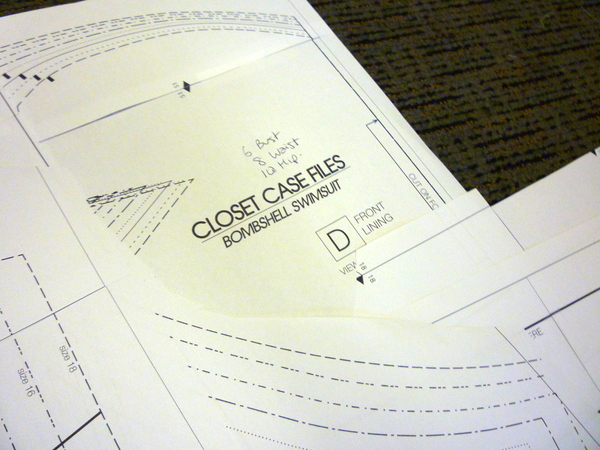
Next, I figured out my size. Turns out I measure for the size 6 bust, the size 8 waist, and the size 10 hip. No surprises there! And while it’s easy to trace from line to line, these pieces are seriously gathered. Which makes it a bit hard to figure out where exactly the waistline starts and the bust begins. It was in the evening after a long day when I finally got to working on this project, and my brain wasn’t at its sharpest!
So in case you are also planning to sew this at night, I documented how I tapered from size to size.
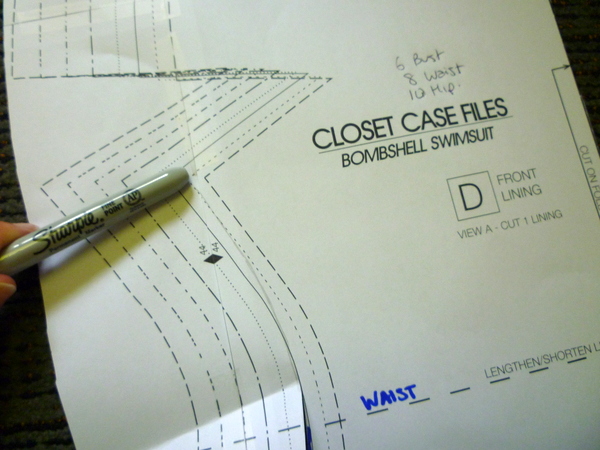
After assembling the pattern pieces, I figured out which sizes I wanted to cut for which parts of my body, and which view I was going to make. Size 6 bust, size 8 waist, size 10 hip.
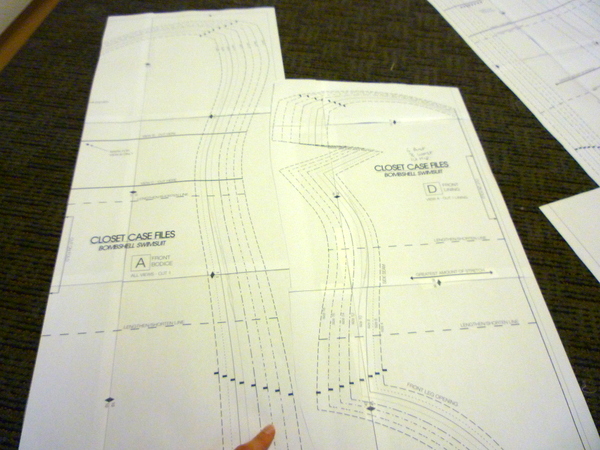
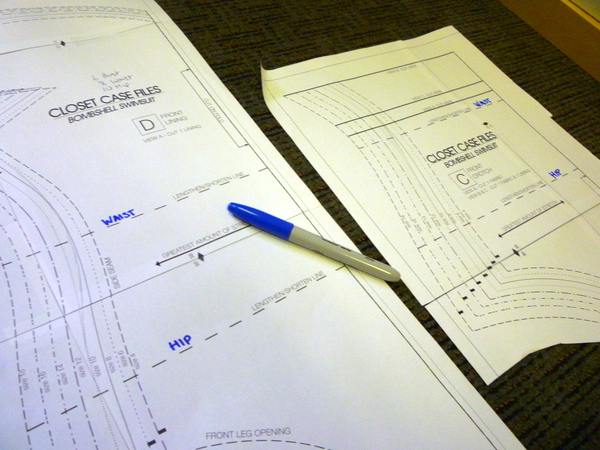
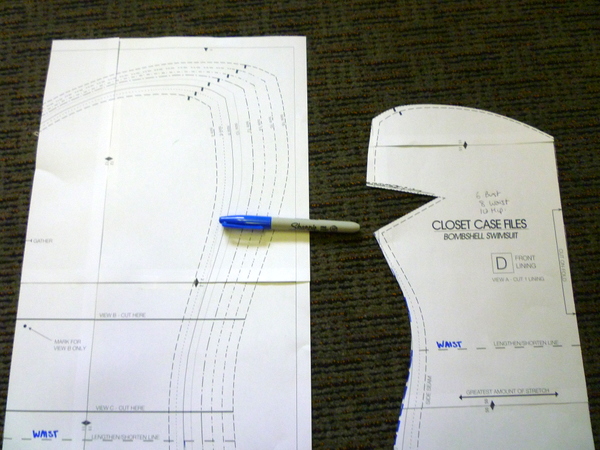
I then lined up the pieces that were going to be touching each other, starting with the front and front lining. Look at where the bottom lines up – there’s way more top layer than there is lining!
Also, look at how much space there is between the lengthen and shorten lines.
Both of these clues, the notches and the lengthen-shorten lines, are going to help us decide which size line to choose when.
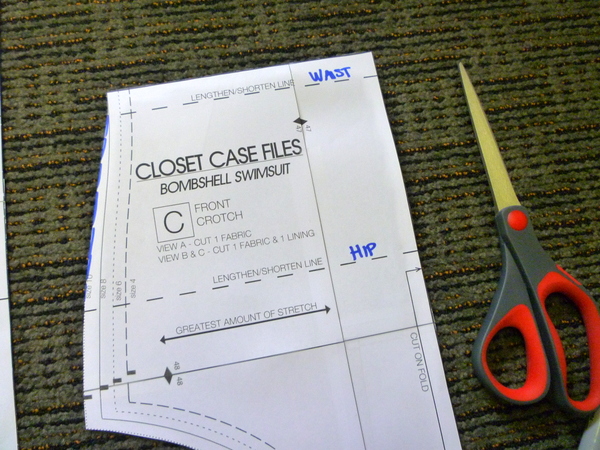
First, collect all of the front pieces. I have a front lining, front crotch, and front. Three pieces that I need to adjust.
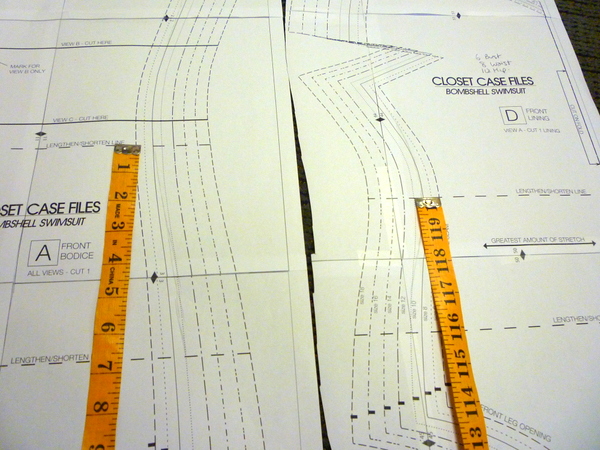
Now, I had to figure out where the hip is and where the waistline is. On the long gathered piece, which looks long enough to be a dress, it’s hard to figure out where that might be. So start with the un-gathered pieces.
I determined the waist was at the top Lengthen or Shorten line, because it’s the smallest part of the body, and the hip was at the bottom Lengthen or Shorten line, because by that point on the body I wanted my suit to fit my hip size.
Which means on the long gathered piece, these lines are the same, just farther apart.
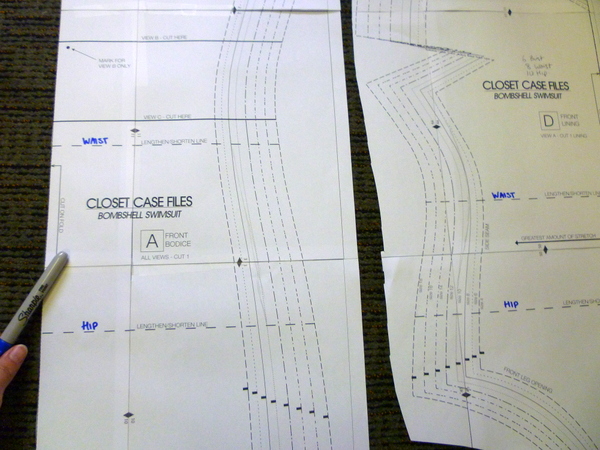
(PS. If all of this seems really obvious to you, feel free to skip this part! I wanted to record my thoughts for later, and also to help anyone else that is pear-shaped and needed to make this fabulous suit but was lost on how to adjust between sizes. It’s the long gathered piece that can be confusing on where to blend the lines between sizes.)
Draw in a line between the two sizes, from the waist to the hip.
This is your new cutting line. Repeat for the other two front pieces. On the ungathered front pieces, this line will be smaller and curvier.
On the piece that has different lines to cut for each view, instead of cutting them off I folded the top back. (I knew I might lose the cut piece if I’d cut it off, this makes sure I never lose it!)
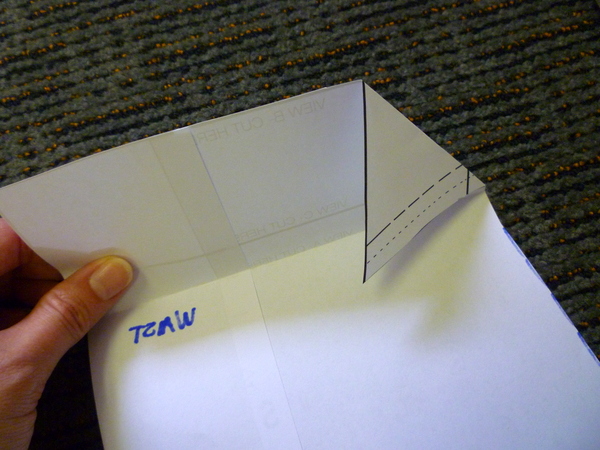
What it looks like from the front:
Now, the bust! I picked the dart as my bust point, and will taper the line from the size 8 to the size 6, from waist to bust.
And cut out the piece.
It doesn’t look that pear-shaped does it? That’s a 6 bust, 8 waist, 10 hip pattern.
For the long gathered piece, I picked a spot in the middle between the waist and the top of the suit, and made that my bust point.
It’s also approximately where the bust dart falls when you lay the pieces next to each other. Since it’s gathered, and stretchy, it won’t make a huge difference but I wanted to get it close.
There you go! Three front swimsuit pattern pieces, pear-shaped and ready to go.
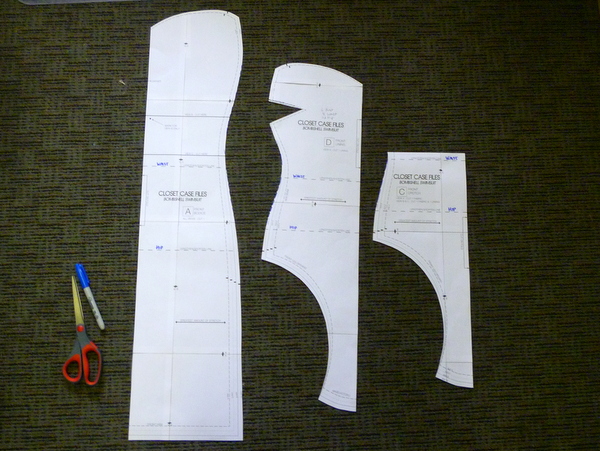
Repeat these steps for the back pieces. For the long vertical line at the side seam, I cut it straight up as a size 10, instead of tapering to an 8 because of the way the pattern is graded. It would taper outwards, which is strange, so I left it straight. That little bit isn’t going to make a huge difference to the fit in such stretchy material.
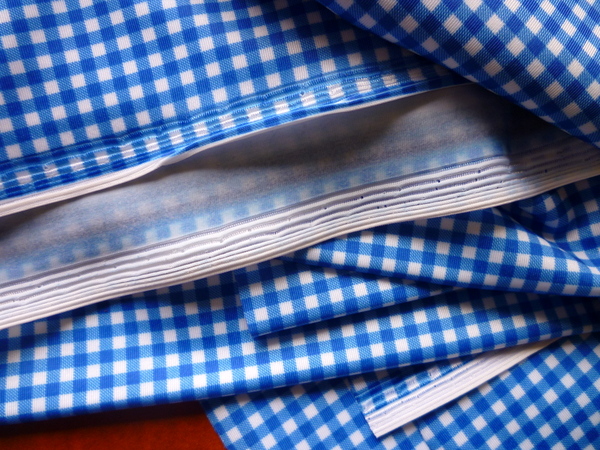
Now I’m ready to cut my fabric! Here’s my fabric again. Isn’t it so cute?
You know, this is the first time I’m actually trying to make plans to get out and wear a swimsuit. I’m planning to make this before summer ends, and I’m getting excited about where I could go to show it off. That’s the power of a good clothing item, it does more than just cover your body. It gives you the confidence to get out there and do whatever it is you want to do! Wouldn’t it be great if all of our clothing made us feel that way?